How to paint a watercolour wash
Researched by Abu Bakar Saadat7 min read
Last updated: 15 November 2026References
On this page 8 sections
In short
Tape watercolour paper to a board tilted slightly towards you, mix far more paint than you think you need, then paint each stroke just below the last, touching the bead each time. For a graded wash, add water to the mix as you go down.
At a glance
- You need
- About 300gsm watercolour paper, board, tape, wash brush, somewhere to mix a large puddle of paint
- Graded
- Add water every other stroke, end with clear water (Daniel Smith)
- Advice from
- Daniel Smith, Hahnemuehle, Winsor & Newton, Handprint (Bruce MacEvoy), read 28 October 2026
- Checked
- November 2026
You wanted a smooth sky and the paper dried in stripes. That's so disheartening, and it happens to plenty of painters who are starting out. Daniel Smith's advice is to work on a board set at a slant, with a puddle of paint much bigger than you think you'll need, and to expect a wash to take a couple of attempts to get right.
Daniel Smith defines a wash as colour applied to an area usually too large to cover with a single brushstroke. A flat wash is smooth colour without visible brushstrokes, and a graded wash typically goes from dark to light; Daniel Smith says both can be used for skies. Each is made the same way: a tilted board, a large pool of paint, and strokes that each pick up the wet edge of the one before.
Flat or graded?
Flat wash
One even colour all over. Keep the same mix in the brush for every stroke. It's good for backgrounds and a first layer.
Graded wash
Strong at the top and fading to the white of the paper. The strokes are the same, but you add water to the mix as you work down. It's good for skies.
How to paint the wash
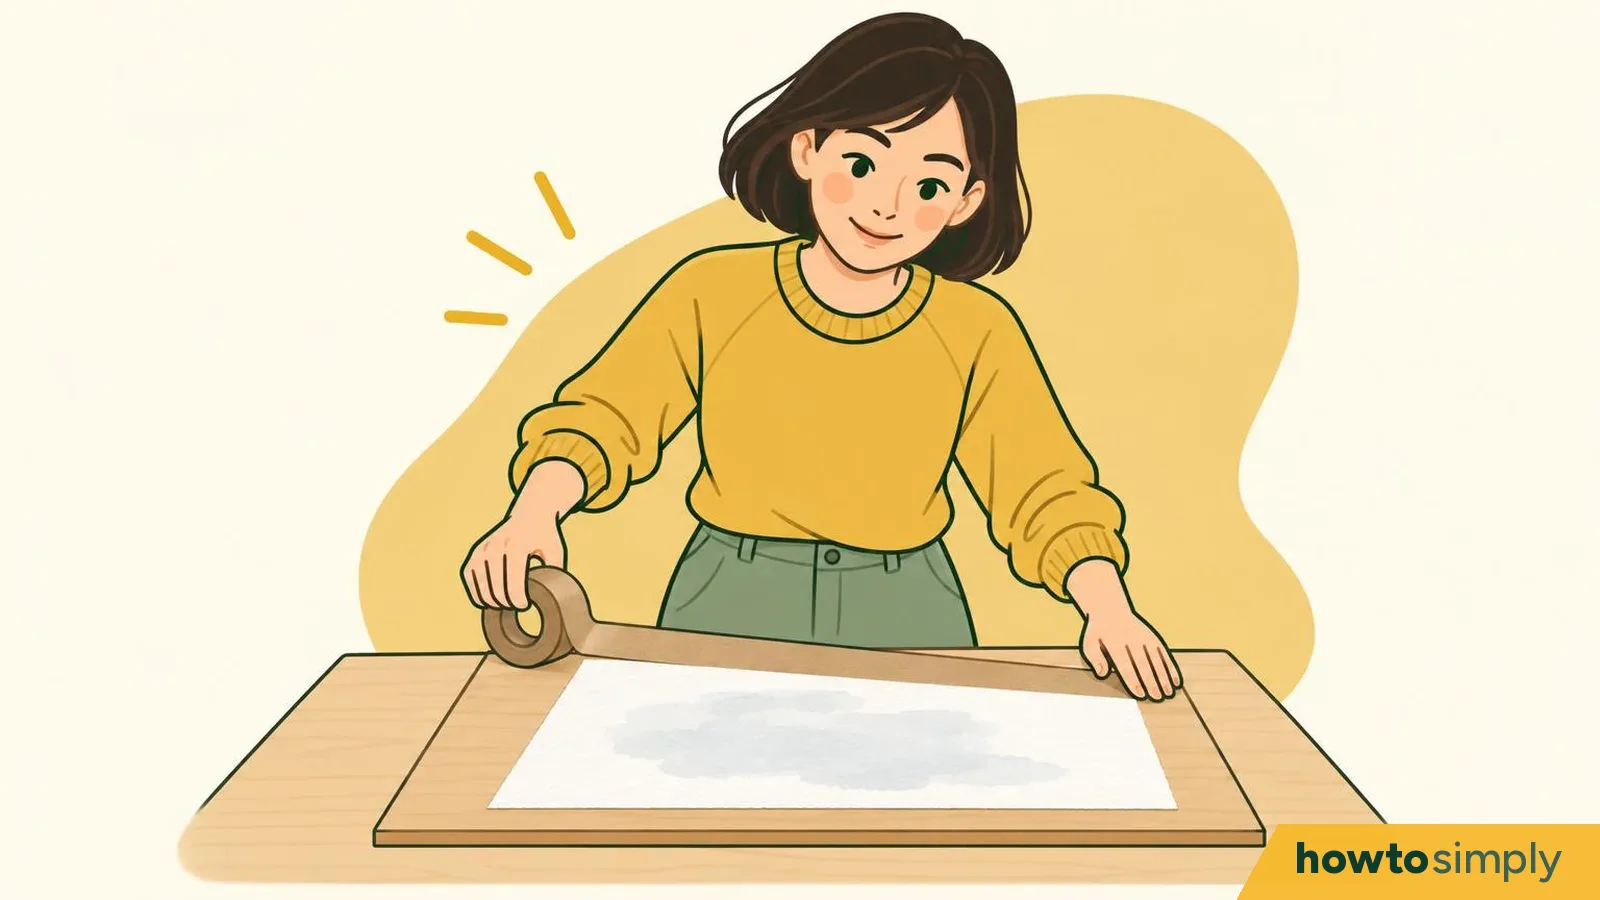
Tape the paper to the board and prop up the top edge.
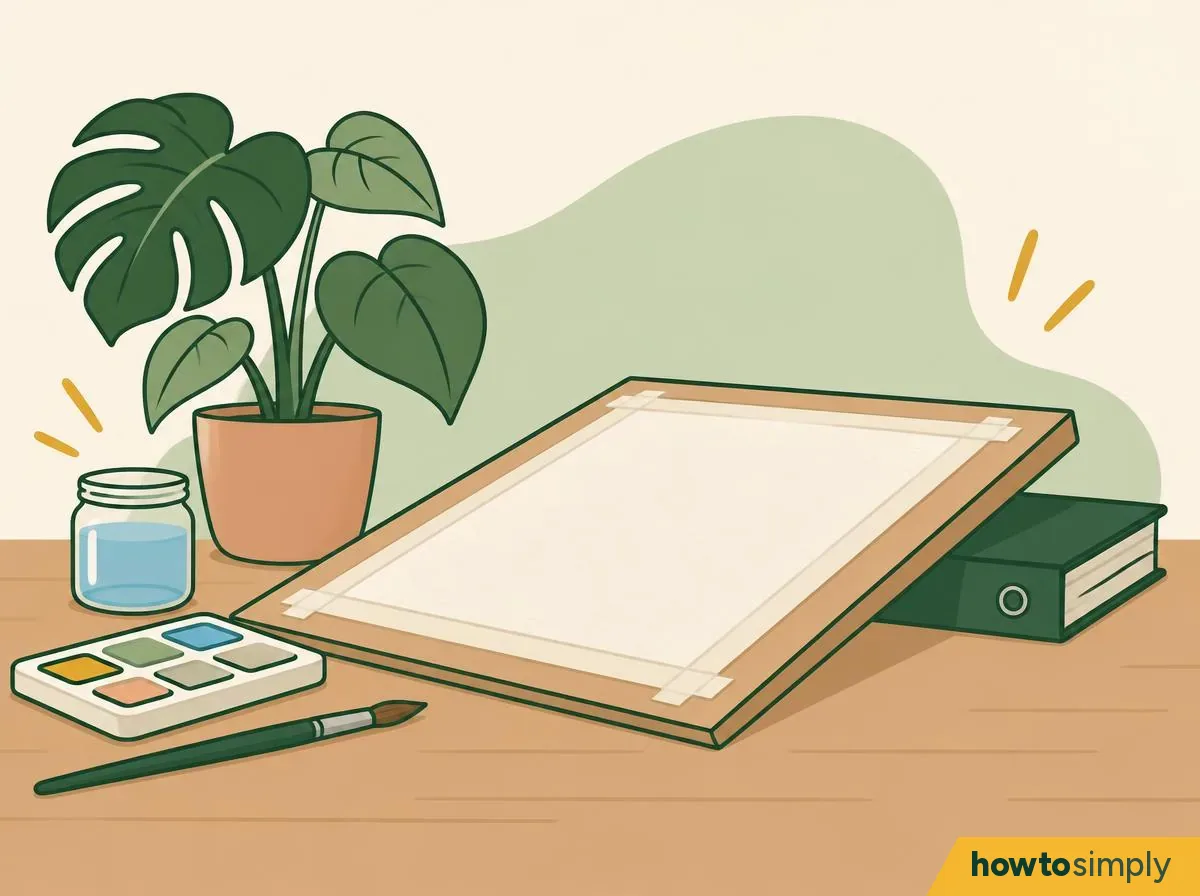
Illustration Tape the paper to the board, then raise the top so the board is on a slant. On a slant, gravity helps pull the colour down, and each stroke catches the bead that forms at the bottom edge of the one before (Daniel Smith).
You should see: paper taped to a board that sits on a slant.
Source
Daniel Smith
Mix far more paint than you think you need.
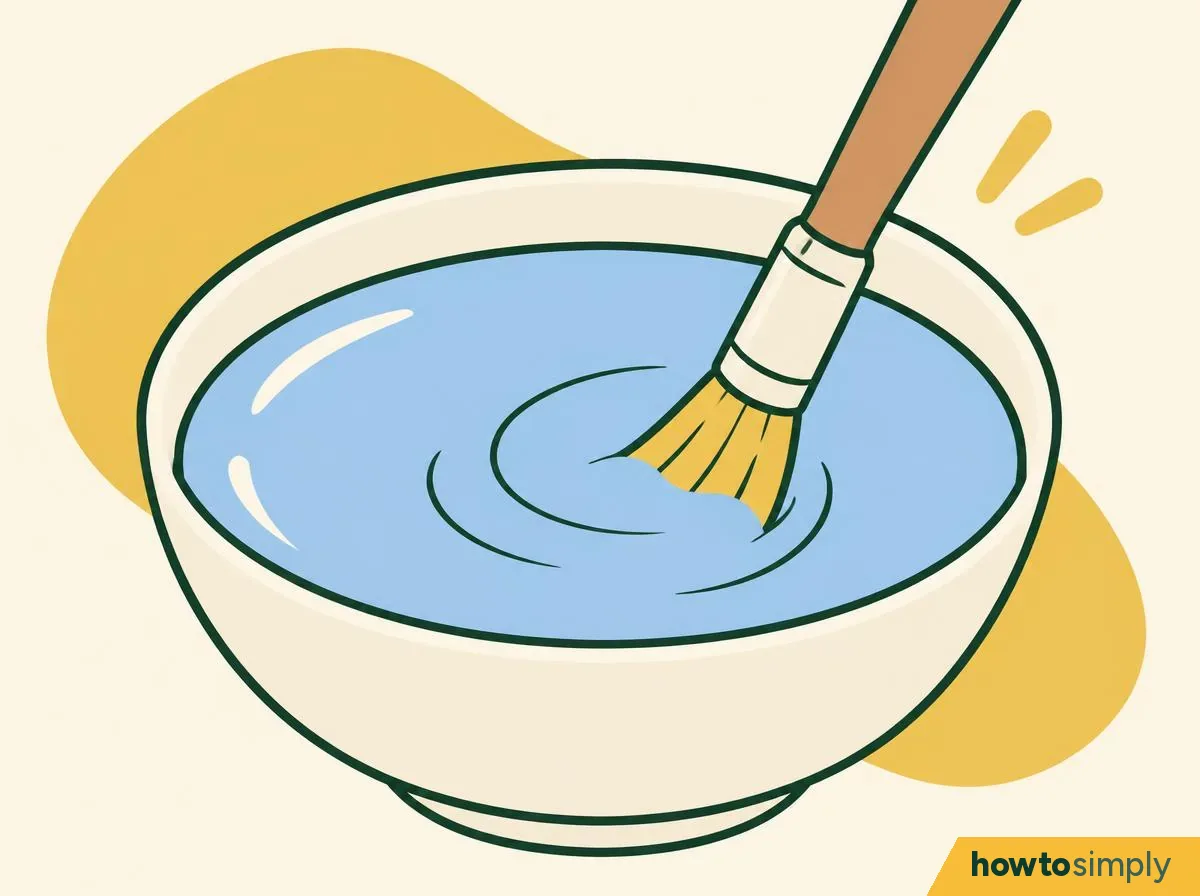
Illustration Make a puddle much larger than you think you'll need. If you run out halfway, a fresh mix rarely matches the first exactly (our note). So if your habit is to squeeze out a thrifty little dab to save paint, this is the day to be generous. Stir until no specks of pigment are left.
You should see: a pool of evenly coloured liquid, enough to fill your brush many times.
Source
Daniel Smith
Paint one full stroke across the top.
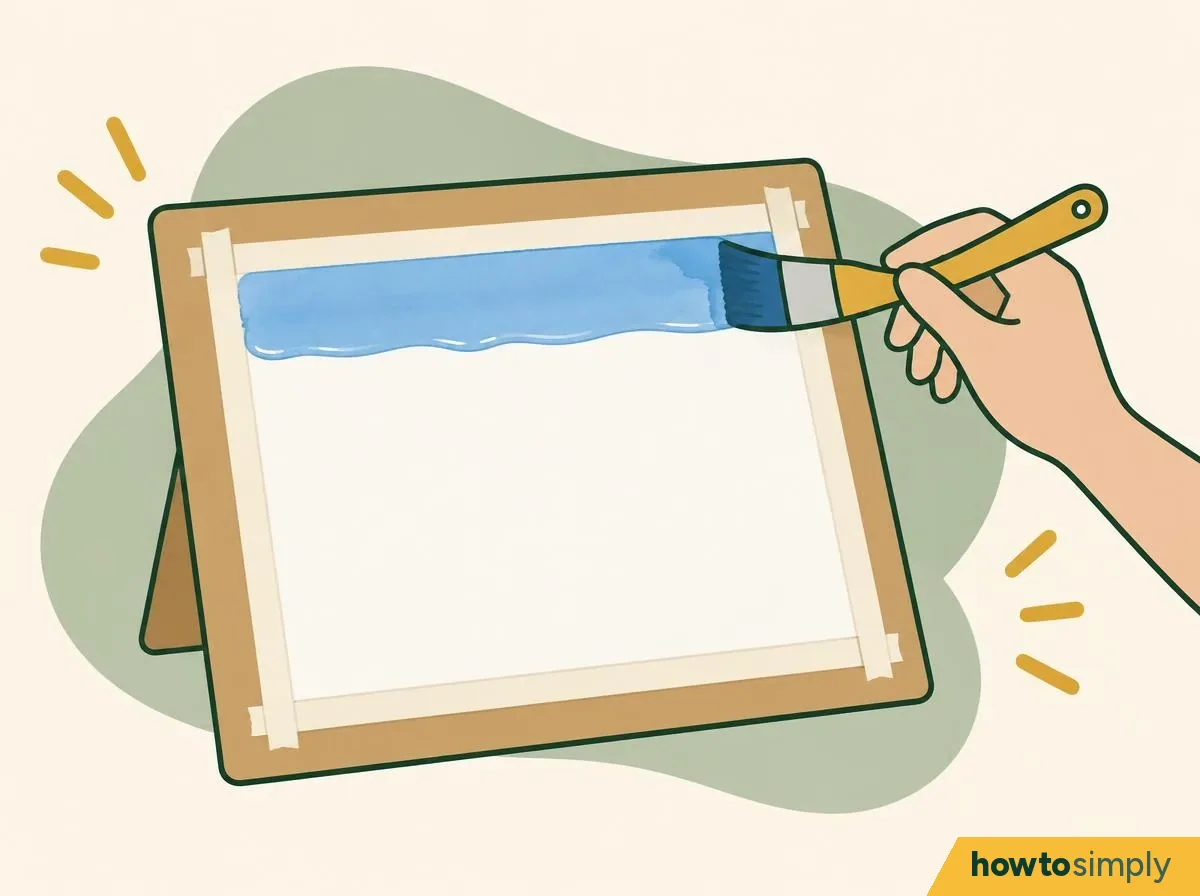
Illustration Load the brush fully and pull it across the top edge in one movement. Start each stroke from the same edge. If you want to work on damp paper, first wet it evenly with clean water, but not until it's soaking.
To judge how wet the paper is, look across it with a lamp shining on it, because light bounced off a wall or the sky won't show the sheen clearly (Handprint). A glossy shine with the paper texture still visible means it is very wet. A diffuse, even satiny lustre means the paper is still moist, and it feels cool. Once the shine has gone but the paper still looks a little darker, it is nearly dry, and watery paint dropped in now tends to dry with a crinkled edge (Handprint). Try not to test it with a finger, because a touch can leave a mark (Handprint).
Painting on wet or damp paper is called wet-on-wet. It gives smooth washes without harsh or defined edges (Winsor & Newton). Dry paper is best for sharp-edged effects (Handprint).
You should see: a band of colour with a thin, shiny line of wet paint gathered along its lower edge. That line is the bead.
Source
Daniel Smith, Winsor & Newton, Handprint (Bruce MacEvoy)
Reload and paint the next stroke so it just touches the bead.
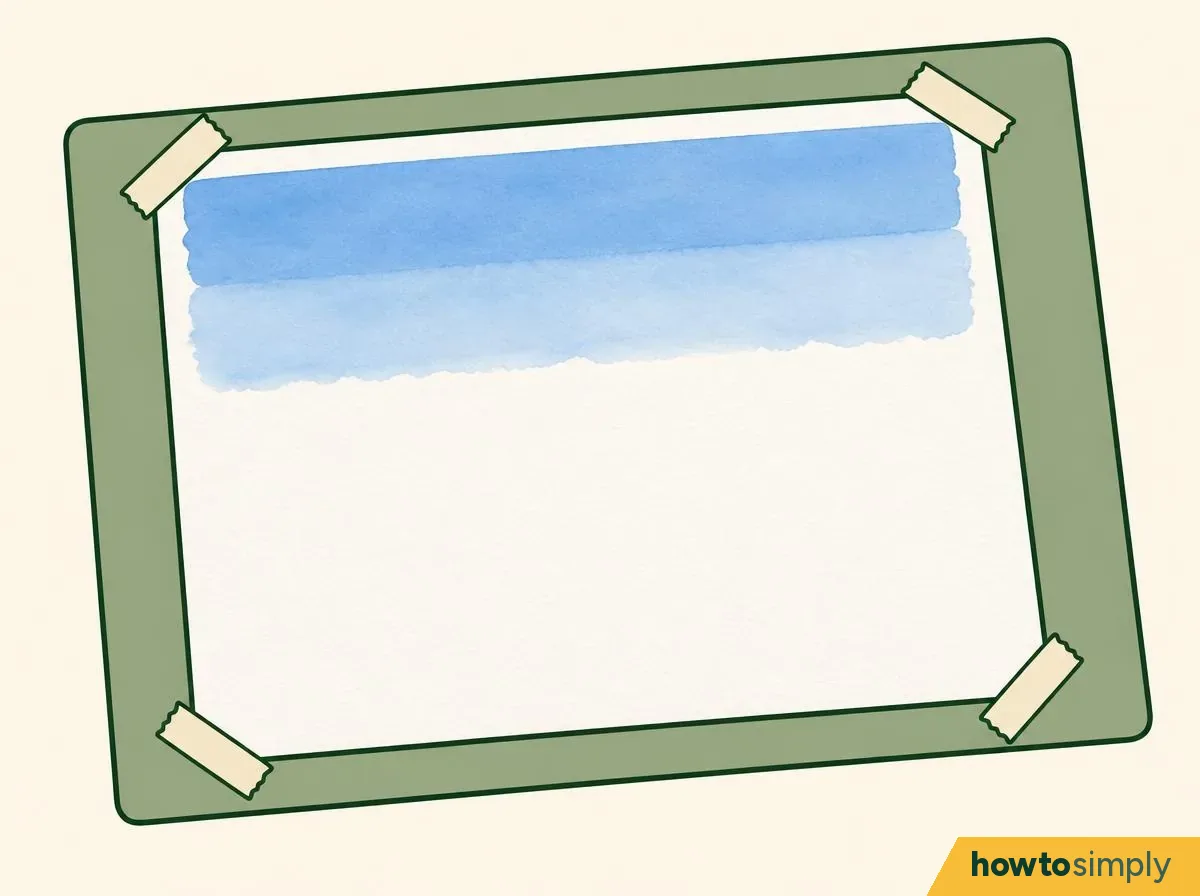
Illustration Reload the brush before every stroke and paint the next band just below, touching the bead so it flows down into the new stroke. Keep going, stroke by stroke, to the bottom of the paper. Don't go back over parts that have started to dry, however tempting a little touch-up looks.
You should see: the bead moving down the page with each stroke, and no gaps or hard lines between bands.
Source
Daniel Smith
For a graded wash, add water to the mix as you go down.
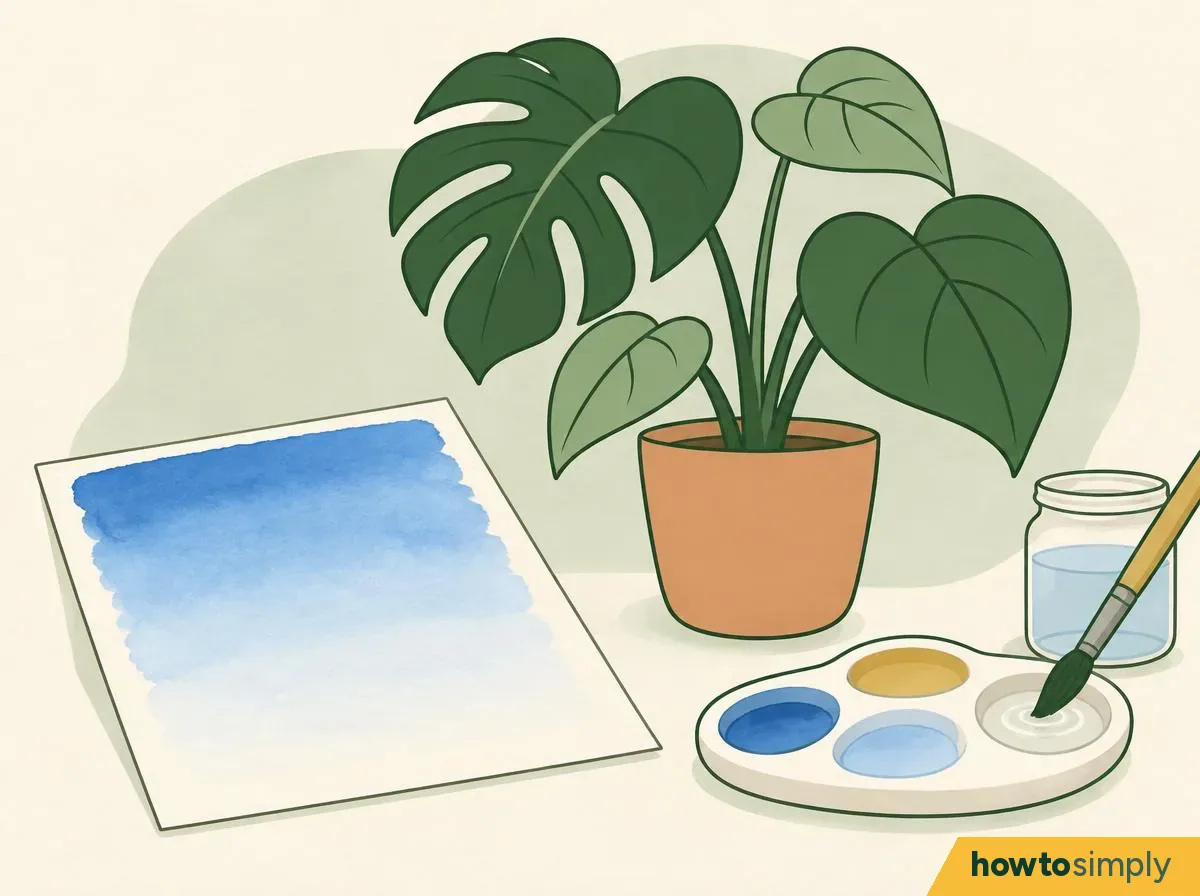
Illustration About a quarter of the way down, add a little clean water to the puddle on every other stroke, so the colour gets weaker as you go. Finish the last strokes with clean water only. Skip this step for a flat wash.
You should see: an even fade from strong colour to pale, without stripes.
Source
Daniel Smith
Lift the last bead with a squeezed-out brush.
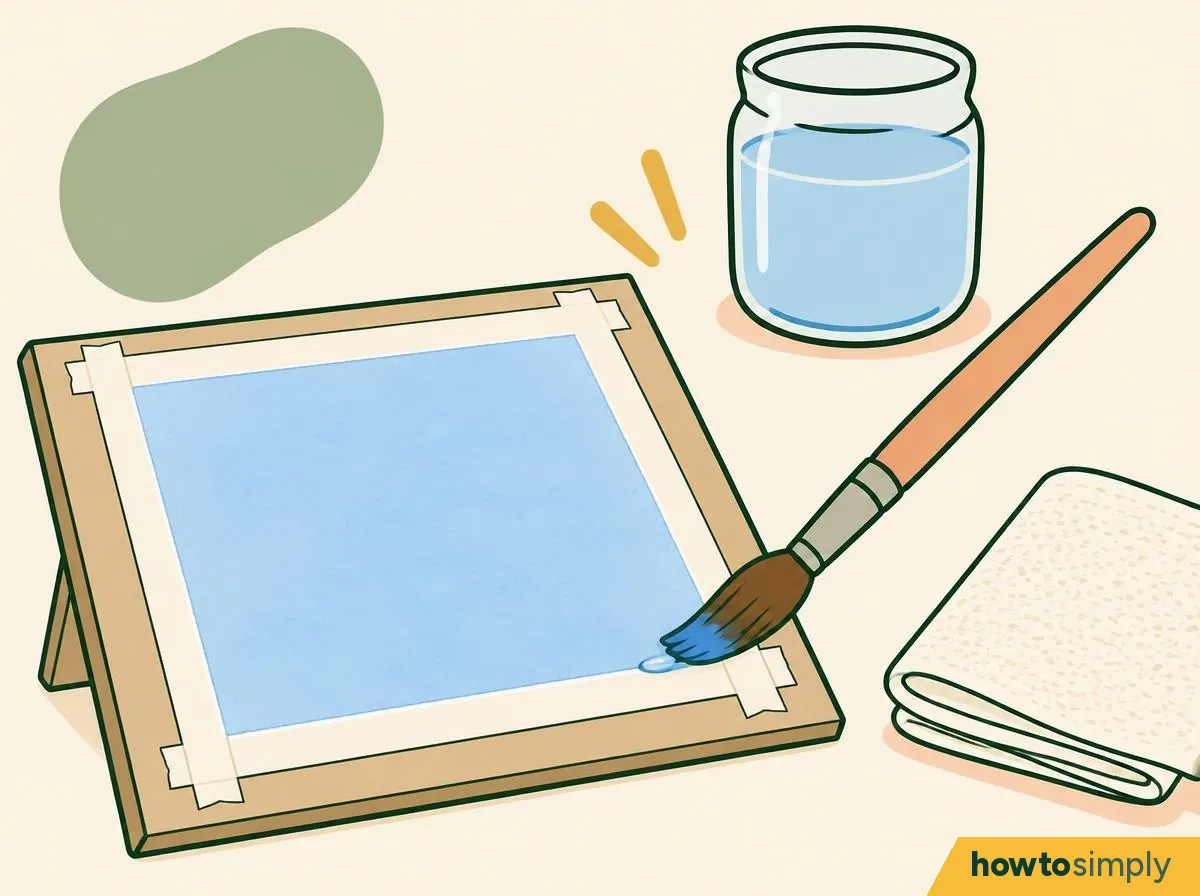
Illustration Rinse the brush, squeeze it nearly dry and touch it along the bead at the bottom to soak it up. Soak up any extra paint or water round the edges as well, using the brush or a bit of kitchen roll.
You should see: an evenly wet wash with no pool along the bottom edge or against the tape.
Source
Daniel Smith
Lay the board flat to dry and don't touch it.
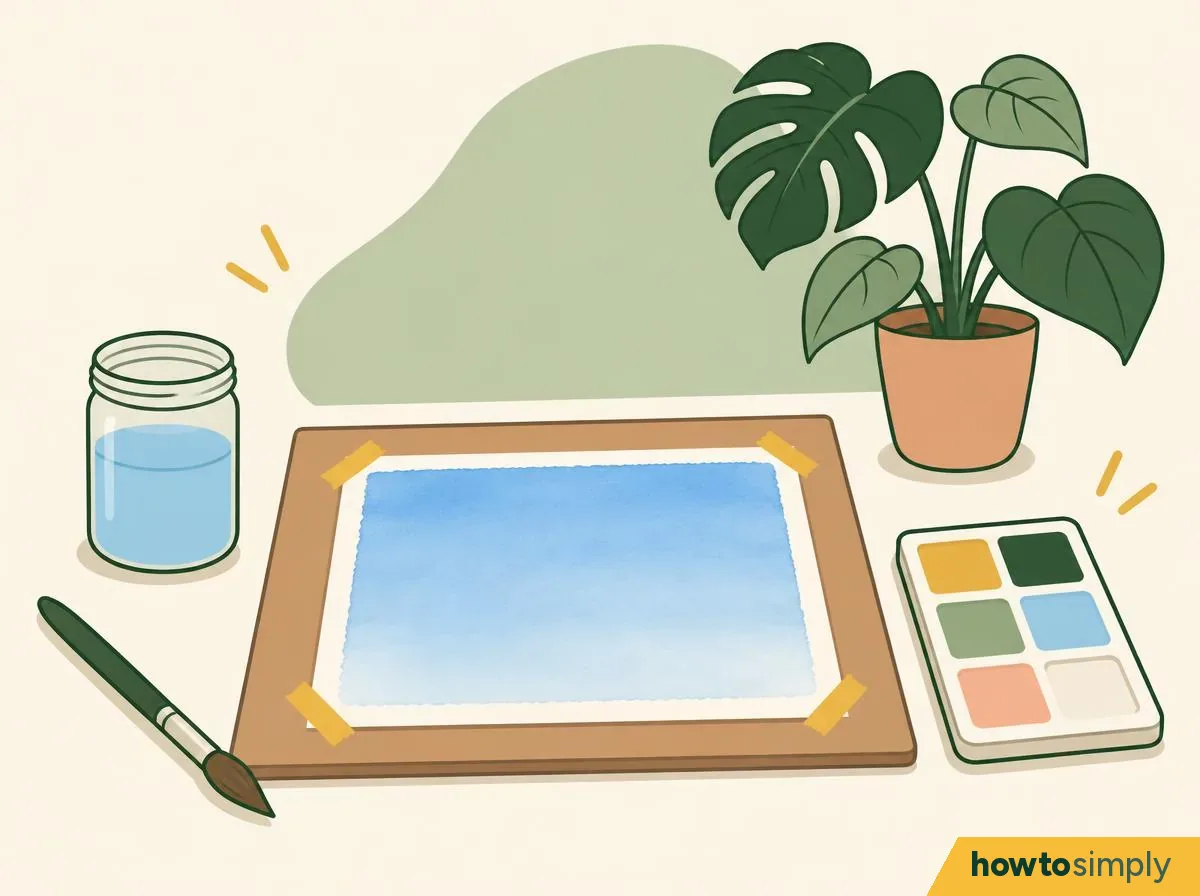
Illustration Once the shine has gone from the paper, lay it flat, keeping moisture off the edges and tape. Don't peel the tape off until the wash has fully dried.
You should see: a matt, even area of colour with no shine left.
Source
Daniel Smith
How to tell it worked
- Once it's completely dry, Daniel Smith says the wash should look solid, clean and free of strokes.
- Flat wash: the colour looks the same at the top as at the bottom.
- Graded wash: the fade is smooth, with no sudden steps.
- There are no runs or backwashes (Daniel Smith).
- No specks of undissolved colour (Daniel Smith).
If something goes wrong
| What happens | What it means | What to do |
|---|---|---|
| Streaky, uneven wash | Trying to get it too dark with the first pass (Daniel Smith) | Use less pigment, reload the brush before each stroke, and add a second wash later for more depth (Daniel Smith) |
| Runs or backwashes | The paper was too wet (Daniel Smith) | Don't wet the paper until it's sopping; pick up excess at the edges with a slightly damp round brush or paper towel (Daniel Smith) |
| Paint runs down in drips | Too much water, or too steep a slope | Lower the board and watch how much liquid you apply (Daniel Smith) |
| Specks or streaks of strong colour | The pigment wasn't fully mixed | Mix the puddle thoroughly before starting (Daniel Smith) |
| Paper ripples | The paper isn't stable enough for that much water | Use heavier paper, which stays more dimensionally stable (Hahnemuehle), or stretch it (Winsor & Newton) |
| The colour is too pale once dry | Watercolour usually looks lighter dry than wet (our note) | Let it dry fully, then paint a second wash over it rather than overloading the first (Daniel Smith) |
Once your washes are even, mixing your own colours from three primaries is the next useful skill, and our brush-cleaning guide covers looking after the brushes.
Questions readers ask
Why does my wash dry lighter than it looked?
Watercolour usually looks lighter dry than wet, so judge colour on a scrap first (our note). To go darker, Daniel Smith advises adding a second wash for depth once the first is dry, rather than overloading the first with pigment.
What paper is best for washes?
Use proper watercolour paper of about 300gsm. Hahnemuehle calls 290 to 300gsm a reliable all-rounder for colour transitions, and says cotton papers take up water and pigment evenly for smooth transitions.
Can I use a round brush instead of a flat wash brush?
Daniel Smith says to start with a brush so full that a little bead of colour sits along the edge when you finish the stroke. In its tutorial, Daniel Smith works with a #6 cat's tongue filbert wash brush made from squirrel hair. Winsor & Newton says the mop brush is ideal for laying watercolour across big areas.
Sources and method
- Researched by
- Abu Bakar Saadat
- Tested by our team
- No. We have no record of anyone on our team trying these steps, so treat them as researched instructions from the sources below.
- Pictures
- 9 illustrations drawn for this article: drawings, not photos.
- Sources
- 6 named sources, linked below.
- What this page adds
- Drawings of the bead forming and the next stroke picking it up, the board set at a gentle slope, and a fix-it table explaining stripes, frilly patches and drips.
What to do next
Learn to draw and paint from scratch Step 5 of 7
Did this solve the problem?
Where did you get stuck?
What did you think?
Reaction counts are loading.
Sources
We use primary, official and specialist sources appropriate to the topic.
- Daniel Smith Artists' Materials: Four basic watercolor washes (8 August 2021, modified 9 July 2025)
- Hahnemuehle: Watercolour paper guide, which paper is right for you? (26 August 2026)
- Royal Watercolour Society: Workshop outline, Back to basics with Charles Williams PRWS (PDF)
- Winsor & Newton: How to stretch watercolour paper
- Winsor & Newton: How to master wet-on-wet with a mop brush
- Bruce MacEvoy, Handprint: The six stages of paper wetness (last revised 15 June 2010)