How to sharpen a pencil with a craft knife
Researched by Abu Bakar Saadat6 min read
Last updated: 15 November 2026References
On this page 9 sections
In short
Cut away from yourself with a sharp craft knife, shaving only the wood in small, shallow strokes while you turn the pencil. Leave the graphite uncut, then rub it on fine sandpaper at a low angle, turning as you go, for a fine point.
At a glance
- You need
- Sharp craft knife, fine sandpaper or a sandpaper block, scrap paper, a cutting mat
- Goal
- Cut away the wood only, not the graphite (QAGOMA)
- Knife rule
- Cut away from your body (Mont Marte) or to the side (Greenwich), never towards your hand
- Sandpaper
- Pencil at about 10 to 15 degrees, turning it (Mont Marte)
- Advice from
- QAGOMA, Mont Marte, NSEAD, University of Greenwich, NHS, Faber-Castell, read 28 October 2026
- Checked
- November 2026
Using a blade near your fingers can feel scary at first, but that caution is a good thing. Work slowly, cut away from yourself, and you'll soon have a long, fine point for detail and tone.
According to QAGOMA, a chisel point made by holding the pencil at an angle on sandpaper gives a finer line from the point and tone from the side. Its drawing series says the knife is the more effective way to sharpen graphite drawing pencils, as long as you cut away only the wood and not the graphite. The knife is the riskiest part of the process, so read the safety box before you pick it up.
Which point do you want?
Long, round point
For a fine point, knife the wood back, then turn the pencil as you rub it on sandpaper.
Chisel point
For a finer line and tone from the same pencil, shade one side flat on sandpaper at an angle. The edge gives fine lines and the flat side gives tone.
Soft charcoal or pastel pencil
The same method, but with tiny cuts and very light pressure, because the core is soft.
How to sharpen the pencil
Set up over a cutting mat with a fresh blade.
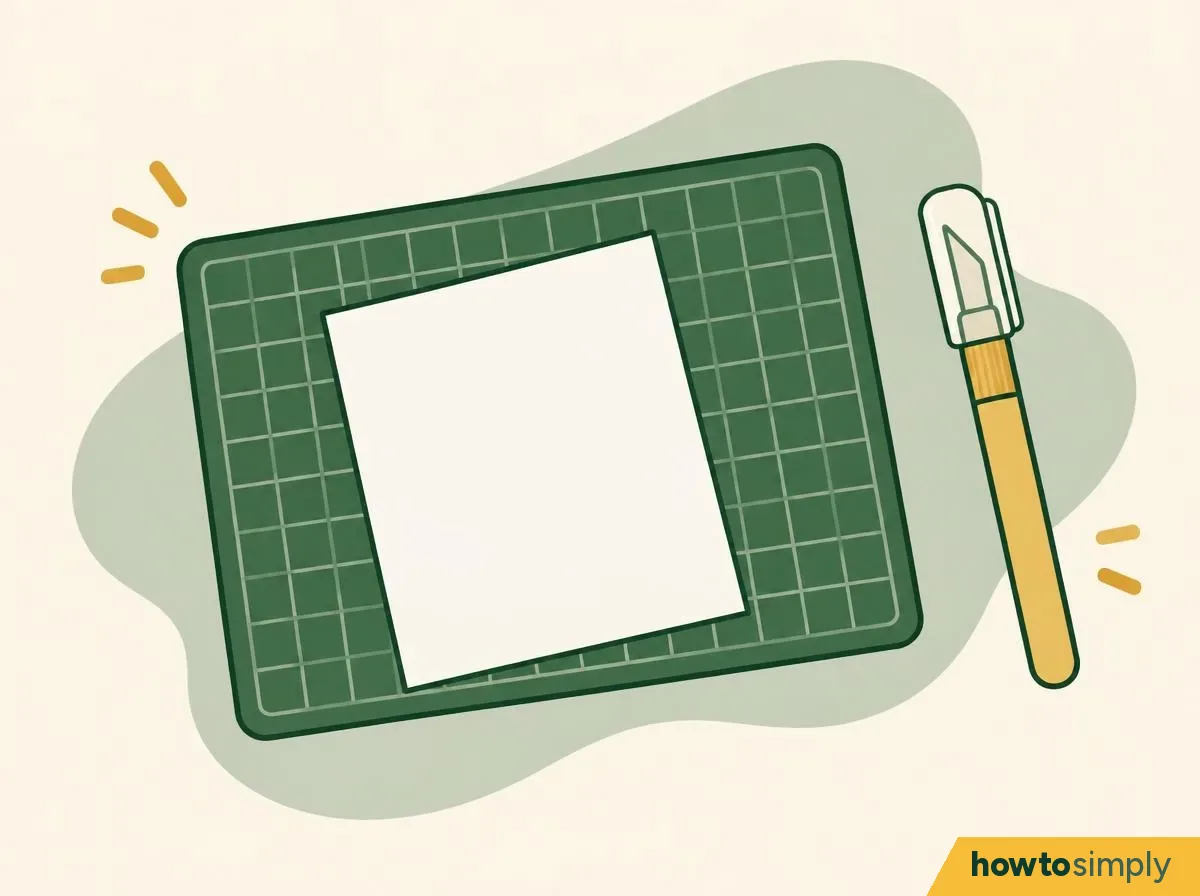
Illustration Check the blade is sharp. Test the edge on paper, never with your fingers (University of Greenwich).
You should see: a clear space in front of you, with nothing in the path of the blade.
Source
University of Greenwich, Mont Marte
Careful: the blade moves away from you, and your thumb stays behind it. Never put a finger in front of the edge.
Hold the pencil pointing away from you and rest the blade on the wood.
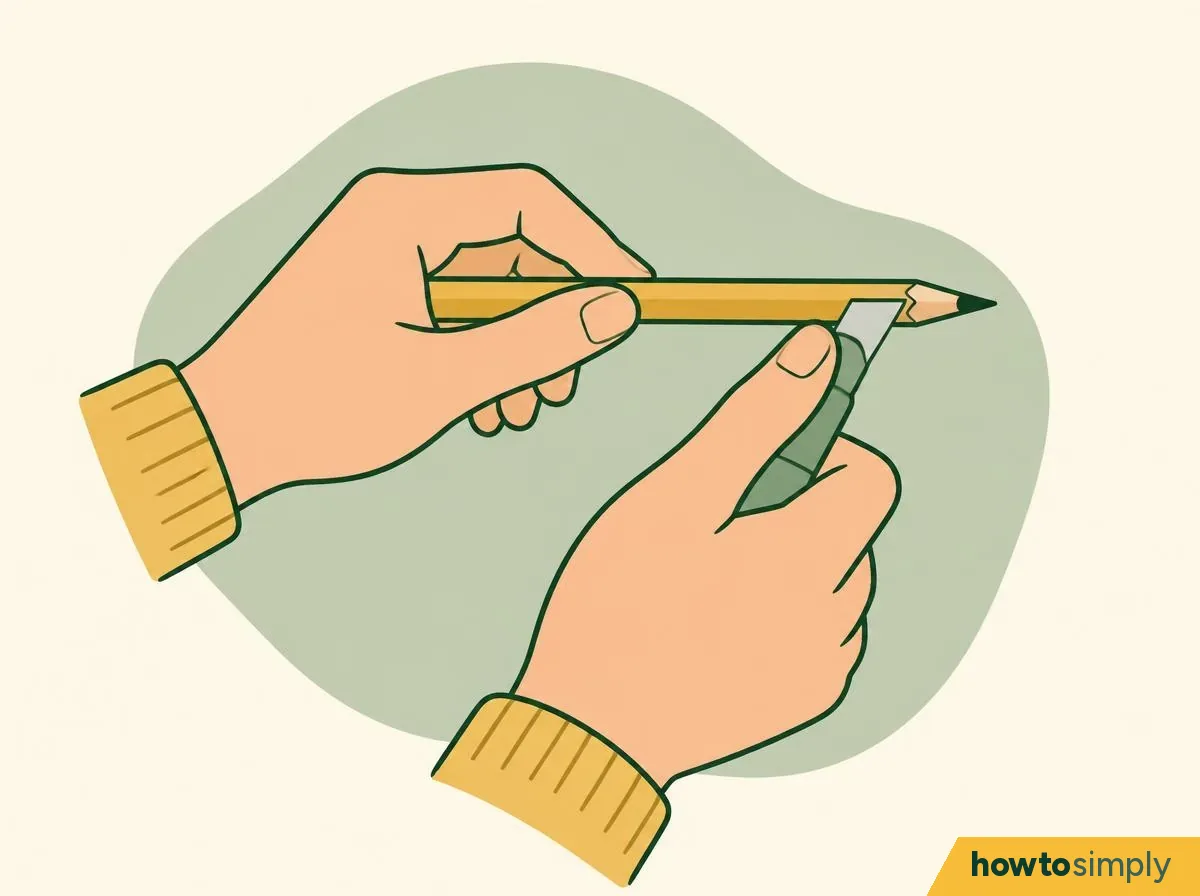
Illustration Hold the pencil firmly in one hand. Rest the blade at a slight angle on the wood. Mont Marte suggests tilting the blade against the edge of the wood and guiding it with your thumb.
You should see: the edge of the blade pointing away from you and away from your fingers.
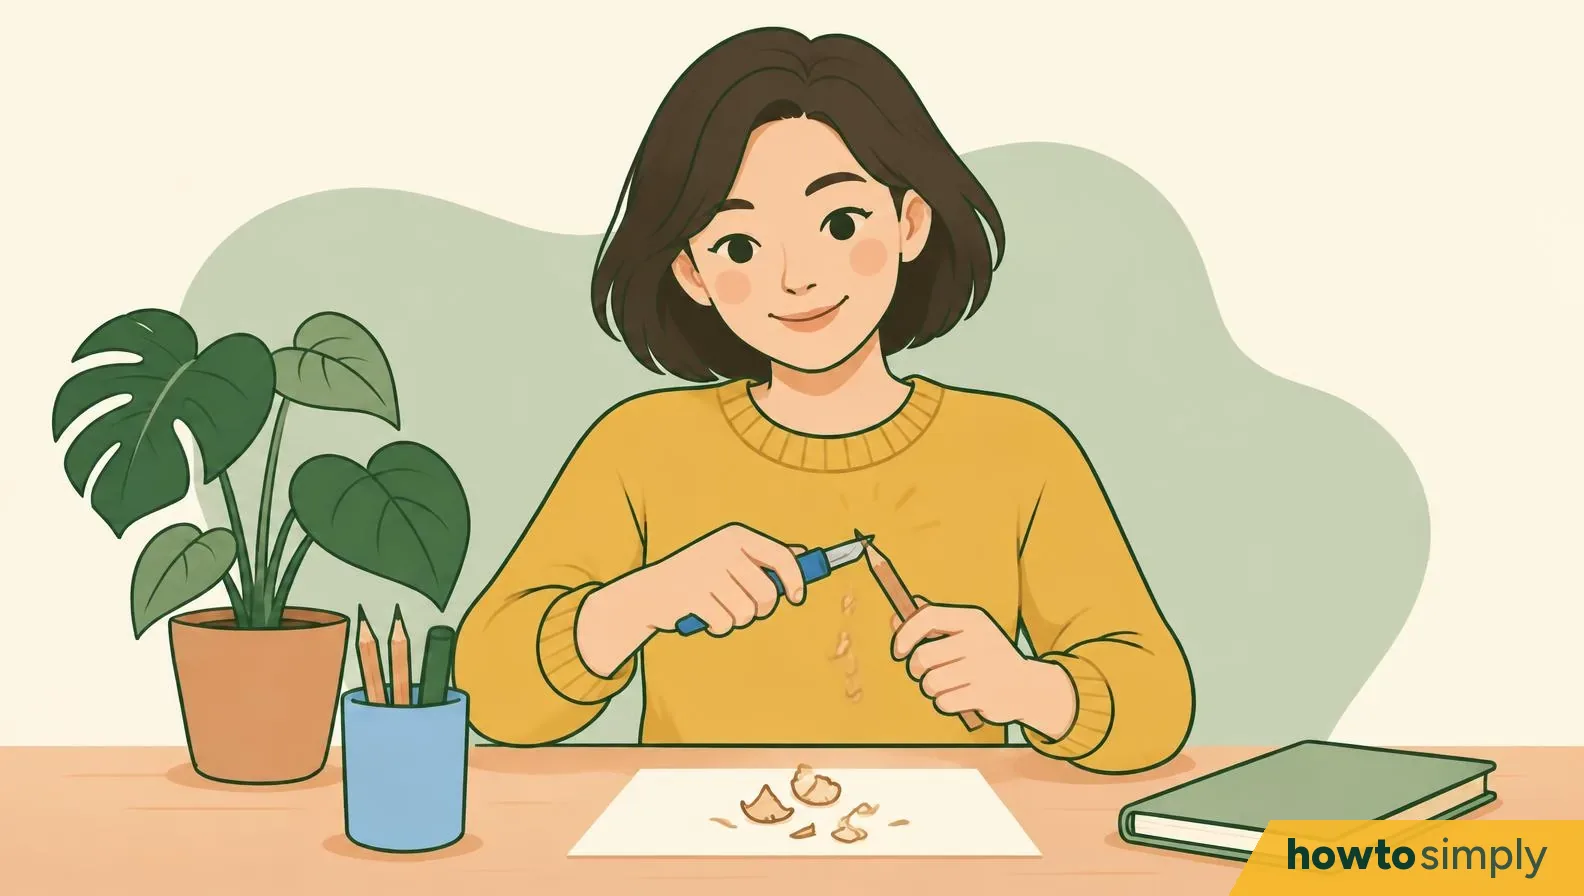
Shave off the wood in small, shallow strokes, turning the pencil.
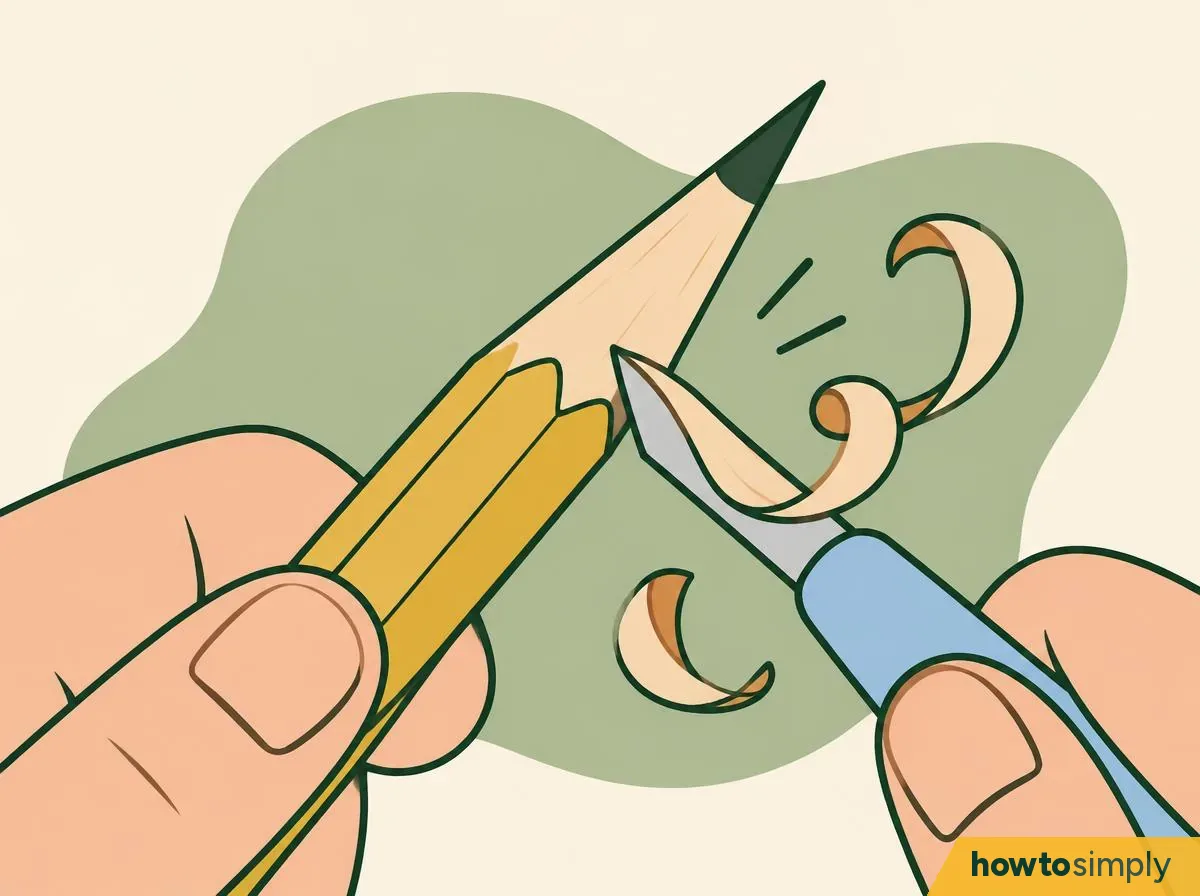
Illustration Take a thin slice of wood with each push, then turn the pencil a little and take the next one. Mont Marte's tip is to take off thin, small slivers and turn the pencil as you go so it stays even. Don't press hard.
You should see: thin curls of wood and an even cone of bare wood forming all the way round.
Expose the graphite, but don't cut into it.
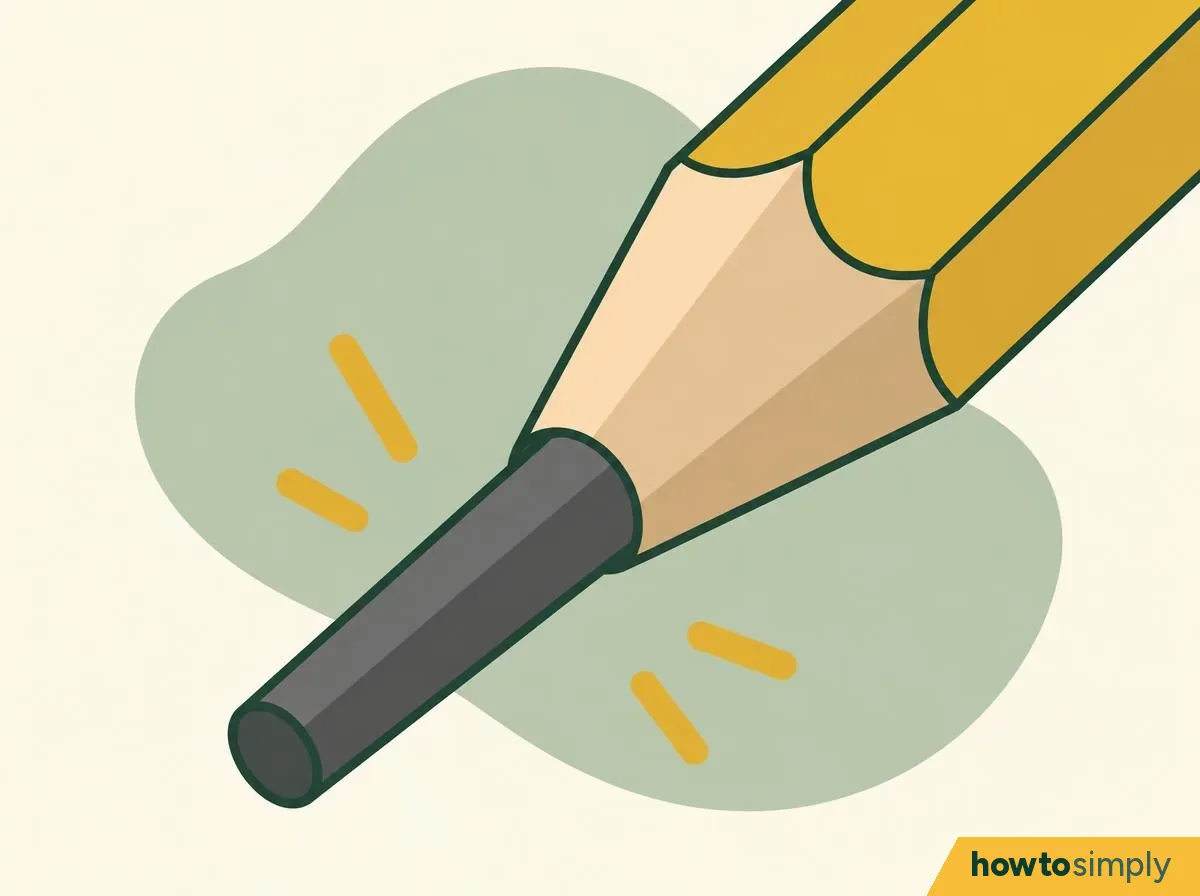
Illustration Keep shaving only the wood, not the graphite. QAGOMA's point is to cut away only the wood and not the graphite itself, so stop the blade where the wood ends. How much to expose is your choice; a length about as long as the wooden cone is a sensible start (our suggestion, not from a source). A very long point snaps more easily if you press hard.
You should see: bare graphite with a blunt end, standing out of a clean wooden cone.
Rub the graphite on fine sandpaper at a low angle, turning as you go.
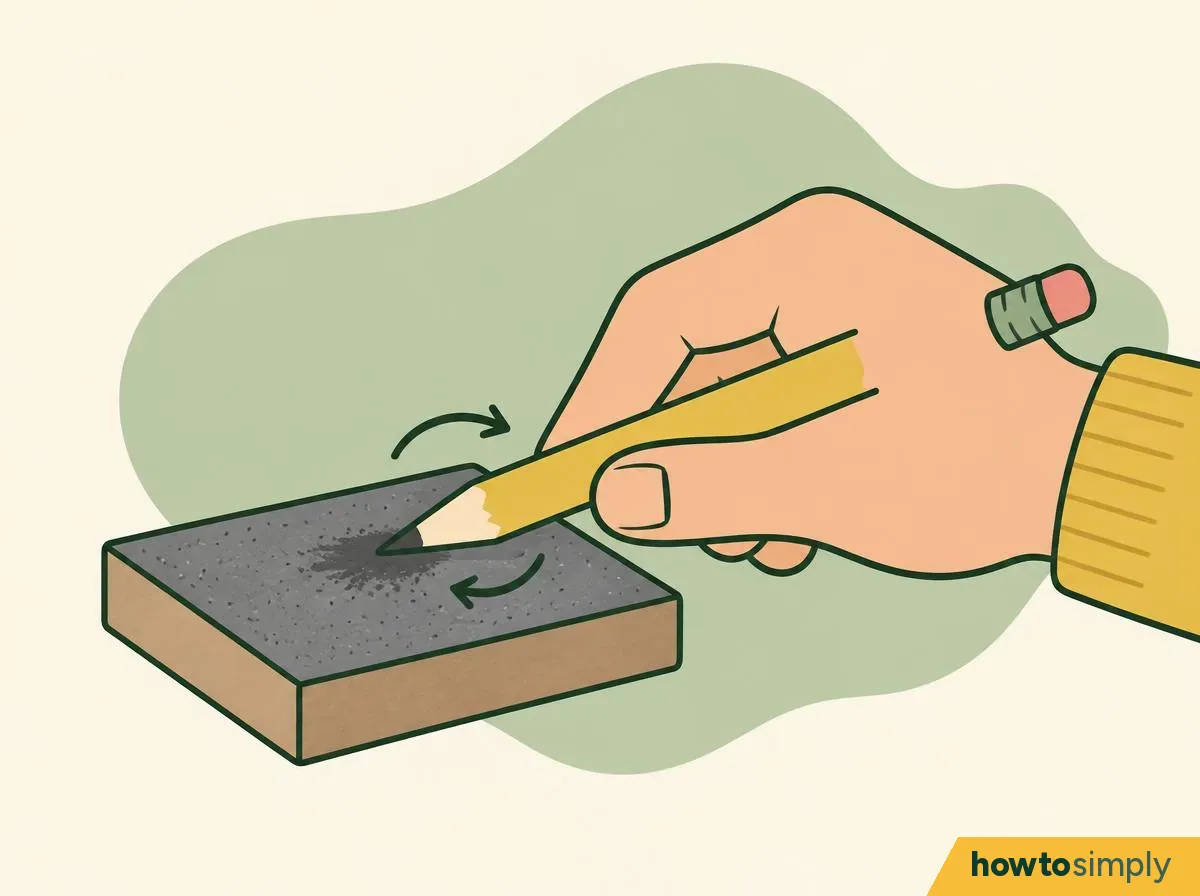
Illustration Hold the pencil low, about 10 to 15 degrees from the sandpaper, and move it back and forth while twisting it so it wears evenly. For a chisel point, don't turn it: shade one side flat on the paper at an angle.
You should see: a fine, tapered point, or a flat chisel face if you chose that.
Source
Mont Marte, QAGOMA
Check the point, and you're ready to go.
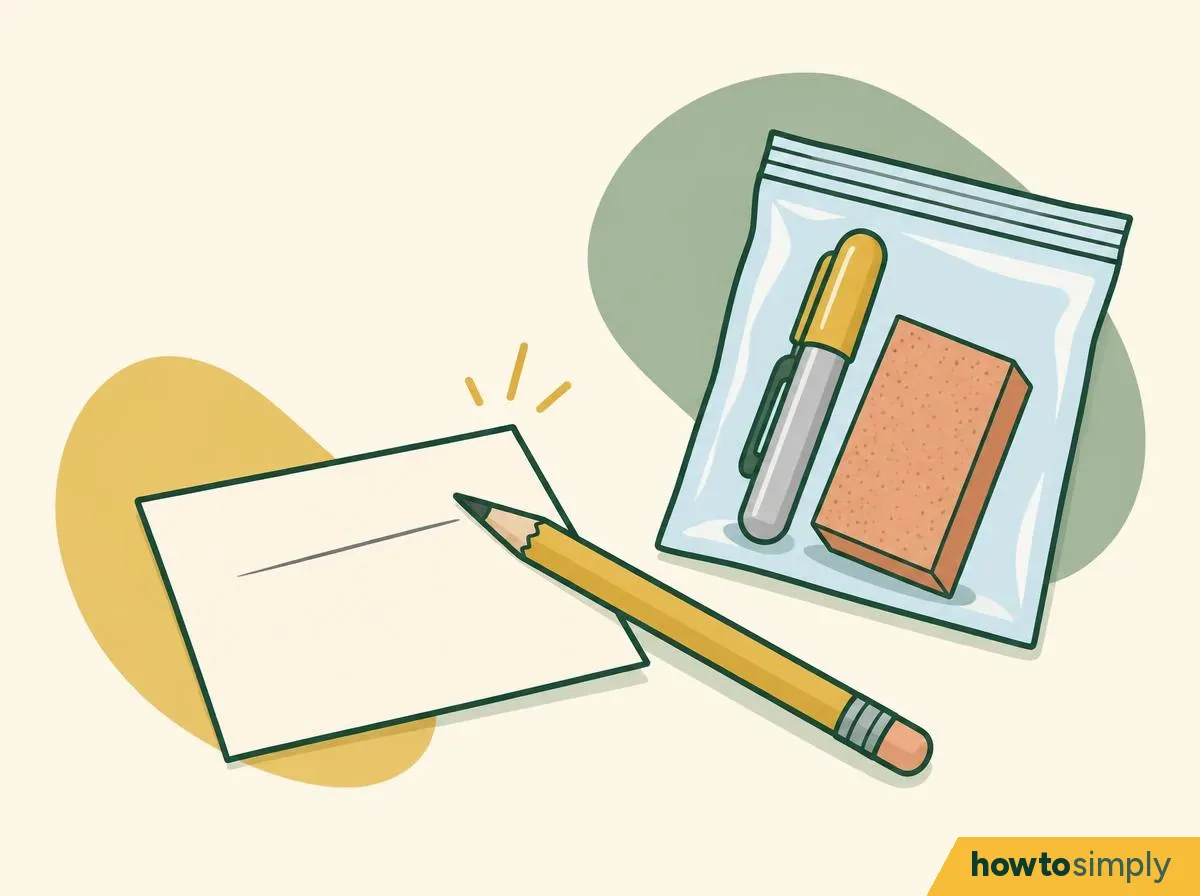
Illustration Draw a few strokes on scrap paper to take off loose graphite dust before you touch your drawing. Retract or cap the blade. Keeping the sandpaper block in a small bag stops the dust from getting onto your work (both our tips).
You should see: a clean, fine test line, and the blade covered.
How to tell it worked
- The wood is cut back evenly all the way round, with no deep gouges.
- There are no knife cuts on the graphite, which QAGOMA warns against.
- A chisel point draws a finer line from the point and tone from the other side (QAGOMA).
- The blade is covered, and the shavings are in the bin.
If something goes wrong
| What happens | What it means | What to do |
|---|---|---|
| The cut is rough | - | Make sure the blade is sharp, and make small, shallow cuts (Mont Marte) |
| You're sharpening a charcoal or pastel pencil | The wood and core are soft | Don't apply too much pressure; use a light hand (Mont Marte) |
| The point is lopsided | The pencil wasn't turned evenly | Rotate a little after every cut and on the sandpaper (Mont Marte) |
| You are pushing hard to cut | The blade may be blunt; bluntness makes you press too hard | Use a properly sharp blade (NSEAD) |
| You cut yourself | - | Stop the bleeding, clean it and cover it (NHS). Ring 999 or head to A&E if the bleeding won't stop, the cut is very big or deep, it's a bad cut on your palm, or something is stuck in it; leave the object where it is (NHS) |
Questions readers ask
Why use a knife instead of a sharpener?
A knife lets you remove only the wood and leave the graphite, so you waste less lead. QAGOMA's drawing series notes that ordinary sharpeners grind the graphite away as well, so pencils get used up faster.
Can children do this?
Mont Marte says a hobby knife should only be used with an adult watching. For younger children, a good handheld sharpener plus a sandpaper block is the safer choice.
Does this work for charcoal and pastel pencils?
Yes, but use a much lighter hand. Mont Marte says pastel, charcoal, woodless and watercolour pencils have soft cores, so take small, shallow cuts and don't press hard.
What grit of sandpaper should I use?
Faber-Castell sells its sandpaper block as ideal for the finest sharpening jobs. It comes with a fine and a coarse strip; no source we read names an exact grit.
Sources and method
- Researched by
- Abu Bakar Saadat
- Tested by our team
- No. We have no record of anyone on our team trying these steps, so treat them as researched instructions from the sources below.
- Pictures
- 8 illustrations drawn for this article: drawings, not photos.
- Sources
- 6 named sources, linked below.
- What this page adds
- A close-up of the safe grip with the thumb behind the blade, drawings of shaving the cone and finishing the point on sandpaper, and a fix table for snapping graphite.
What to do next
Learn to draw and paint from scratch Step 1 of 7
Did this solve the problem?
Where did you get stuck?
What did you think?
Reaction counts are loading.
Sources
We use primary, official and specialist sources appropriate to the topic.
- QAGOMA (Queensland Art Gallery | Gallery of Modern Art): How to... draw like an artist (Bill Platz series)
- Mont Marte: How to sharpen art pencils with a hobby knife (24 March 2022)
- NSEAD (National Society for Education in Art and Design): Cutting tools (9 March 2018)
- University of Greenwich Design Support: Handtools, sharps (scalpels, craft knives)
- NHS: Cuts and grazes
- Faber-Castell: Sandpaper block 185100