How to make a St Martin's lantern
Researched by Abu Bakar Saadat11 min read
Last updated: 15 November 2026References

On this page 11 sections
In short
Push the centre out of a cheese-box lid, let your child decorate a sheet of tracing paper with torn tissue paper, glue it round the box base and the lid ring, add a wire handle, and light it with a battery lantern stick, never a candle.
At a glance
- Day
- St Martin's Day, 11 November (2026: Wednesday)
- You need
- Round cheese box about 12 cm across, tracing paper, tissue paper, craft glue, hole punch, wire, battery lantern stick
- Light
- Battery lantern stick or LED lights only, never a candle (ARAG, familienportal.nrw)
- Time
- Two short sessions, with drying in between
- Adult jobs
- Gluing the sides, the wire handle, any craft knife (Sternsinger, familienportal.nrw)
- Advice from
- Sternsinger craft sheet, familienportal.nrw, ARAG, read 29 October 2026
- Checked
- November 2026
Before you begin making a lantern with a young child, chances are you're thinking of all the ways it could go wrong: glue all over the place and tears before you even leave for the walk. It doesn't need to play out like that. The grown-up jobs are clearly marked, the lantern has no open flame because it uses a battery light, and your child gets to create the picture.
Kidsproof says that on St Martin's Day, 11 November, children in the Netherlands make lanterns and take them out into the streets, and familienportal.nrw describes the lantern processions in Germany. This guide walks you through making the classic round lantern from a cheese box, with a tissue-paper picture your child creates, in two short sessions. All the grown-up jobs are marked, and the light is always a battery lantern stick.
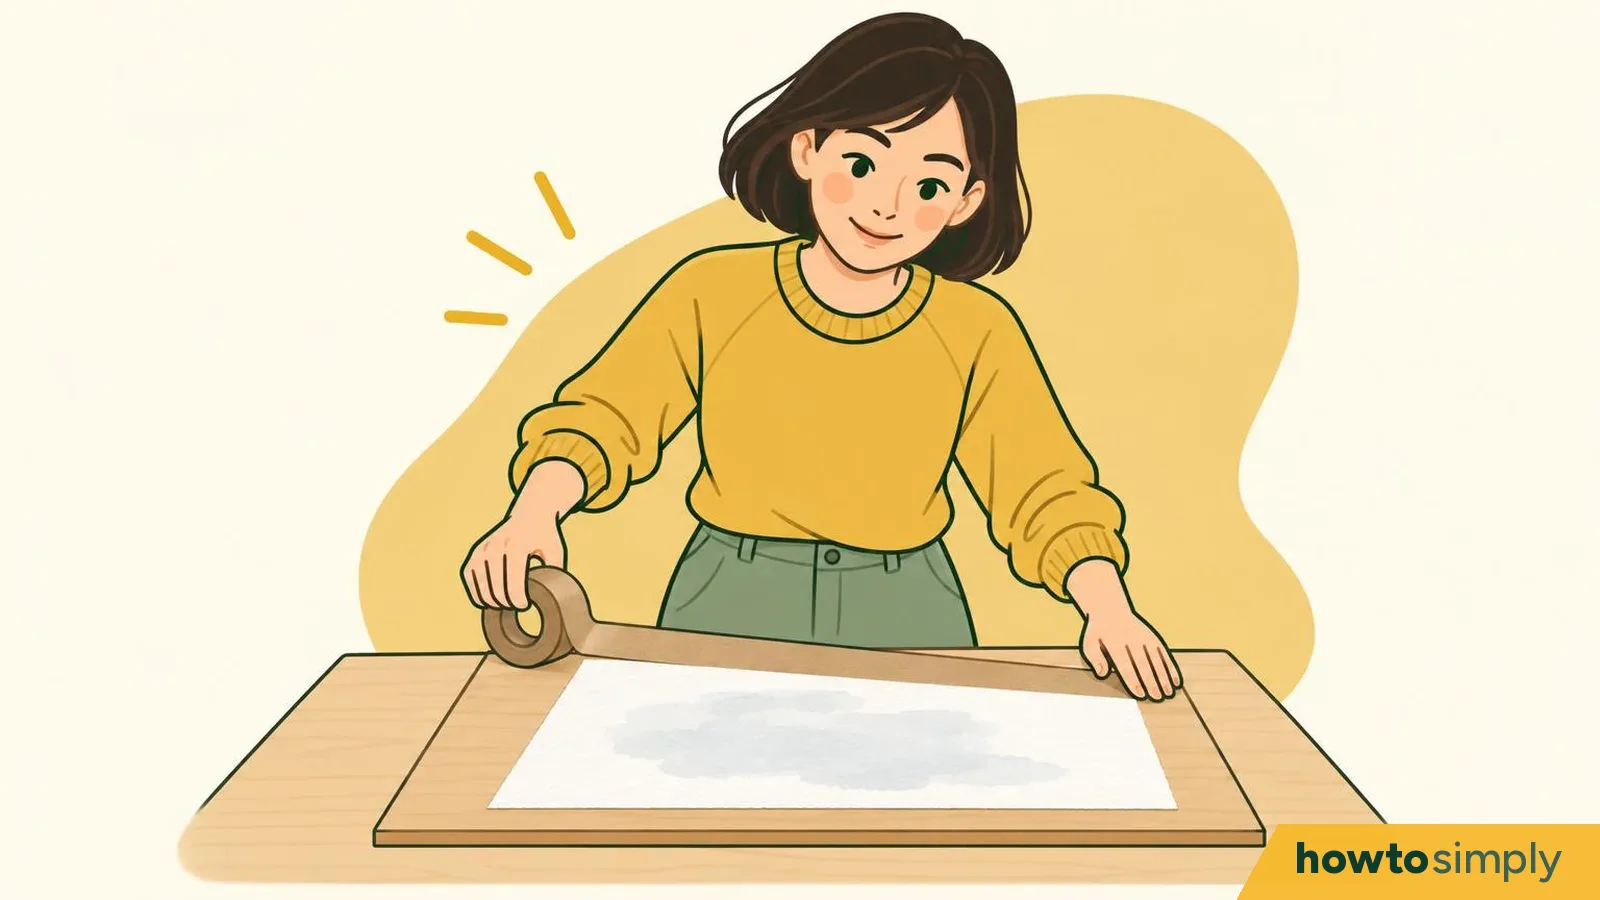
Follow Lina, who is five, and her mum as they make one lantern together, from a plain cheese box to the walk on St Martin's evening. Each picture shows the same lantern at that stage, so you can check yours as you go and show your child what comes next.
Lina and her mum are a made-up example that our illustrations follow. The method and safety advice come from the sources named in each step.
Where are you?
Starting from scratch
Two sessions, about a week before the walk. Start at Get the box ready.
The parts are dry
Assemble it in one go. Go to Put it together.
It's the day of the walk
Check the light and get dressed. Go to Light it and walk.
Get the box ready
Adult job.
Push the flat centre out of the lid so only the rim is left.
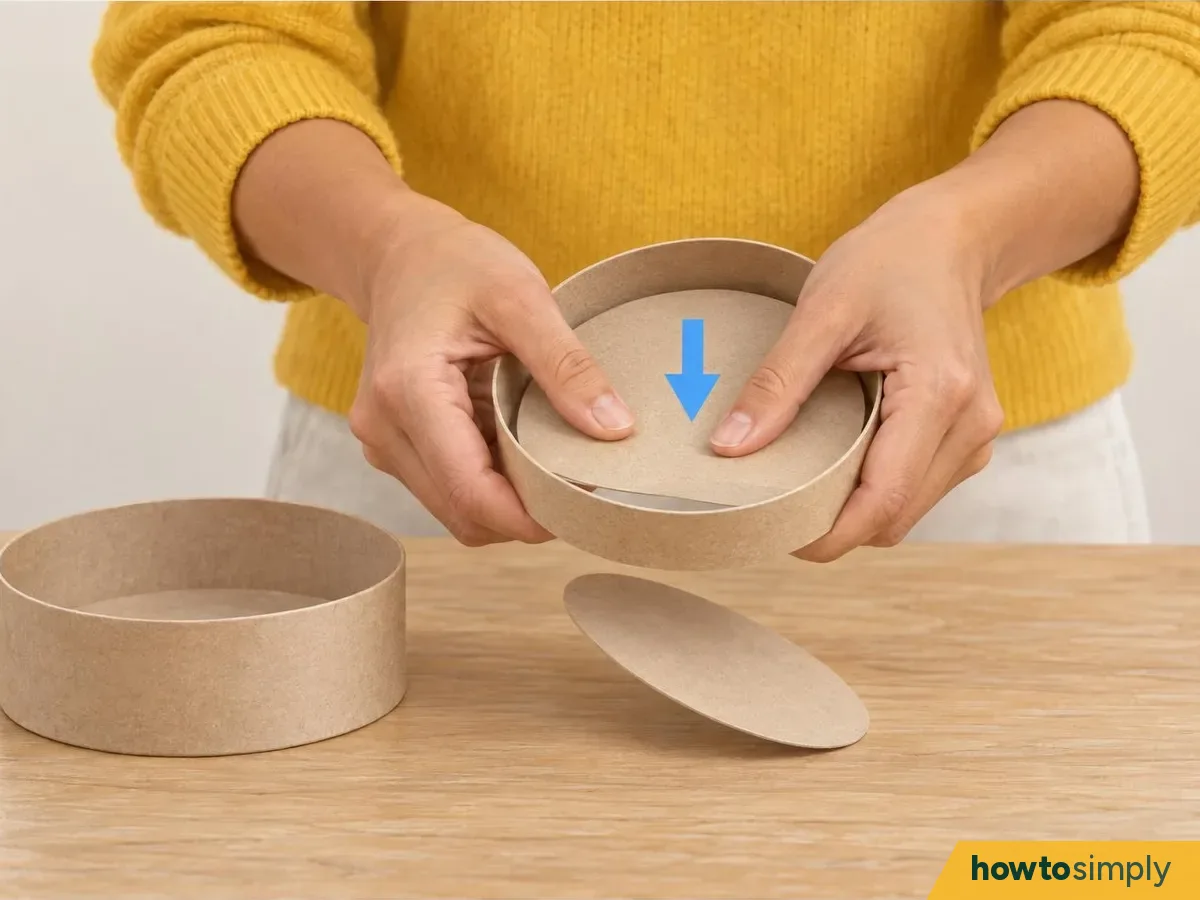
Illustration Mum starts while Lina, who is five, watches: she presses the flat disc out of the lid, and it drops onto the table.
Press the flat disc of the lid carefully out from the inside so only the round rim is left (Sternsinger). The rim becomes the top of the lantern and holds the handle. Make sure you keep the base whole, because it is the floor of the lantern.
You should see: a whole box base and a separate round rim.
Measure the tracing paper round the base and cut it to size.
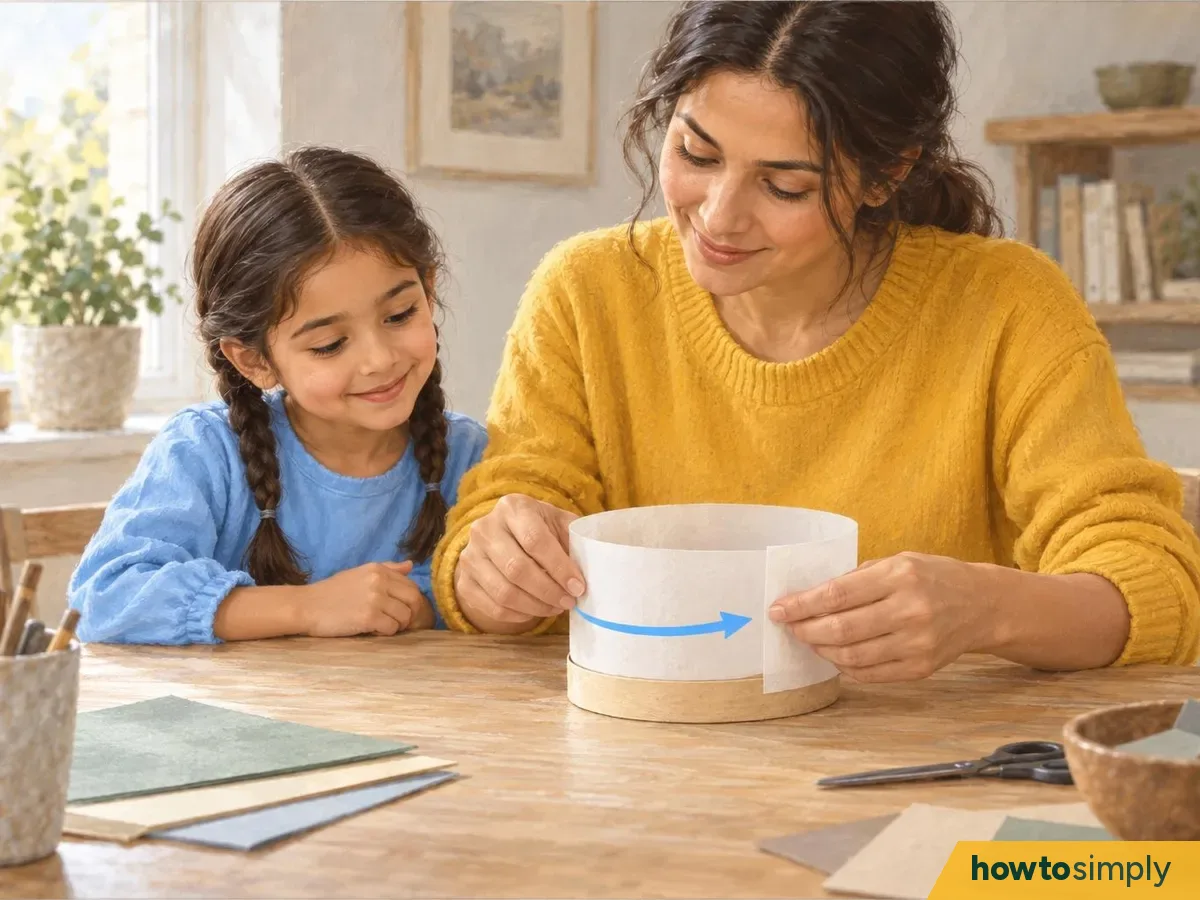
Illustration Next Mum wraps the long sheet of tracing paper round the plain box to measure it, while Lina watches.
Wrap the sheet loosely round the outside of the base and pinch where the ends meet, or measure round the base with a tape measure (a 12 cm box measures about 37 to 38 cm round). Add about 2 cm of overlap for gluing, mark it in pencil, and cut off the rest: for a 12 cm box the sheet ends up about 40 cm long. The height of the sheet is the height of your lantern: about 21 cm high suits small hands. This is our general advice.
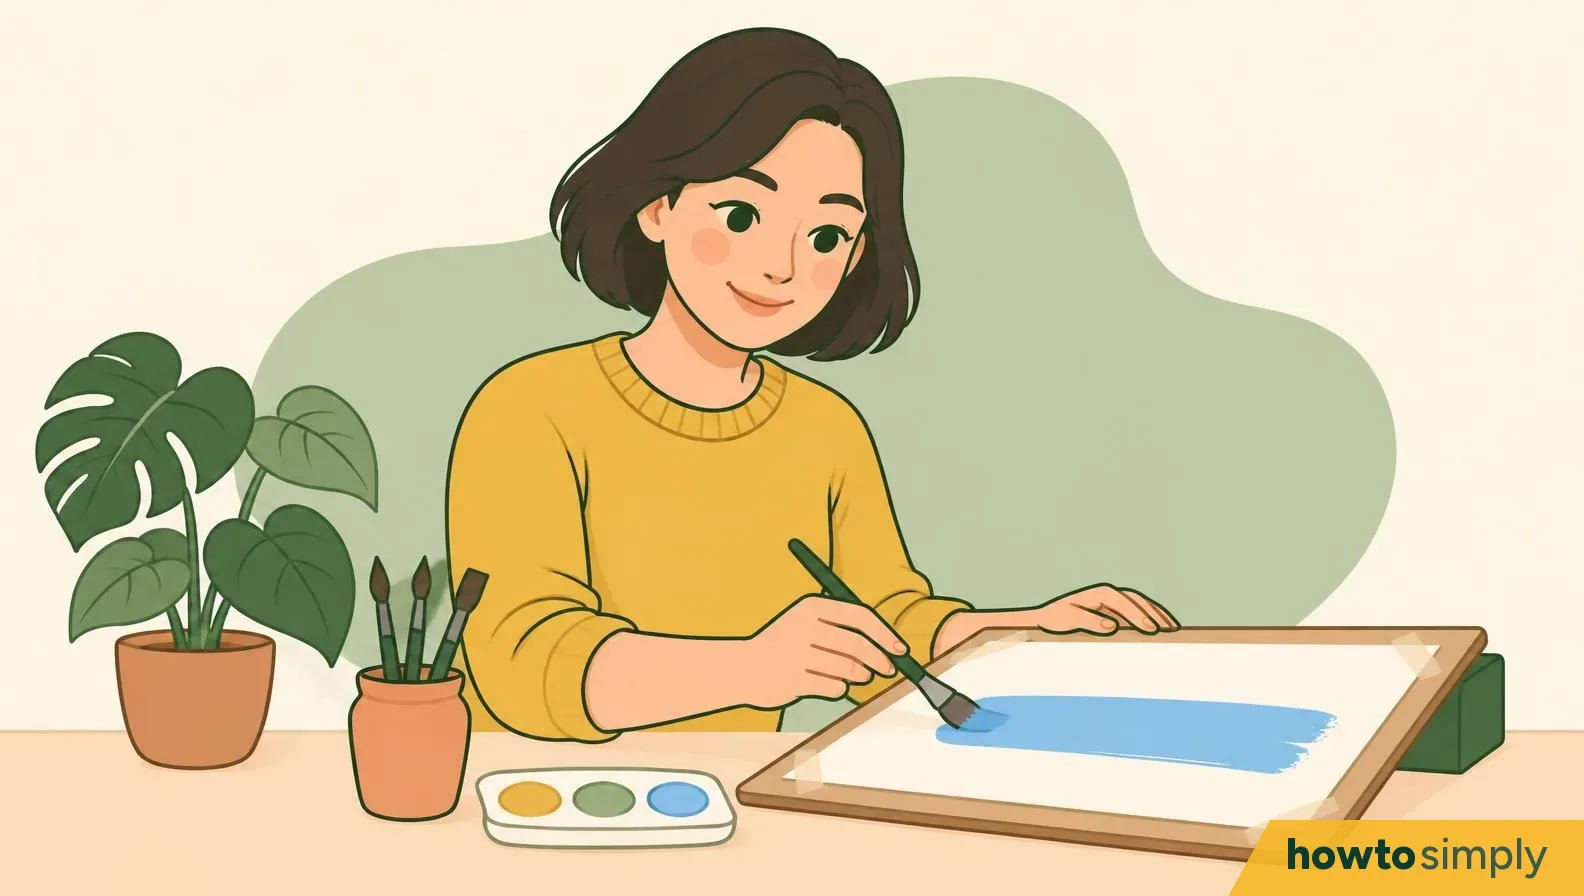
Let your child paint the base and the rim, then leave them to dry.
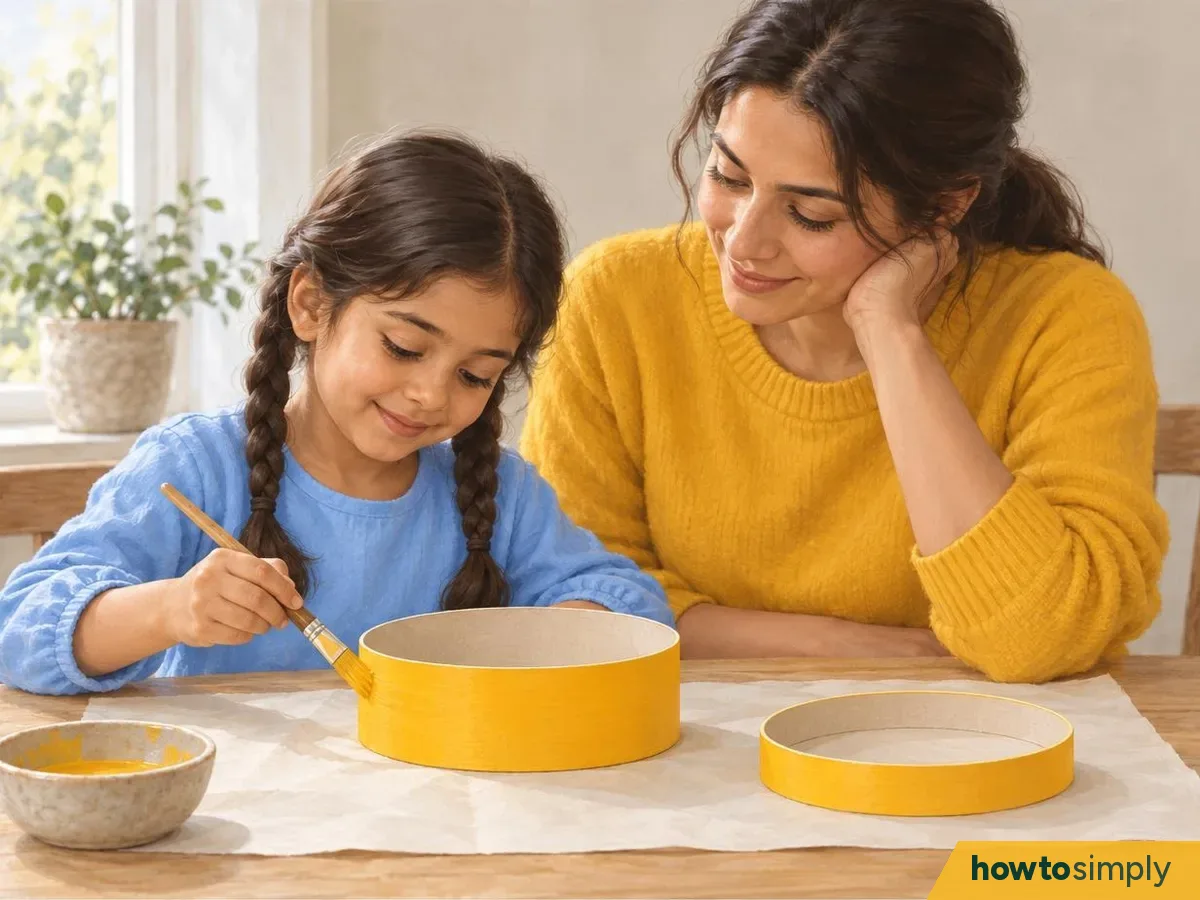
Illustration Now it's Lina's turn. She paints the box and the rim bright yellow, and they leave both to dry.
Finger paint or acrylic paint both work on the cardboard (Sternsinger). Paint only the outside, so the glue will hold on the inside of the rim later. Leave both pieces to dry fully before you glue anything to them.
Make the glowing sides
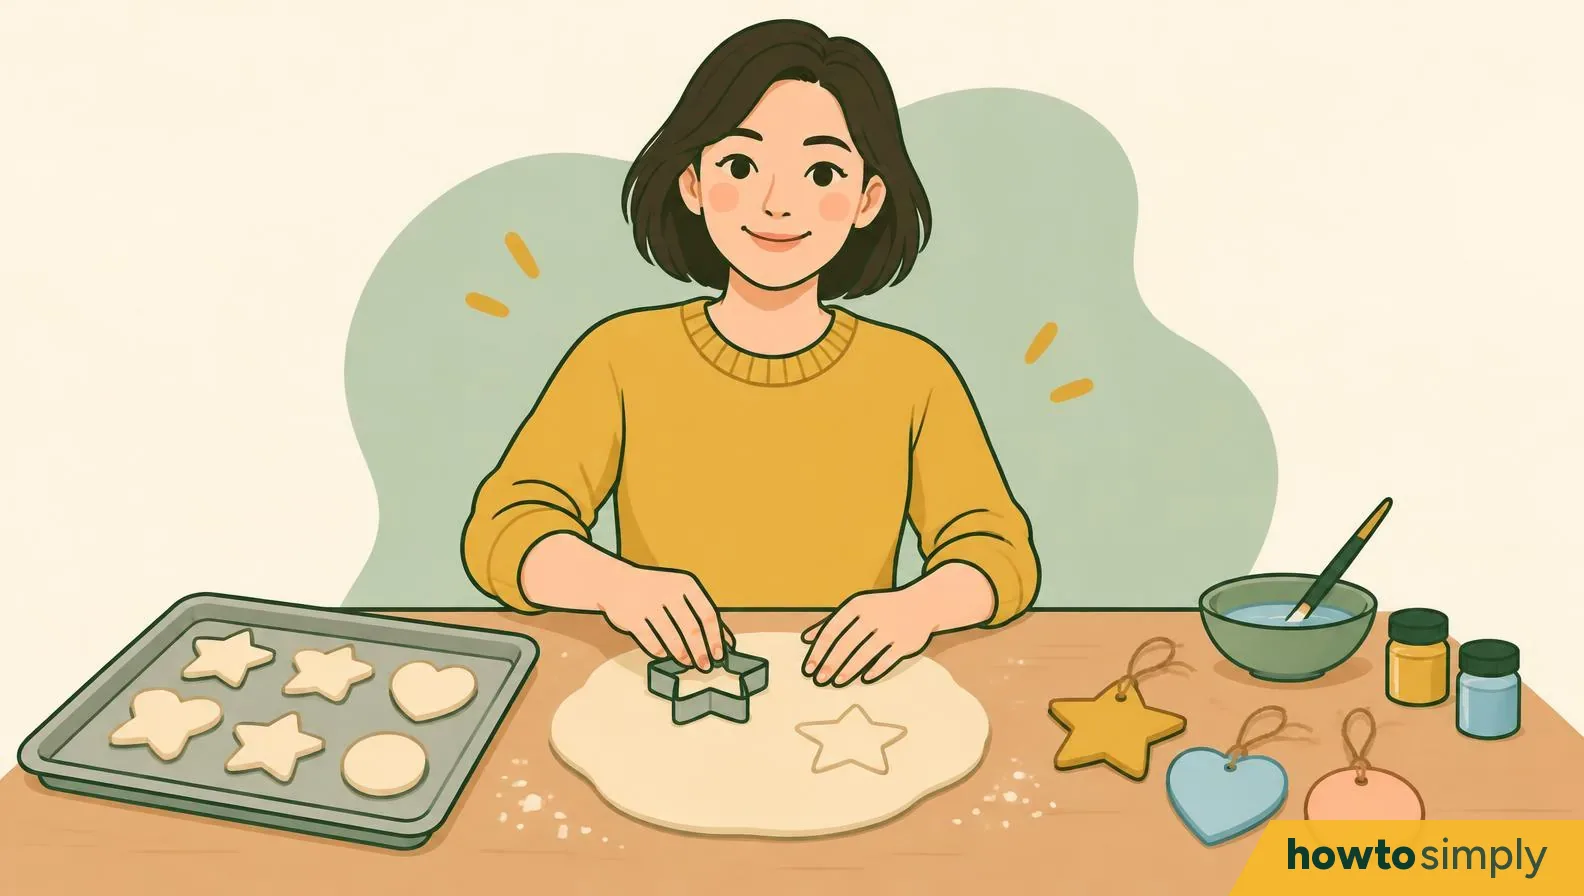
Tear tissue paper into small pieces.
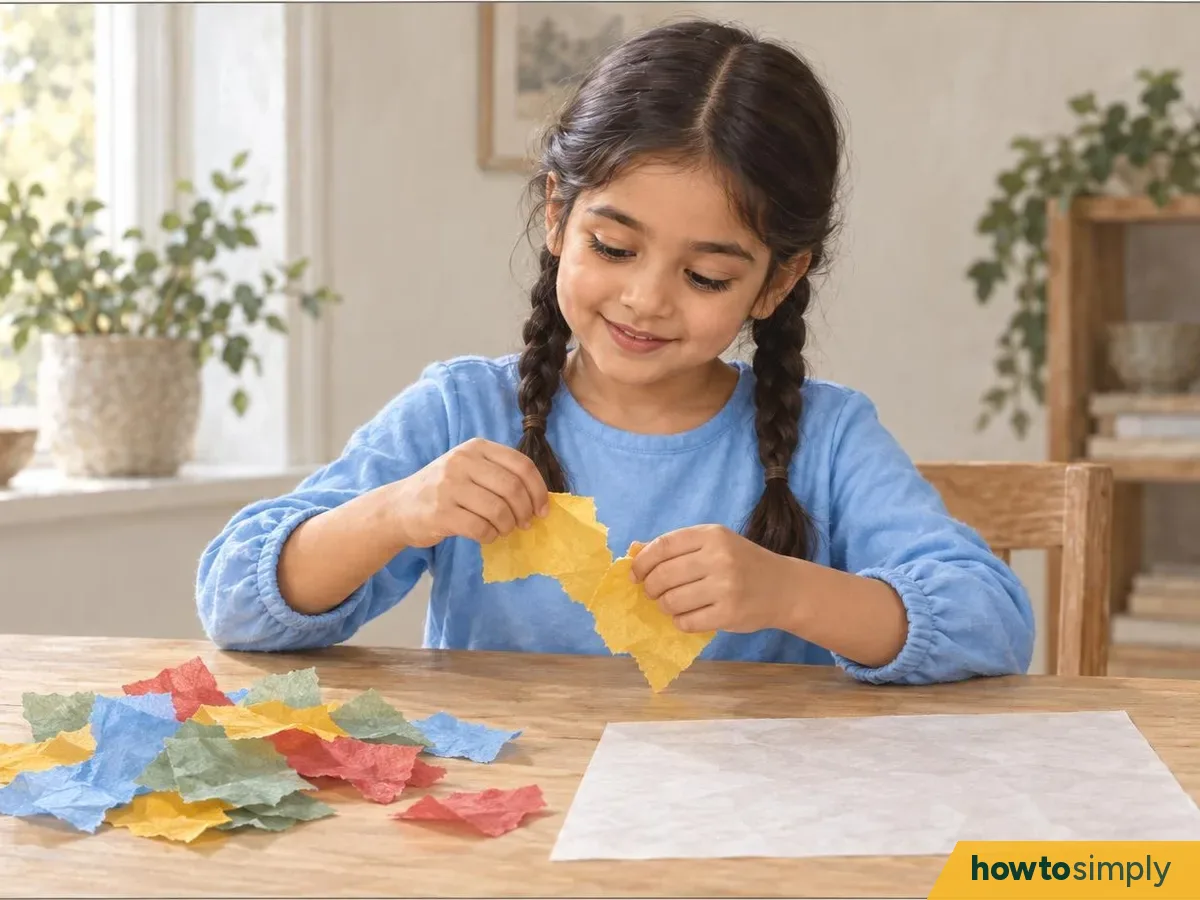
Illustration While the paint dries, Lina tears tissue paper into small pieces. She keeps the big yellow ones for a moon and stars.
This is the part small children usually love. Tearing is easier and safer for them than cutting, and the torn edges blend nicely when the light shines through. Keep a few bigger yellow pieces aside for a moon or stars if your child wants a picture.
Glue the pieces onto the tracing paper, overlapping them.
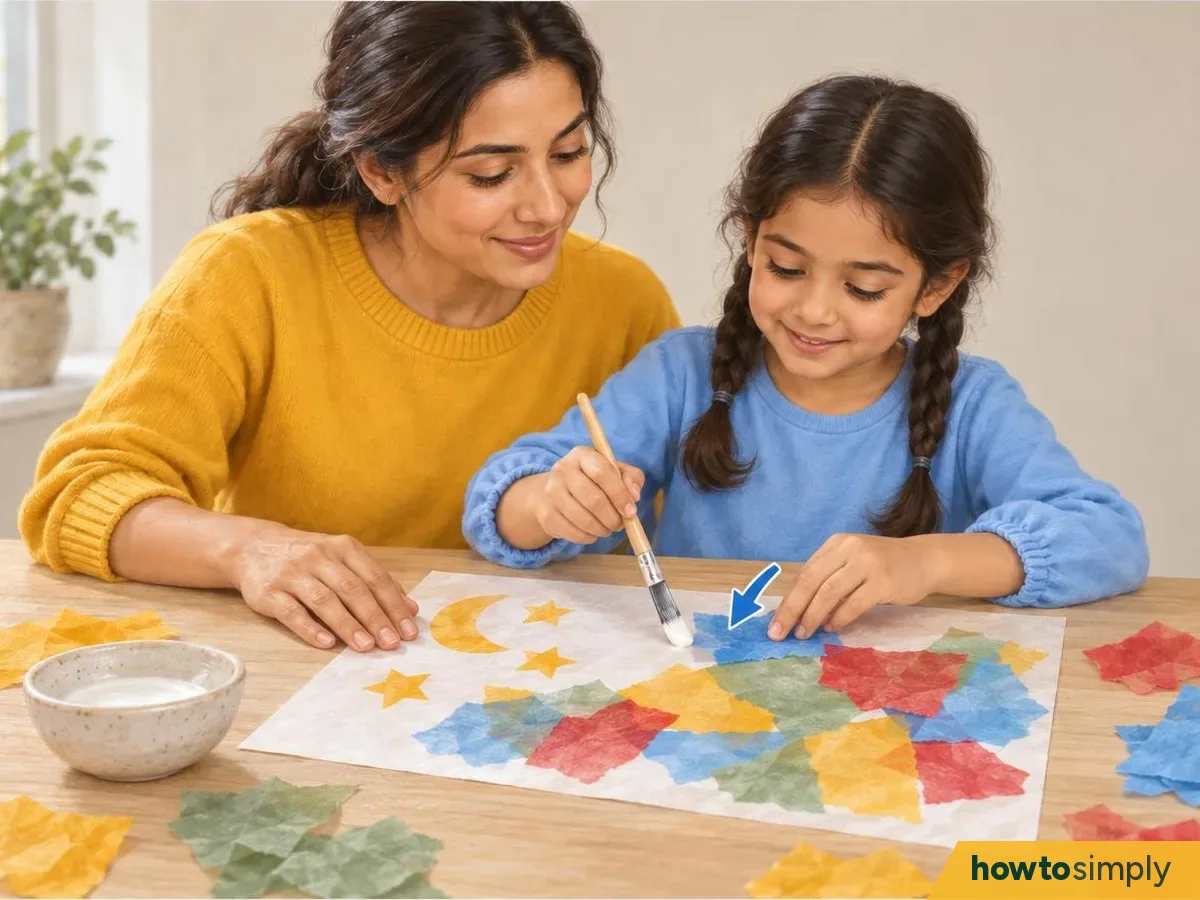
Illustration Lina brushes glue on the sheet and presses the pieces down. A yellow moon and stars appear in the middle, with blue, green and red all round.
Brush a thin layer of glue on the tracing paper, lay the tissue on it, and brush a little more glue on top to flatten it. Where pieces overlap, the colour gets deeper. Leave the 2 cm overlap strip at one end bare, so it glues cleanly later. Don't worry if the picture looks messy up close; at night it is the colours that glow, not the neat edges.
Hold it up to the window, then let it dry flat.
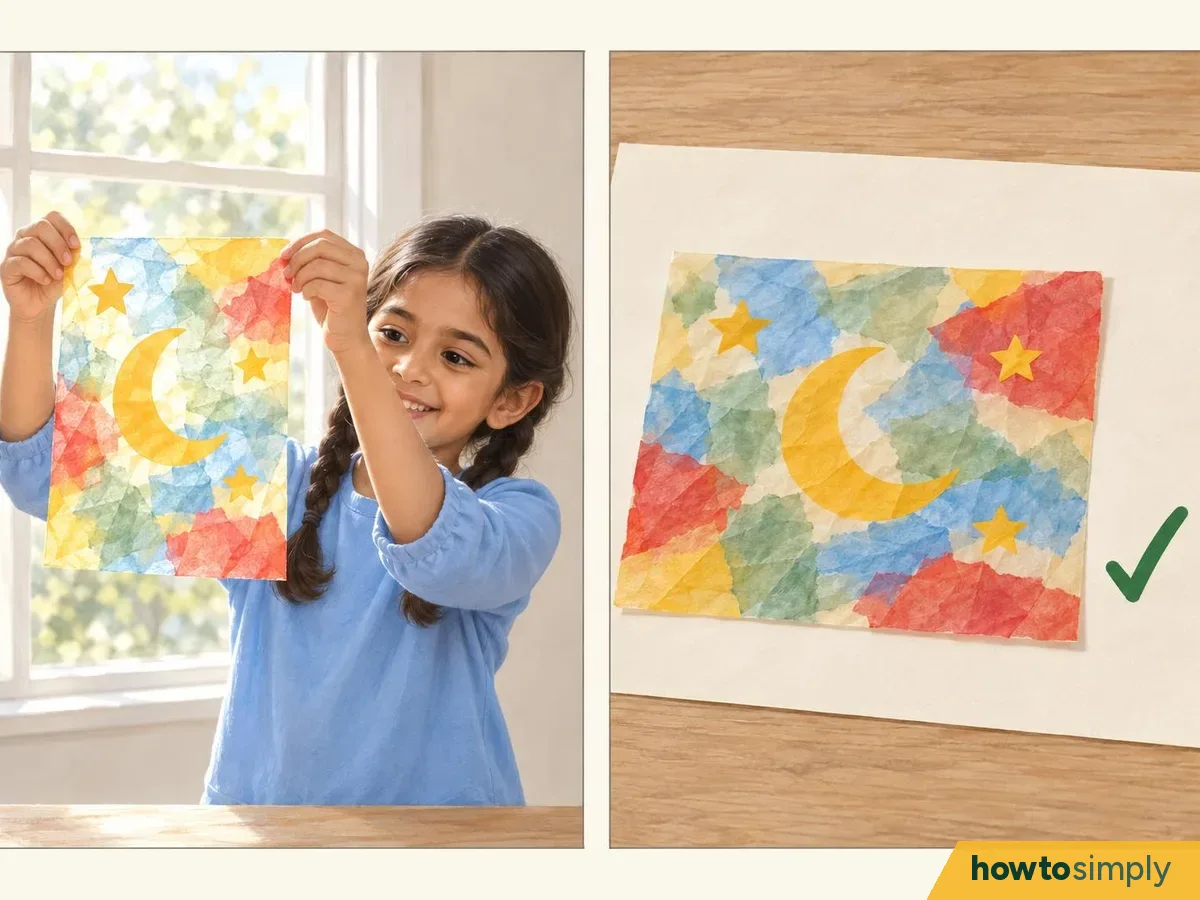
Illustration Lina holds her picture up to the window and the colours glow. Then it goes flat on the table to dry.
Holding it to the light shows your child what the lantern will look like at night and where gaps could be filled. Let them do the filling, even if your habit is to straighten every wobbly star yourself: this picture is theirs. Then leave it flat until it is completely dry, about an hour for a thin layer of glue. A wet sheet tears when you bend it round the box.
Put it together
Adult job.
Glue the bottom of the rolled sheet inside the base.
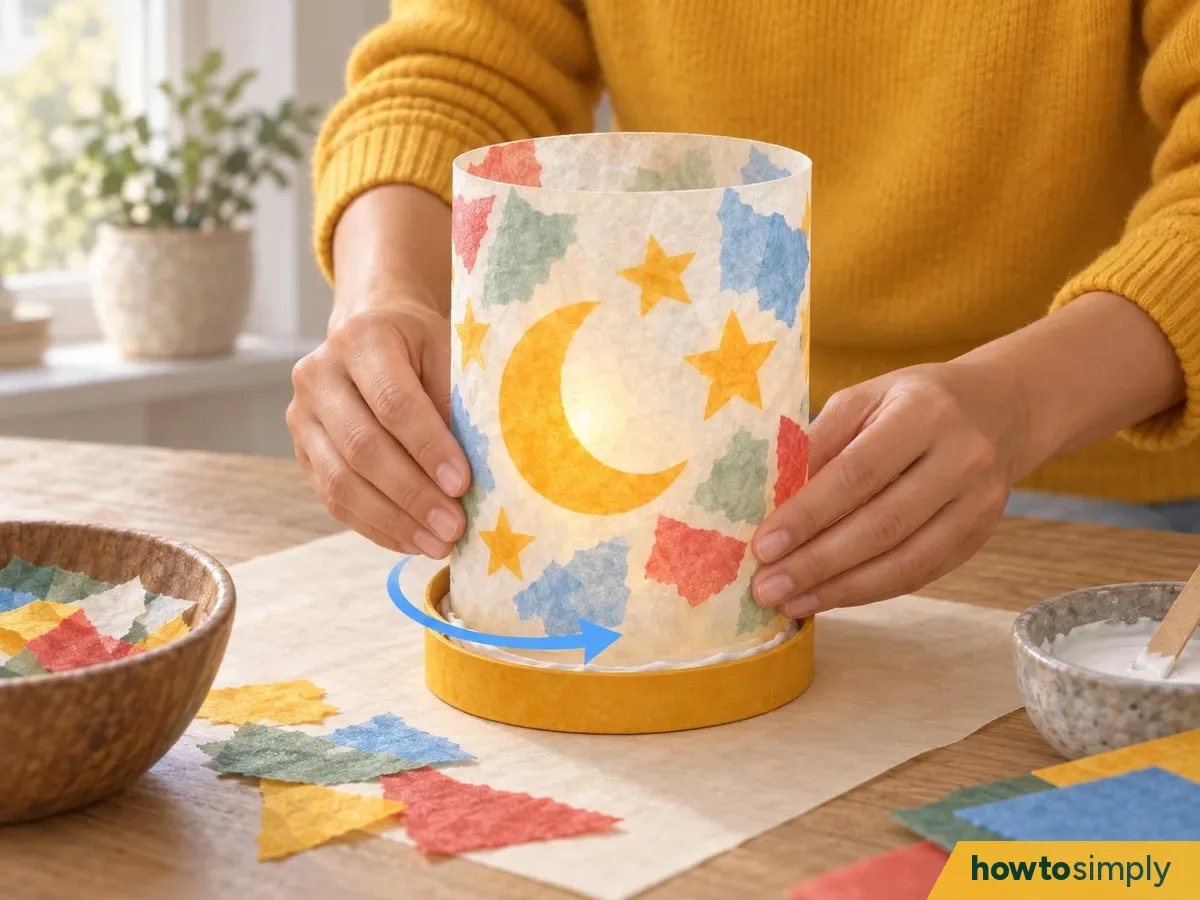
Illustration The next afternoon everything is dry. Mum rolls Lina's picture into a tube and presses it into the yellow box.
Brush a band of glue round the inside wall of the box base. Roll the dry sheet into a tube, stand it inside the base, and let it open out against the wall, then press the paper onto the glue all the way round. Go all the way round without skipping any bits, because a gap is where the base could drop out. The Sternsinger sheet glues the paper round the outside of the base instead; both work, and inside keeps the painted base on show.
You should see: the sheet standing up as a tube in the base.
Glue the overlap where the two ends meet.
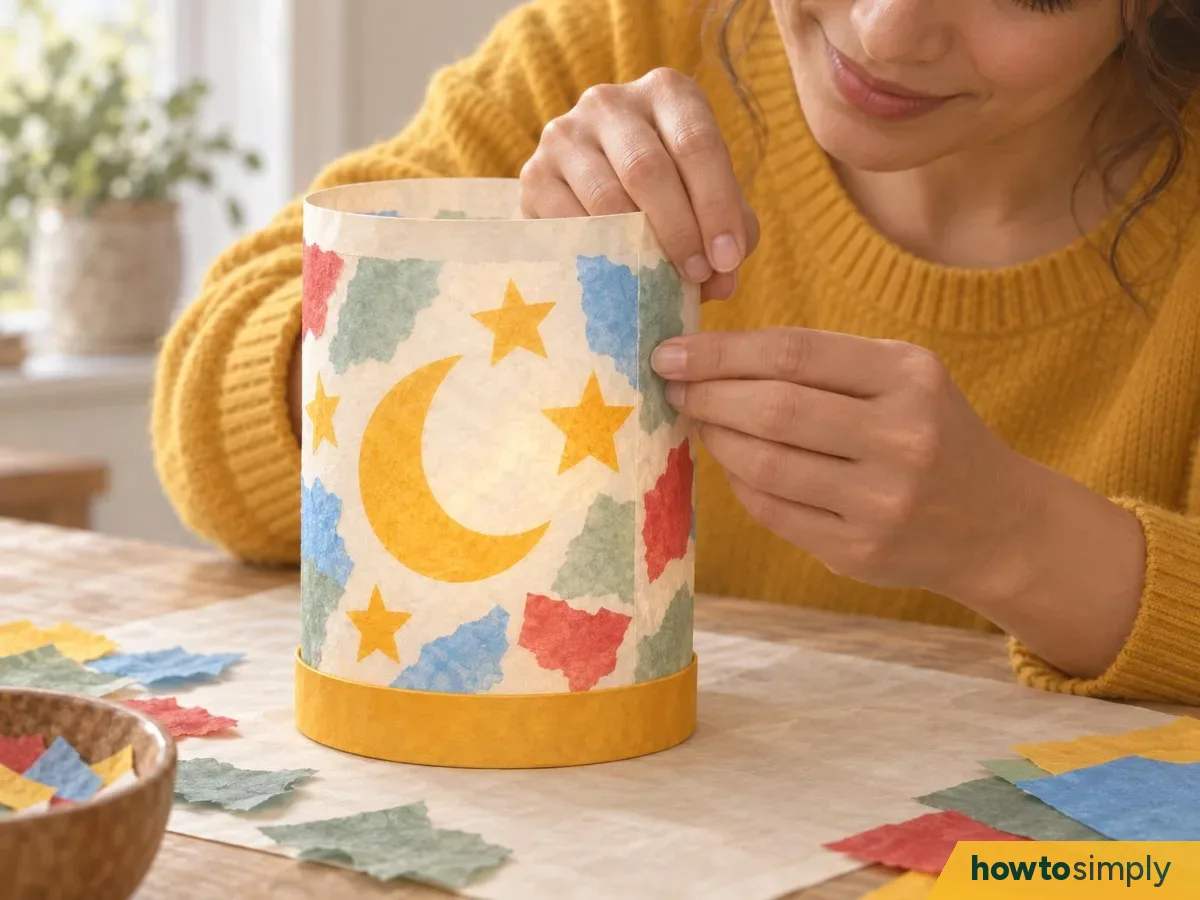
Illustration Mum glues the overlap and holds it for a moment, so the tube stays round.
Put glue on the bare strip you left and press the other end over it. Hold it for a moment until it grips. This seam keeps the lantern round when it hangs.
Glue the lid rim over the top edge.
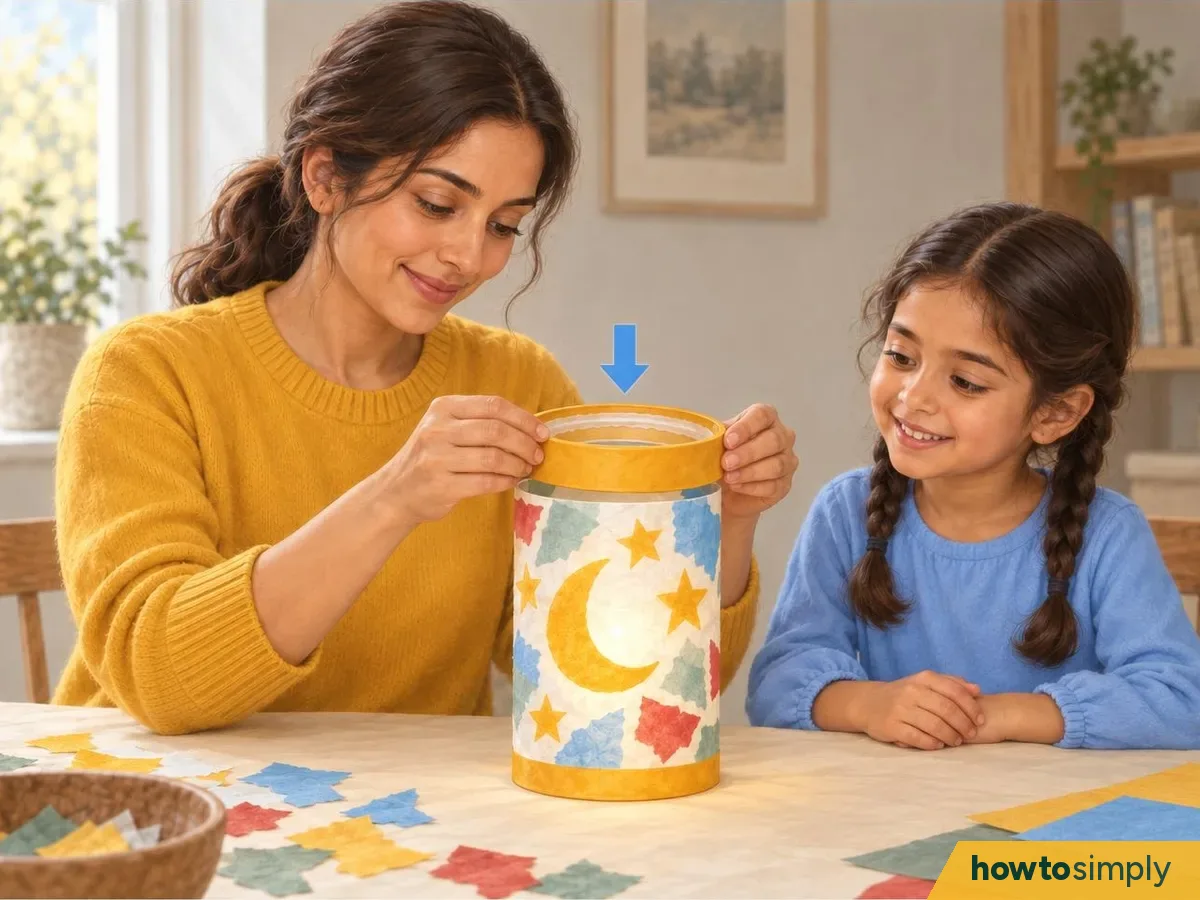
Illustration Mum slides the yellow rim over the top, and Lina can see her lantern for the first time.
Brush glue on the inside of the rim and slide it over the top edge of the sheet, then press it on (Sternsinger). A strip of sticky tape inside adds strength if it feels loose (Sternsinger). If you like, wrap a strip of card round the bottom too: it hides the join and makes the base stronger (Sternsinger).
You should see: a base at the bottom, a rim at the top and the picture in between.
Adult job.
Punch two opposite holes in the rim and twist in a wire handle.
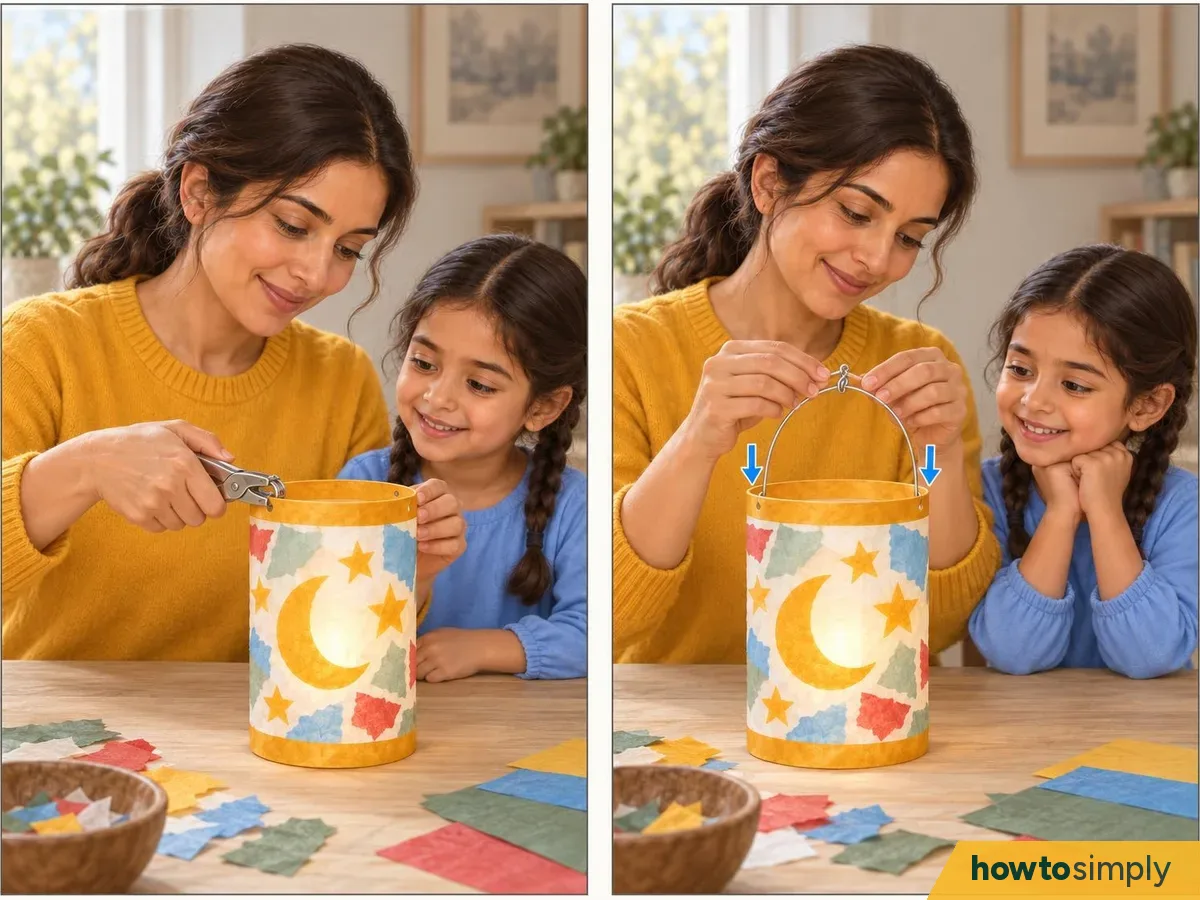
Illustration 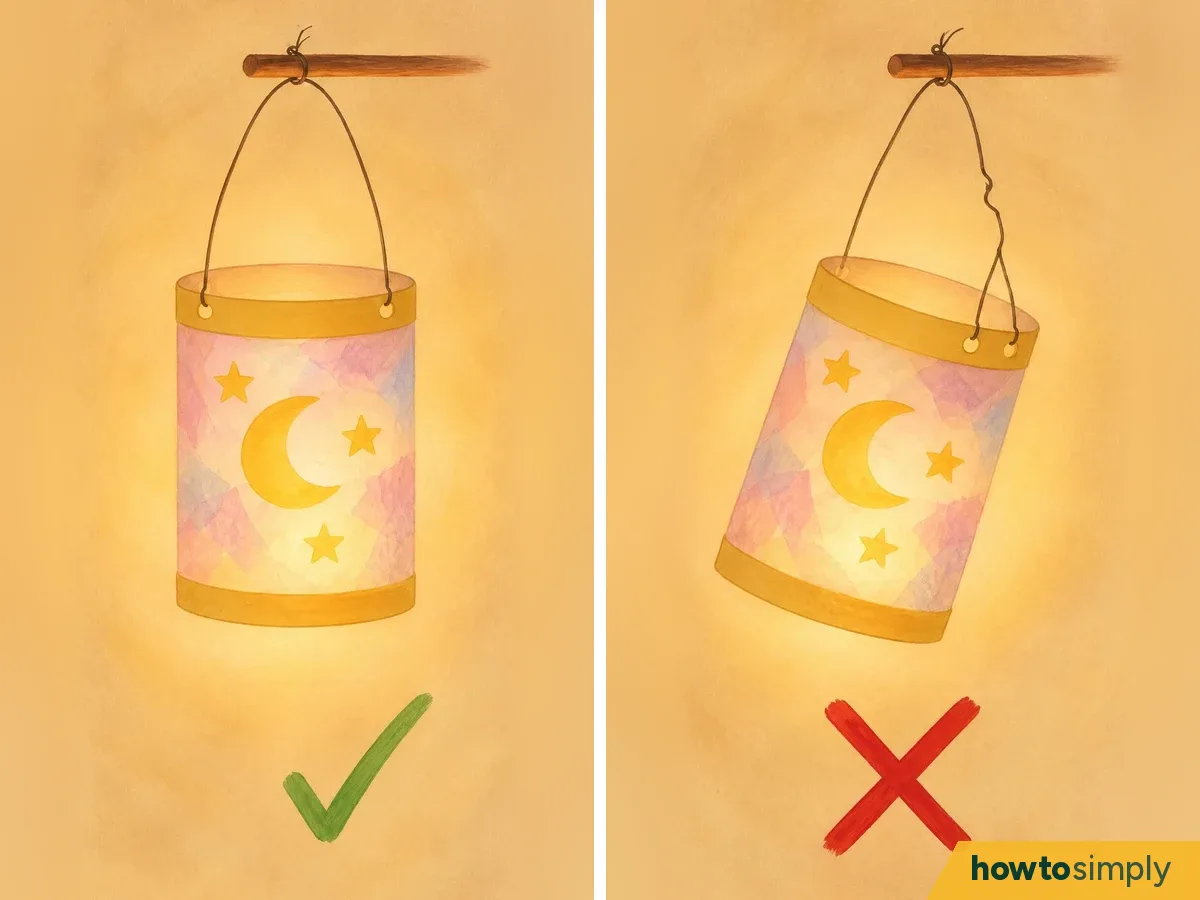
Illustration: punch the two holes exactly opposite each other so the lantern hangs level Mum punches a hole on each side of the rim, then twists two wires together into a handle. Lina can't wait.
Punch one hole, then one exactly opposite, so the lantern hangs straight (Sternsinger). Push one piece of wire through each hole from the outside and twist its end back on itself so it can't pull out. Then bring the two pieces up over the middle and twist them tightly together, making an arch about a hand high. The twist in the middle is where the lantern stick hooks on. Then bend the cut ends inward. It takes a moment, and it means no scratched little hands.
Light it and walk
Hook the lantern stick onto the middle of the handle.
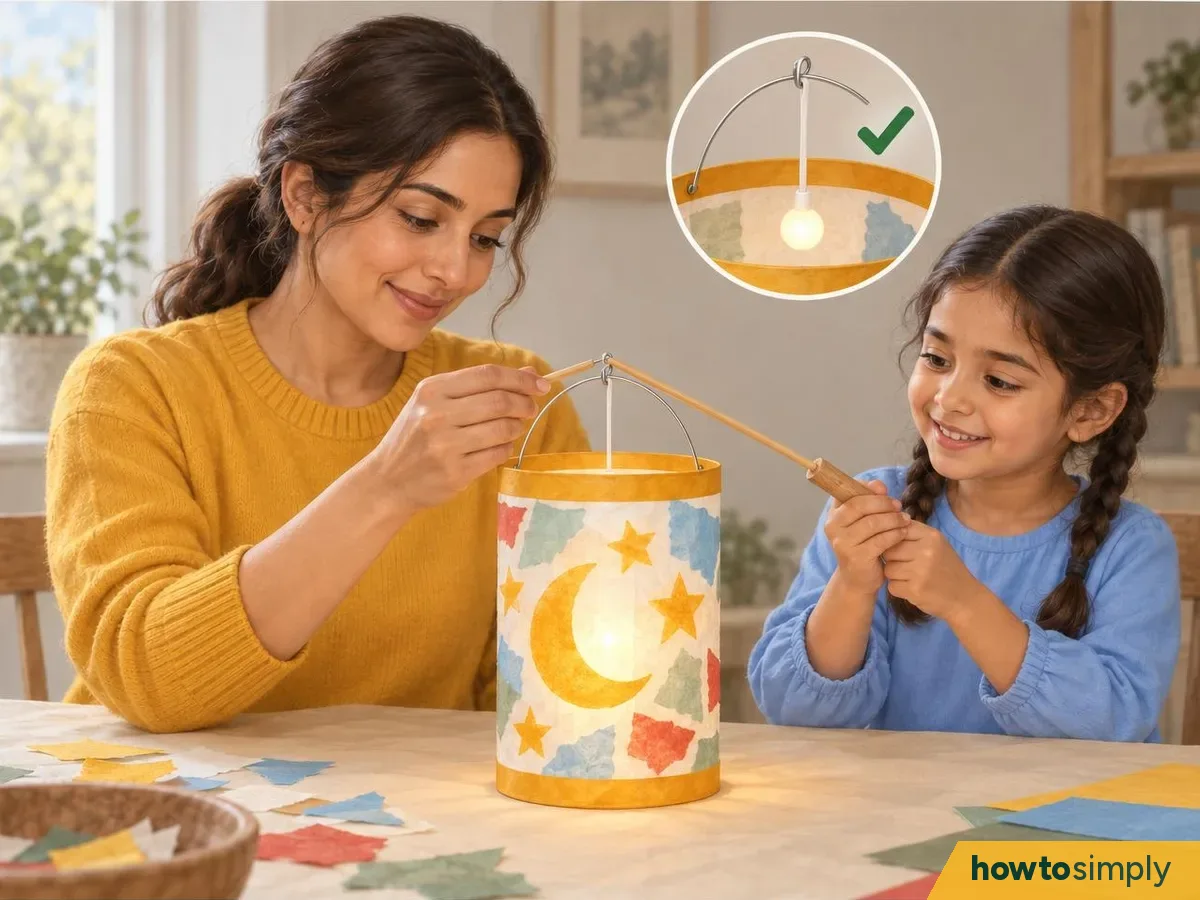
Illustration Mum hooks the lantern stick onto the twist in the handle, and Lina holds the other end. The bulb hangs right in the middle.
The small bulb on the stick hangs down into the lantern. Centre it so it doesn't touch the paper and the light spreads evenly. Your child holds the stick, never the lantern itself.
Switch it on the day before and pack spare batteries.
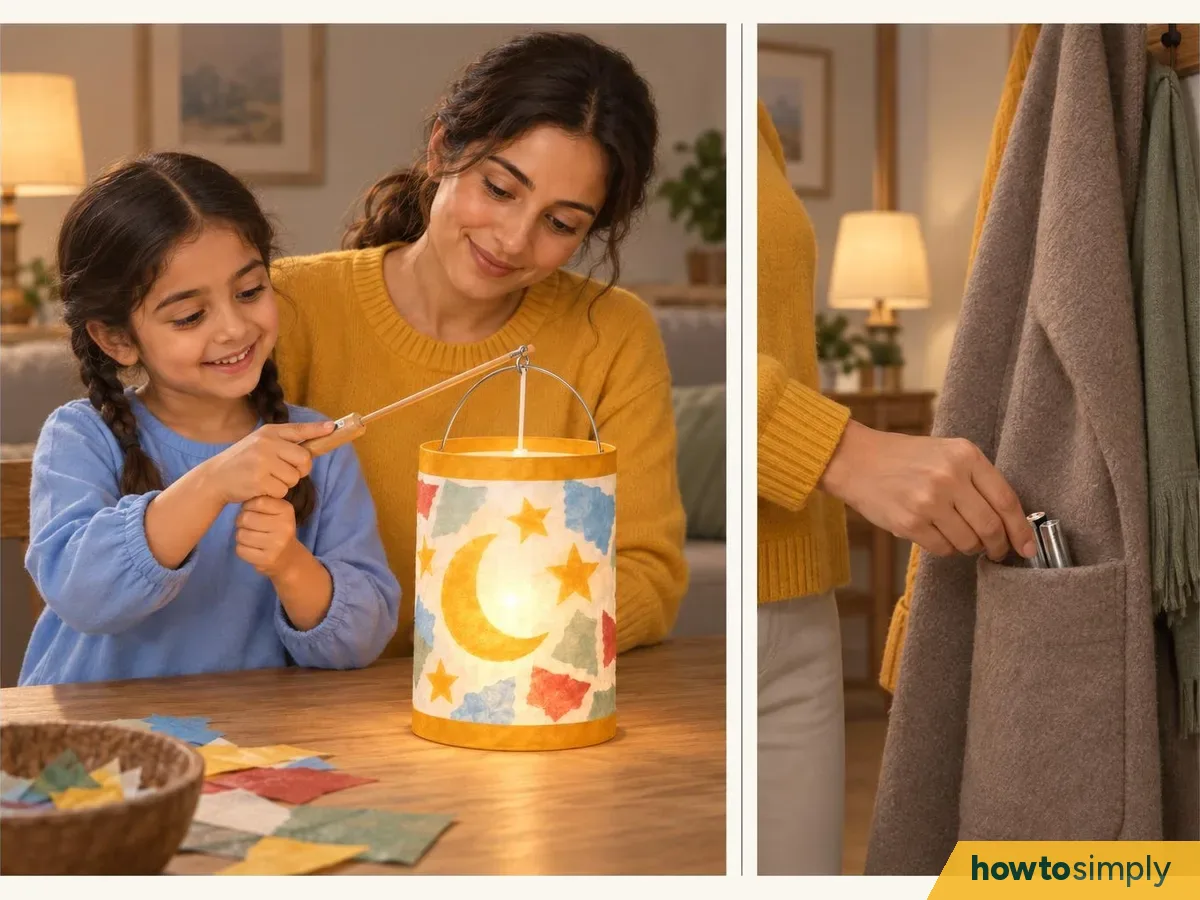
Illustration The evening before the walk, Lina presses the switch and her lantern lights up. Mum slips two spare batteries into her coat pocket.
Check the battery compartment, the hanging point and the lantern body before the walk (kita.de). Lantern sticks sometimes break, so bring a spare (Kidsproof).
Dress your child warmly, with something reflective.

Illustration On the evening itself, Mum zips Lina into her warm coat with reflective strips and pulls on her woolly hat.
Lantern walks are in the dark and in November weather. Reflective clothing, a safety vest or bright colours help drivers see children (ARAG). Dress your child warmly and weatherproof (familienportal.nrw).
Walk in a small group and hold the stick, not the lantern.

Illustration Lina walks with Mum and a few friends, holding her stick high. Her lantern glows yellow, blue, green and red all the way down the street.
Keep groups small and manageable with young children (familienportal.nrw). If the walk crosses roads, go over the route with your child beforehand and remind them how to cross safely (ARAG). Walk next to them, so the lantern doesn't swing into other children.
How St Martin is celebrated
| Country | What happens | Good to know |
|---|---|---|
| Germany | Lantern walks (Laternenumzug) around 11 November, often run by nurseries, schools and parishes, with songs such as "Ich geh' mit meiner Laterne" (Sternsinger, ARAG) | Battery lantern sticks are the normal choice; some towns also light a St Martin's fire (ARAG) |
| Netherlands | On 11 November children go door to door with their lantern (lampion) and sing for sweets or a mandarin (Kidsproof, RODI) | Children often make the lantern at school (Kidsproof) |
| UK and US | No widespread tradition; German and Dutch schools, churches and parent groups abroad often hold a walk | Around 5 November in the UK fireworks are common, another reason for a battery light |
| Pakistan and India | No St Martin tradition | The same lantern makes a safe, flame-free light for any festival evening |
How to tell it worked
- The lantern hangs straight from the stick and doesn't tip.
- The bulb sits in the centre and the colours glow evenly.
- Nothing comes loose when your child gives it a gentle swing.
If it doesn't work
| What happens | What it means | What to do |
|---|---|---|
| The paper tore when you wrapped it | The collage was still wet | Patch it with a tissue piece and let it dry fully |
| The base drops out | Glue missed part of the rim | Re-glue and add a card strip round the bottom (Sternsinger) |
| The lantern hangs crooked | The holes aren't opposite | Punch a new pair exactly across from each other |
| The light flickers or goes off | - | Check the battery compartment and the hanging point before the walk (kita.de) |
| The colours look dull | The paper is too thick | Use tracing paper or the oil method (Sternsinger) |
Questions readers ask
What if I don't have a cheese box?
Any round cardboard box about 12 cm across works the same way (Sternsinger). Lantern craft kits that include a ready-made lantern blank are also sold (kita.de). For a flat lantern, two paper plates glued together with tracing paper behind cut-out windows work too (familienportal.nrw).
Can we use a real candle or tea light?
No. In a crowd of small children a candle can set the lantern, their hair or their clothes alight (ARAG). Use a battery lantern stick or battery LED lights (familienportal.nrw).
How long does it take?
Plan two short sessions: one to paint the box and make the collage, and one to put it together once everything is dry. If you use the printed-and-oiled method instead, the sheet needs to dry overnight (Sternsinger).
From what age can children help?
It depends on the kit: one set is labelled from four years, others from three, and crafting with small parts needs adult supervision (kita.de). An adult should do the gluing of the sides and the wire handle (Sternsinger) and any cutting with a craft knife (familienportal.nrw).
When is St Martin's Day in 2026?
11 November. Many nurseries, schools and parishes hold their lantern walk on a day close to it, so check the date with your child's nursery or school.
Will the lantern survive rain?
Paper and card lanterns are sensitive to wet (kita.de). On a rainy evening put a clear plastic bin bag over the lantern so it stays visible and in one piece (Kidsproof).
Sources and method
- Researched by
- Abu Bakar Saadat
- Tested by our team
- No. We have no record of anyone on our team trying these steps, so treat them as researched instructions from the sources below.
- Pictures
- 17 illustrations drawn for this article: drawings, not photos.
- Sources
- 5 named sources, linked below.
- What this page adds
- A table on how St Martin is celebrated in Germany, the Netherlands, the UK and the US, drawings of every adult and child step, and a fix-it table for a base that drops out or a crooked lantern.
Did this solve the problem?
Where did you get stuck?
What did you think?
Reaction counts are loading.
Sources
We use primary, official and specialist sources appropriate to the topic.
- Sternsinger (Kindermissionswerk): Basteltipp Martinslaterne "Ich geh' mit meiner Laterne" (German, 2022)
- familienportal.nrw: Make a lantern (updated 9 October 2024)
- ARAG consumer information: Laternenumzug, sicher strahlend durch die Nacht (German, 7 November 2024)
- kita.de: Kinderlaternen (German)
- Kidsproof: Sint Maarten, het verhaal (Dutch)