How to hang a gallery wall: exact pencil marks for your frames
Reviewed by Sonia Abu Bakar✓, MSc Botany
By Abu Bakar Saadat12 min readPublisher: Saadat Rafiq
Last updated: 7 November 2026References
 Illustration
On this page 11 sections
In short
Add up the frame widths and the gaps, centre that on your wall or sofa, and set the middle of the group about 145 cm (57 in) up. Then take off each hanger drop to get every nail. Our calculator gives you all the marks.
At a glance
- Gap between frames
- 5-8 cm (2-3 in), edge to edge (Frameology)
- Middle of the group
- About 145 cm (57 in) from the floor (AS Hanging)
- Nail height
- Frame top minus the hanger drop (AS Hanging)
- Before you drill
- Keep out of cable zones in line with sockets and switches (IET, BS 7671)
- Read
- AS Hanging, Frameology, IET, Home Depot, 3M Command and fischer, 7 November 2026
- Checked
- November 2026
A gallery wall looks right when the gaps are equal, the group is centred on what is under it and the middle sits near eye level. Guessing gives you extra holes. This guide works out every pencil mark first: where the first frame starts, where each nail goes across, and how high, allowing for the wire or hook on the back of each frame.
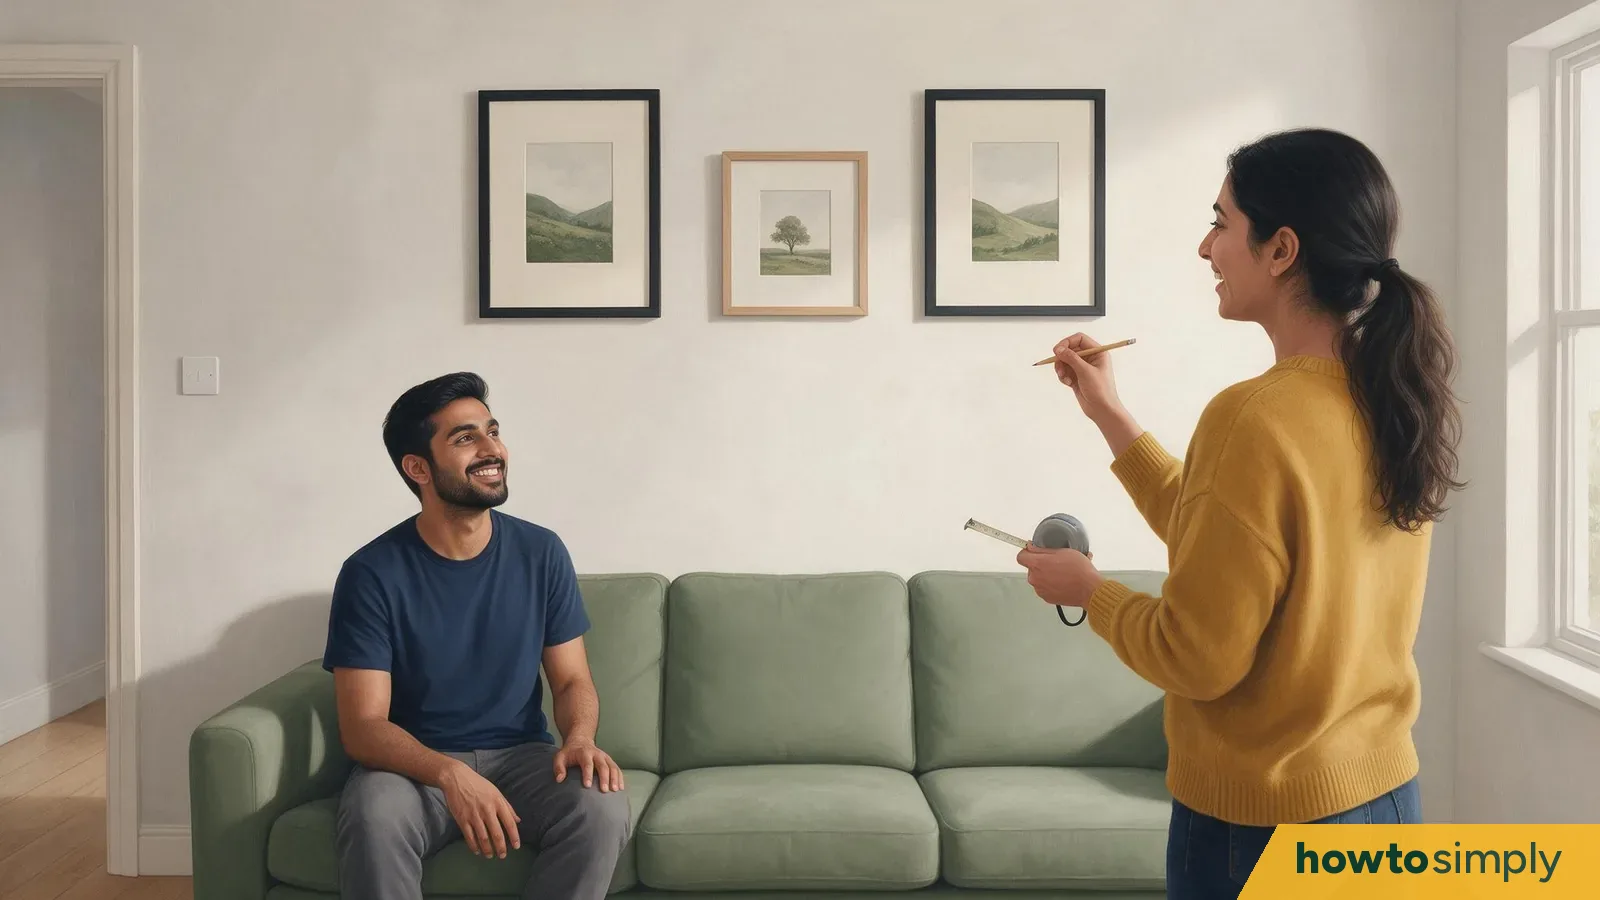
This guide follows Amira, who has just moved into a rented flat and wants three family frames above her sofa. Her brother Sami comes round to help. Each drawing shows the next moment, with the same three frames from start to finish.
What are you hanging above?
A sofa, bed, sideboard or desk
Centre on the furniture. Measure the furniture, not the wall, in step 1.
An empty wall
Centre on the wall. Measure the wall from corner to corner, or the part between a door and a corner.
A grid of identical frames
Enter one row and set the rows. The calculator stacks the rows and keeps the whole block centred.
Measure everything once
Measure the width you are centring on, and where it starts.
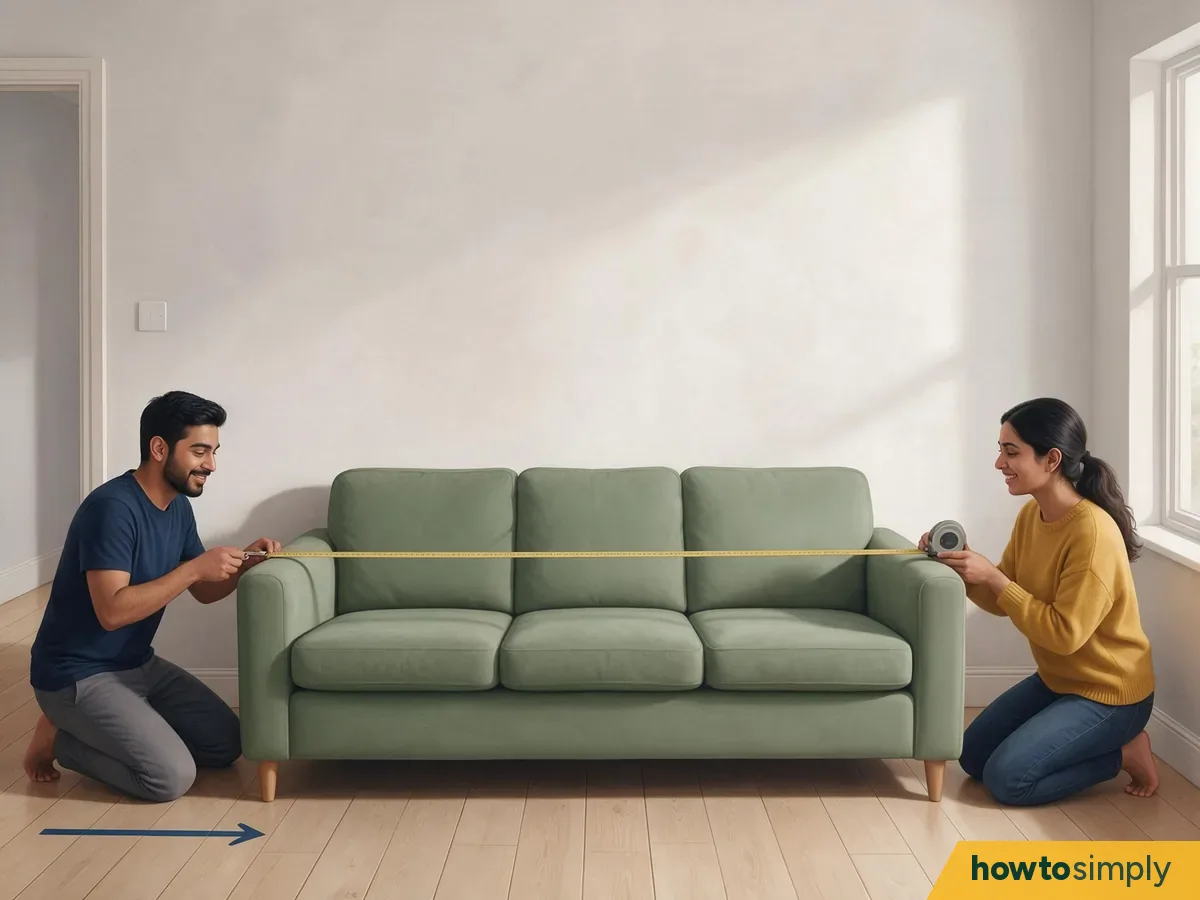
Illustration Sami holds the end of the tape at the left arm of the sofa while Amira stretches it to the right arm. Then she measures from the corner of the room to the sofa's left end.
Measure the full width of the sofa (or wall) along its back. Then measure from a fixed point, usually the left corner of the room, to where the sofa starts. Every mark across the wall will be measured from that same corner, so you never have to find the middle by eye.
Amira's sofa is 200 cm wide and starts 50 cm from the corner. On an empty wall, the start is 0 and the width is the wall.
Measure the width and height of every frame.
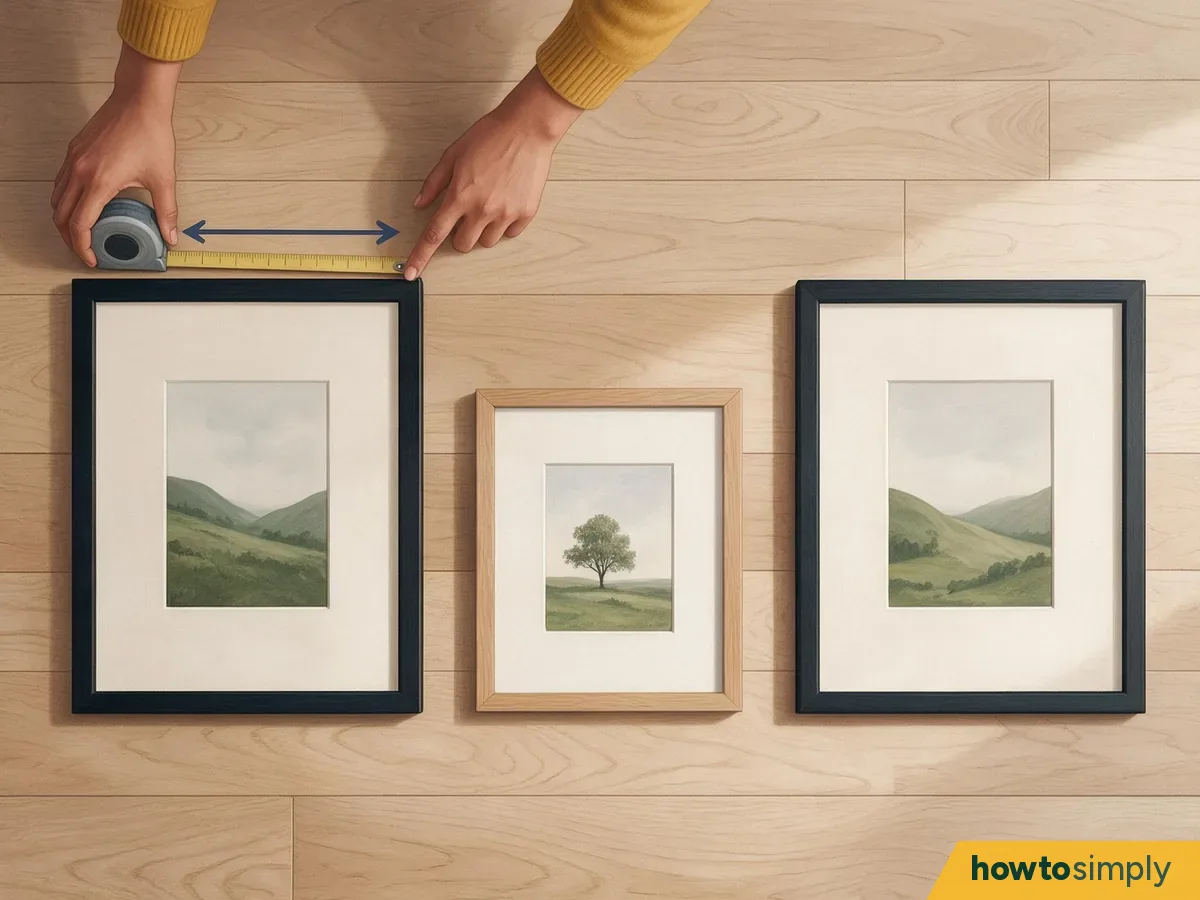
Illustration Amira lays the three frames on the floor and measures each one across the outside edge: the two big ones match, the middle one is smaller.
Measure the outside of the frame, not the picture or the mount. Write each one down as width × height. Amira's frames are 40 × 50 cm, 30 × 40 cm and 40 × 50 cm.
Measure the hanger drop on the back of each frame.
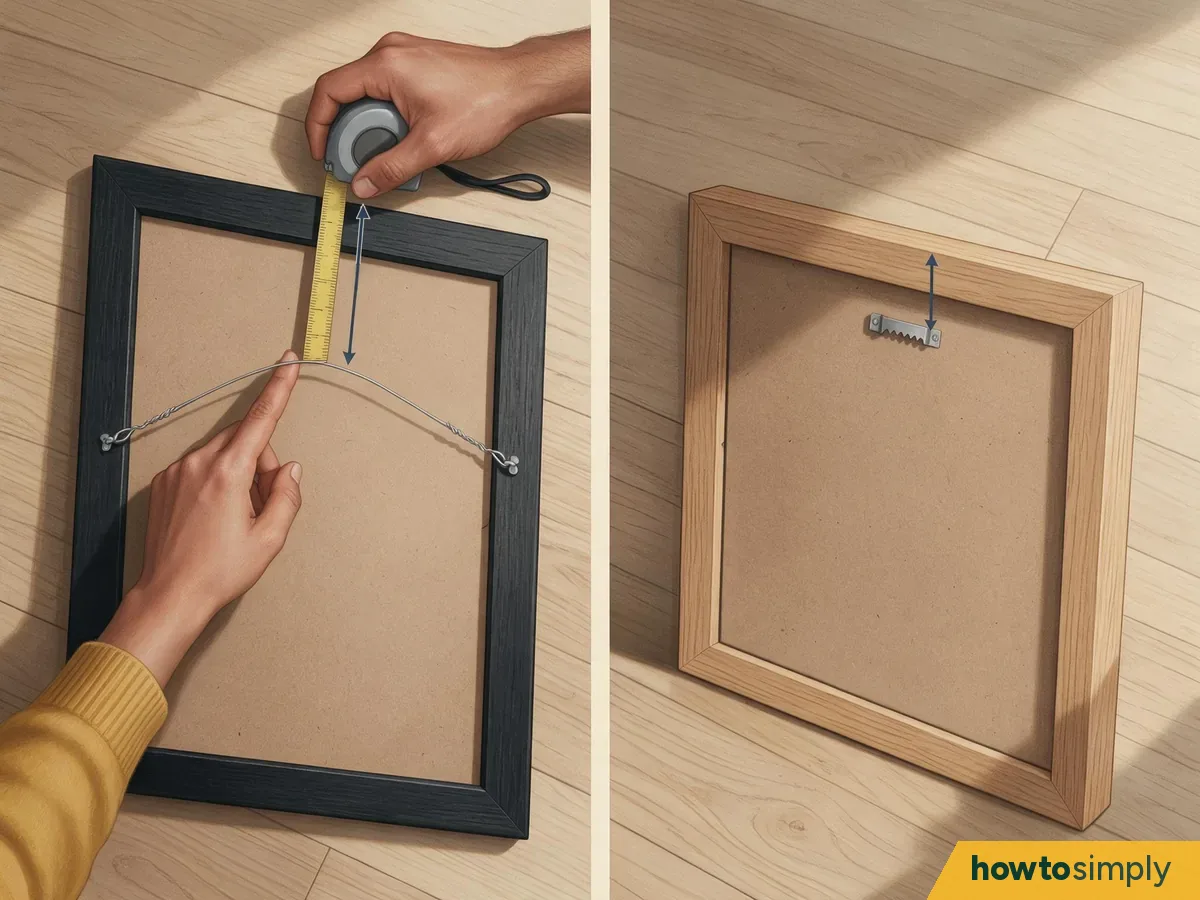
Illustration Amira turns the big frames over and hooks a finger under the wire, pulling it up tight, the way a nail will hold it. Sami measures from the top of the wire to the top of the frame. The small frame has a sawtooth hanger near the top.
The drop is how far below the top edge the frame actually hangs from. For a wire, pull it up taut in the middle and measure down to the top of the frame. For a sawtooth hanger or D-ring, measure from the top of the frame to the point the hook catches (AS Hanging). Skipping this is the usual reason a frame ends up lower than planned.
Amira's wire frames drop 8 cm. Her sawtooth frame drops 2 cm. If a frame has two D-rings, also measure the distance between them: it needs two hooks.
Choose the gap between frames and the height for the middle of the group.
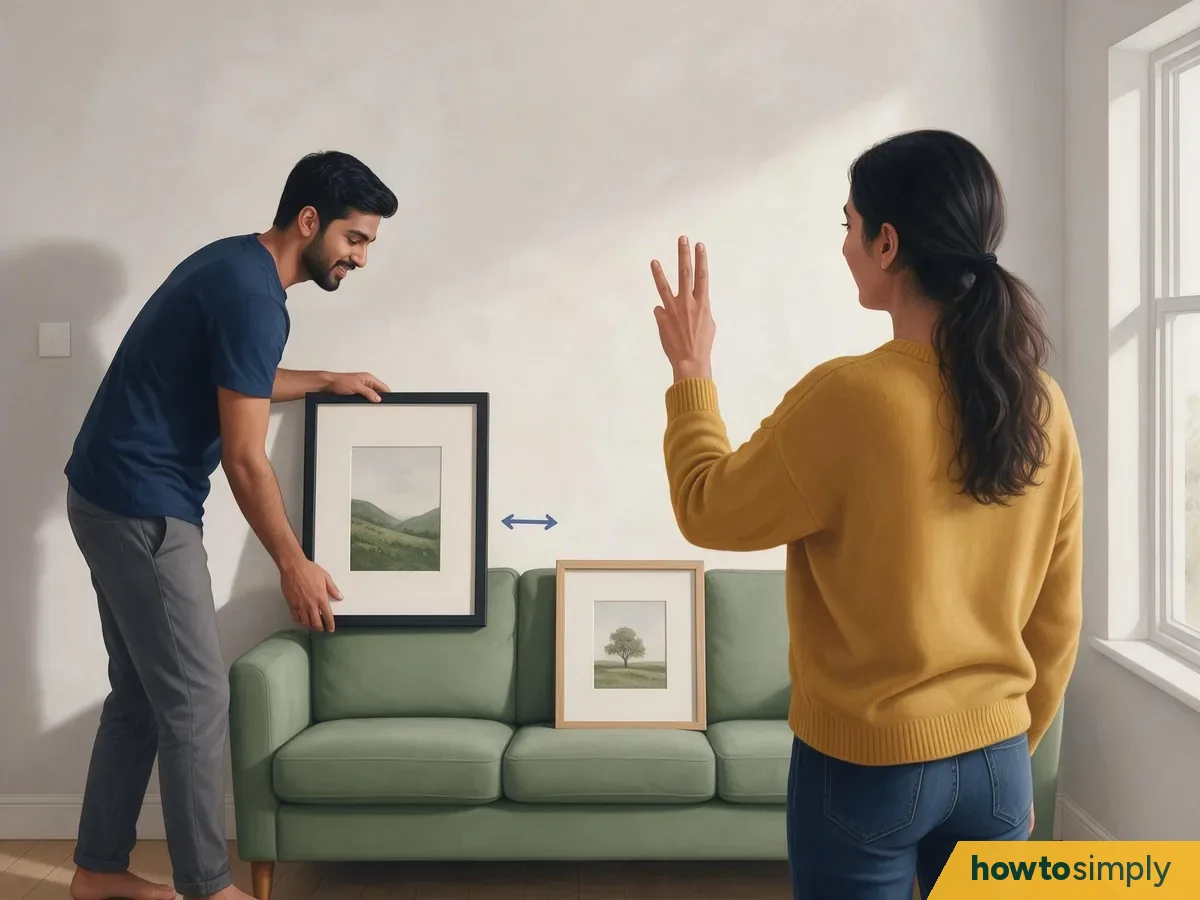
Illustration Sami holds one frame up beside the other, which is propped on the sofa, while Amira steps back and holds up three fingers: about that wide looks right.
Frameology suggests 2 to 3 inches (5 to 8 cm) between frames, measured edge to edge. Amira picks 6 cm. For height, a common rule puts the middle of the whole group, not each frame, about 145 cm (57 in) from the floor, roughly average eye level (AS Hanging). AS Hanging says many pros work between 57 and 60 inches (145 to 152 cm), depending on the ceiling, the people in the house and the furniture.
Put your numbers in the calculator and write down the marks.

Illustration Sitting at the end of the sofa, Amira types her numbers in and copies the marks into her notebook as a little sketch: three boxes in a row, a dot for each nail. Sami leans over the back of the sofa to look.
Enter the numbers below. The calculator gives you the first pencil mark (the left edge of the first frame), the left edge of every frame, and each nail's distance from your corner and height from the floor. It switches between cm and inches, and the plan under the table shows where every nail goes.
Gallery wall calculator
| # | Width | Height | Hanger drop | 2 hooks apart |
|---|
The maths, if you'd rather do it by hand
- Row width = all the frame widths added up + the gap × (number of frames − 1).
- First pencil mark = where the space starts + (width of the space − row width) ÷ 2.
- Next frame's left edge = this frame's left edge + its width + the gap.
- Nail across = the frame's left edge + half its width (one hook in the middle).
- Nail height = the middle of the group + half the frame's height − its hanger drop (AS Hanging).
| Amira's frame | Left edge from the corner | Nail from the corner | Nail height |
|---|---|---|---|
| 1: 40 × 50 cm, wire drop 8 cm | 89 cm | 109 cm | 162 cm |
| 2: 30 × 40 cm, sawtooth drop 2 cm | 135 cm | 150 cm | 163 cm |
| 3: 40 × 50 cm, wire drop 8 cm | 171 cm | 191 cm | 162 cm |
Her row is 40 + 30 + 40 + 2 gaps of 6 = 122 cm. The sofa is 200 cm, so 39 cm is left at each end, and the first mark is 50 + 39 = 89 cm from the corner. The big frames' tops sit at 145 + 25 = 170 cm, so their nails go at 170 − 8 = 162 cm. In inches the first mark is 35 1/16".
Try it on the wall with paper
Cut a paper template for each frame and mark its nail on it.
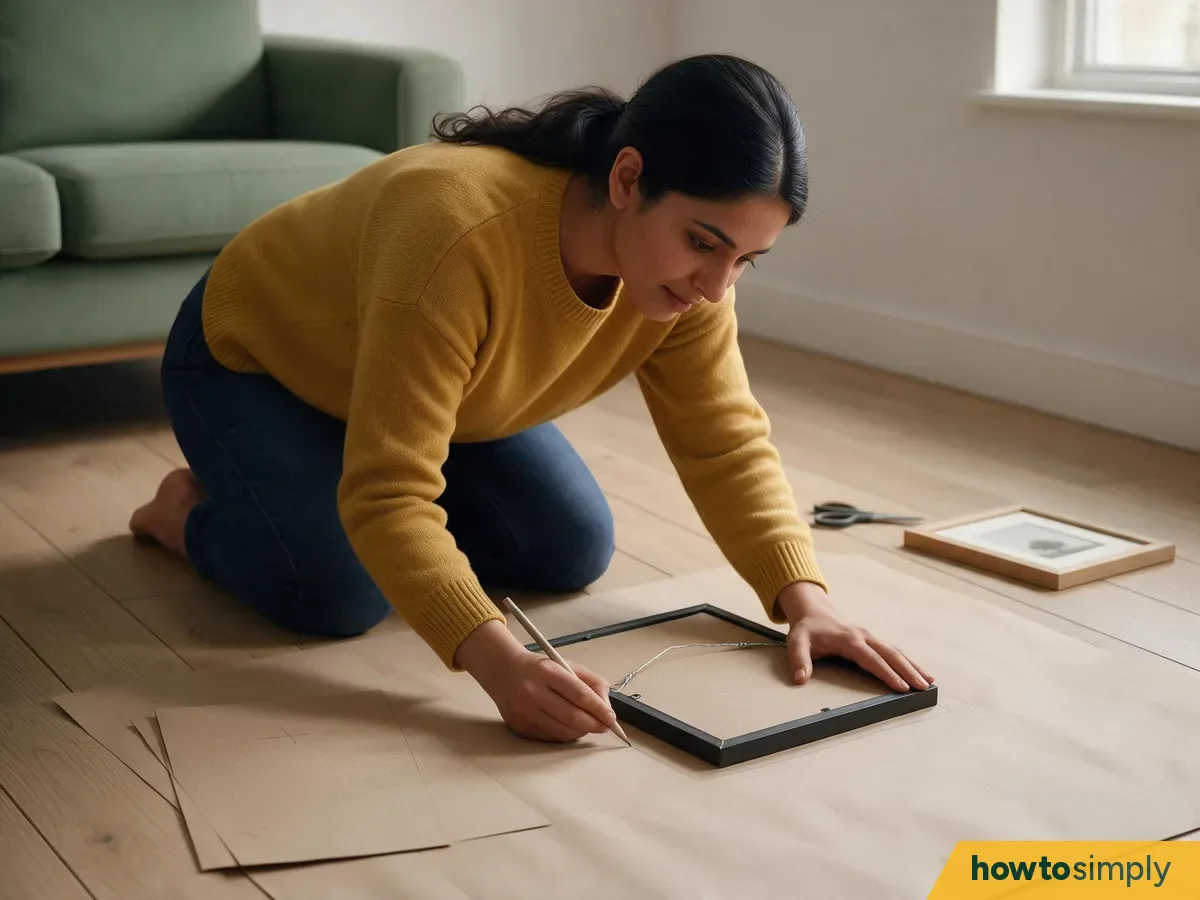
Illustration On the floor, Amira traces round each frame on brown paper and cuts the shapes out. On each one she marks a small cross where its nail will go.
Trace round each frame and cut it out. Measure the hanger drop down from the top edge of the paper and mark a cross, in the middle across (or two crosses for two D-rings). This is our general advice: the template lets you see the layout and check the nail at the same time.
Tape the templates up at your marks, then step back.
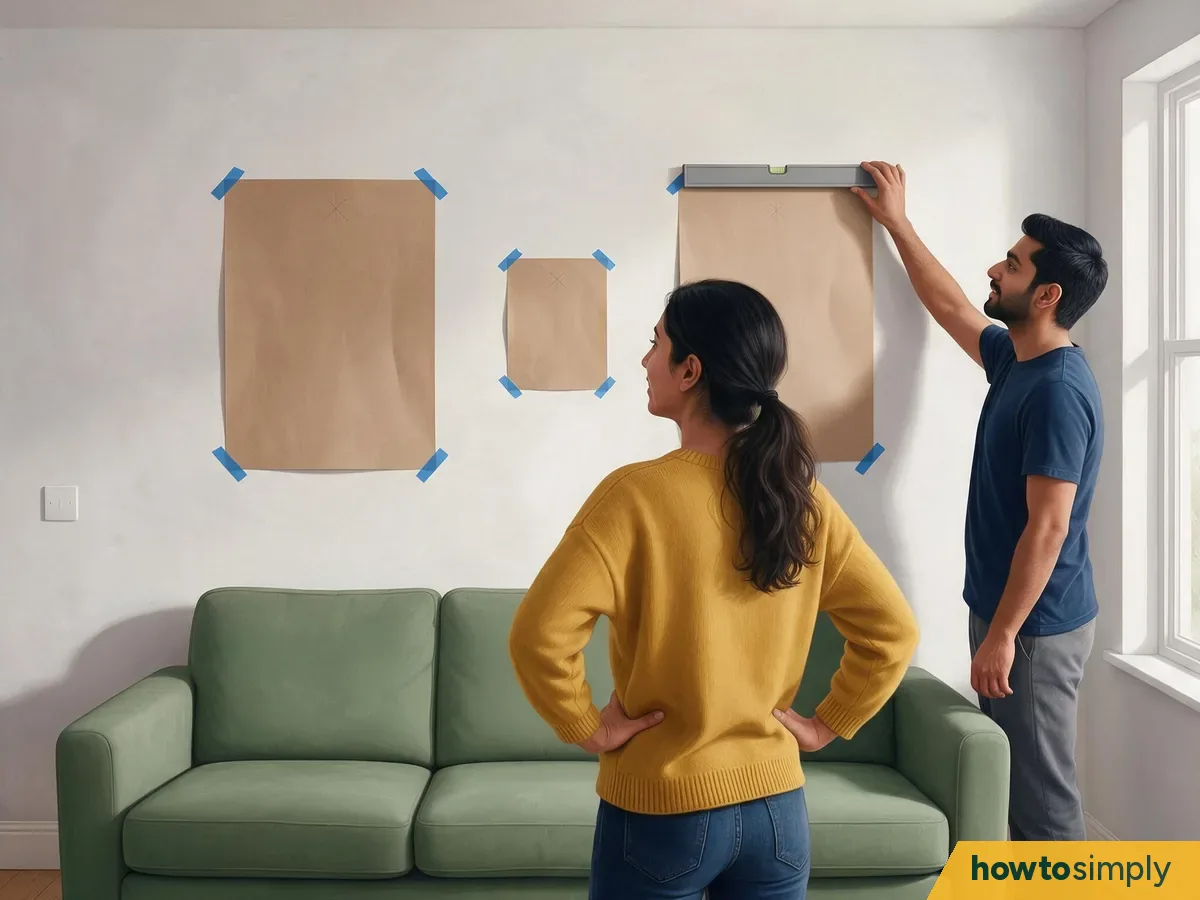
Illustration Sami tapes the three paper shapes up at the pencil marks, checking each top with the level. Amira stands back in the middle of the room: the row sits evenly over the sofa.
Mark the first left edge and the nail heights lightly in pencil, then tape each template so its left edge and its cross line up with your marks. Use low-tack tape so it lifts off without taking paint. Look from where you will usually see the wall. If the group looks too high or too low, change the height in the calculator and move the paper, not the nails.
You should see: equal gaps between the papers and the same space at each end of the sofa.
Careful: never drill or nail where a cable or pipe could be (see below).
Check the wall behind every cross for cables and pipes.
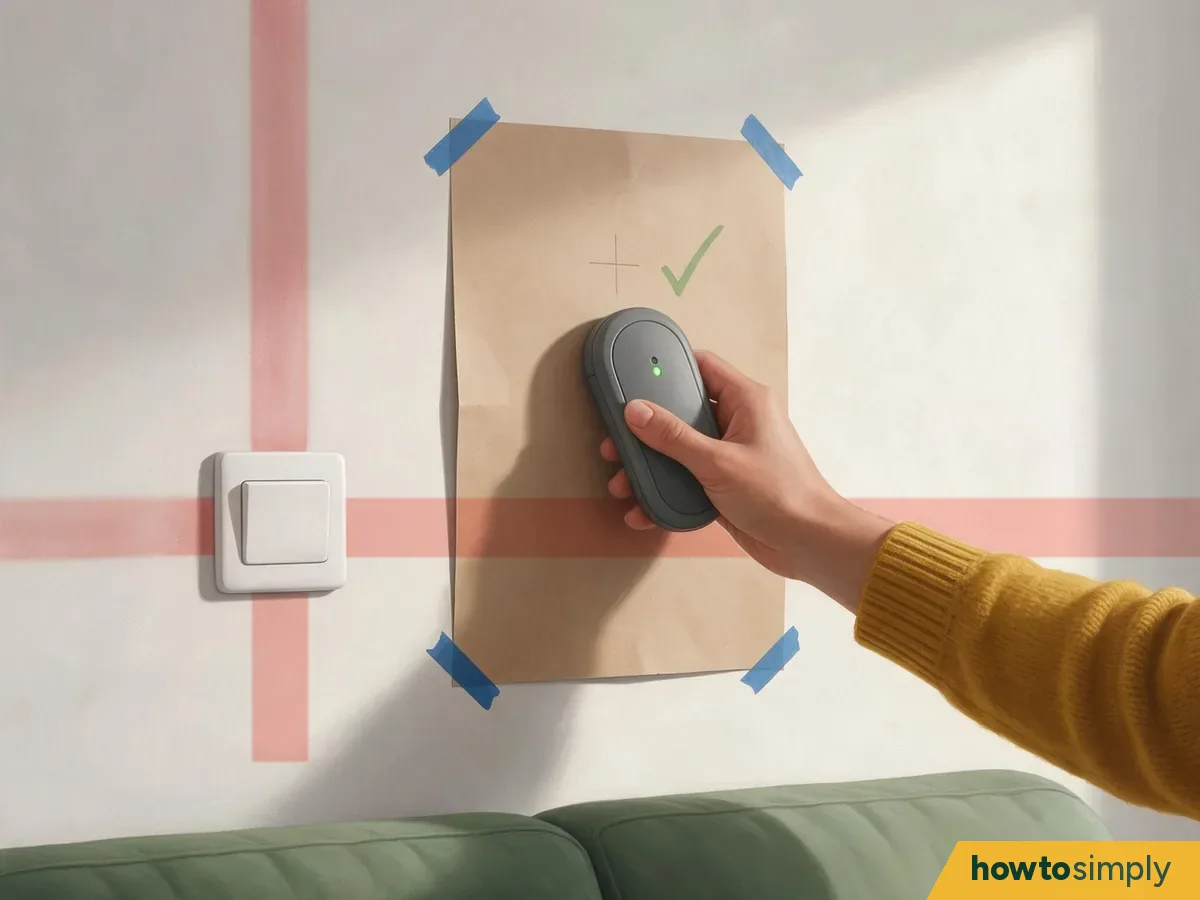
Illustration There is a light switch near the left end of the sofa. Amira runs a detector over each cross and checks none of them sits straight above or beside the switch.
In the UK, wiring rules let hidden cables run in zones: within 150 mm of the top of a wall or of a corner, and straight up, down or across from any socket, switch or other accessory on that wall (IET, BS 7671 regulation 522.6). Treat those lines as no-go for nails and screws. Pipes can run anywhere, so a cable and pipe detector is worth using before every hole. In other countries the rules differ, so the safe habit is the same: avoid the lines from sockets and switches and scan first.
Hang the frames
Mark each nail through the paper, then pull the paper off.
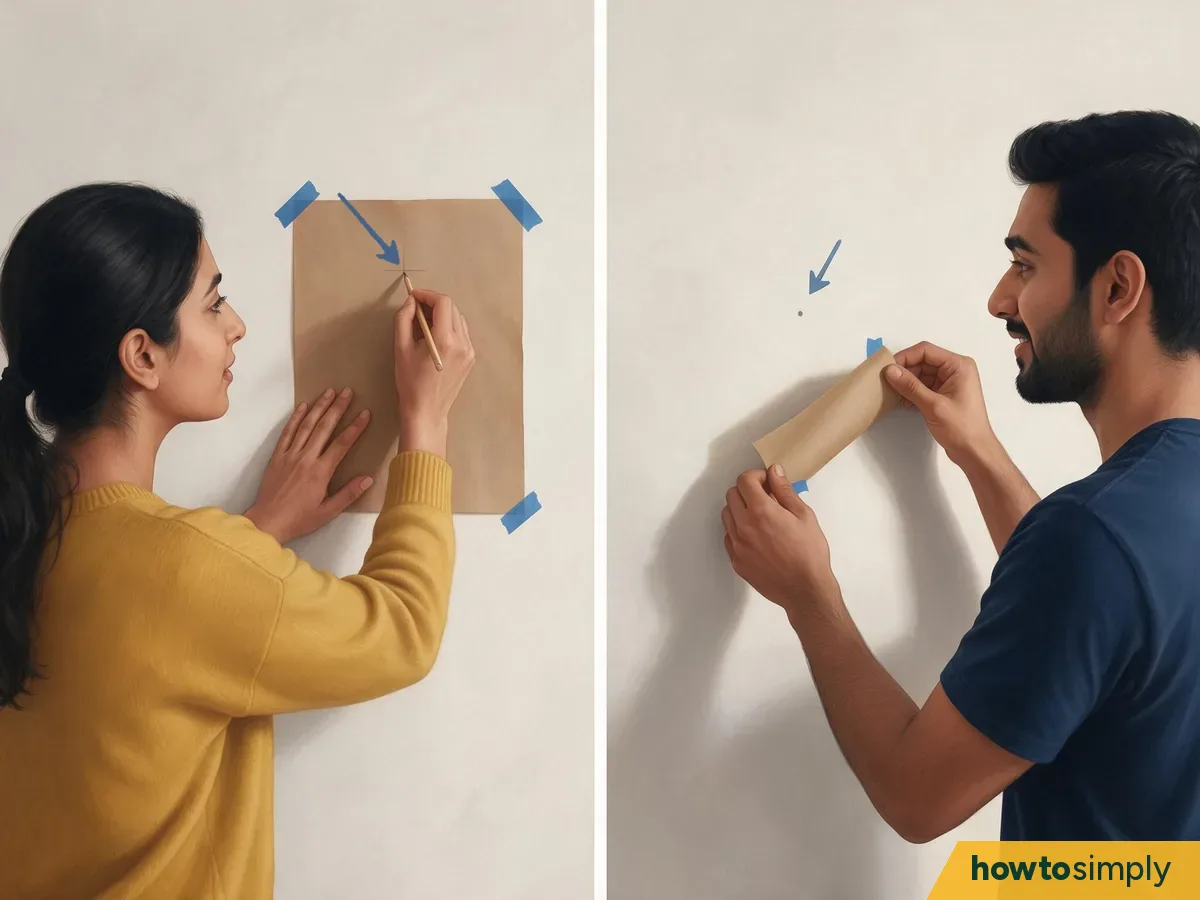
Illustration Amira pushes the pencil through each paper cross. When Sami peels the paper away, three small dots are left on the wall.
Press a pencil point through each cross so it leaves a dot on the wall. Then lift the template off. Check one dot against the calculator with the tape measure before you make any hole.
Put in the right fixing for your wall.
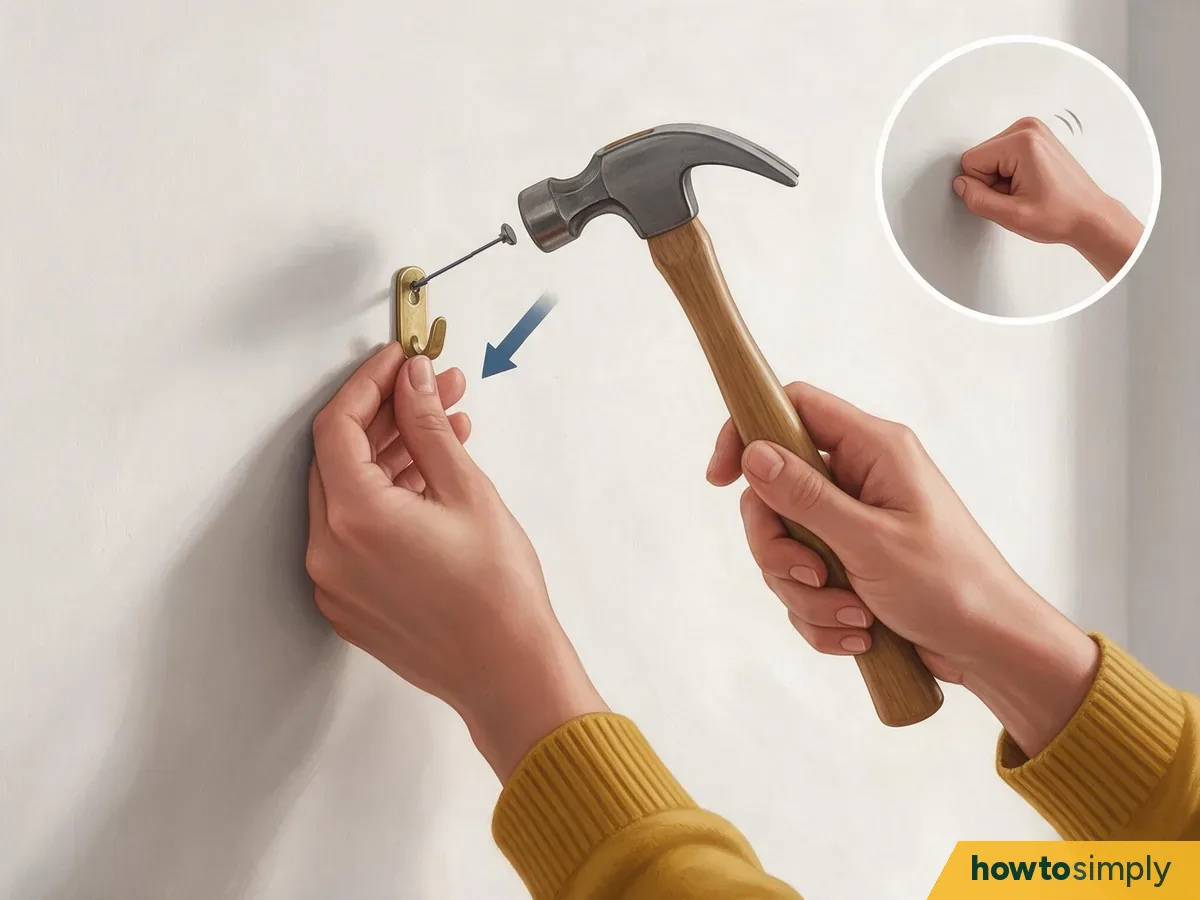
Illustration Amira's wall sounds hollow when she knocks on it: it's plasterboard. She taps a picture hook's thin pin in at each dot.
Knock on the wall: a hollow sound usually means plasterboard (drywall), a dull solid sound means brick, block or concrete. Put the bottom of the hook, where the wire or hanger will rest, on your dot. Use the table below to choose the fixing, and check the weight it is rated for on its pack.
| Your wall | Where it's common | Fixing to use |
|---|---|---|
| Plasterboard (drywall, Gipskarton) | Partition walls in UK and German flats; most US walls | Light frames: picture hooks with thin pins. Heavier frames: a plasterboard fixing, such as fischer's GK GreenLine, rated at 7 kg in 9.5 mm board and 8 kg in 12.5 mm board (fischer) |
| Plasterboard on wooden studs | US homes | Screw into a stud where your mark allows: studs are usually 16 inches (41 cm) apart, centre to centre (Home Depot). Otherwise use a drywall anchor. |
| Brick, block or concrete | Older UK and German homes; most homes in Pakistan and India | Drill with a masonry bit, push in a wall plug that matches the screw, then screw in a hook. Picture strips don't hold on brick (3M). |
| Smooth painted wall, no holes allowed | Rented flats everywhere | Adhesive picture strips for light frames: 3M rates its Large Command picture strips at 4 lb (about 1.8 kg) per set. Not on wallpaper or textured walls; wait 1 hour before hanging (3M). |
Hang the middle frame first and level it.
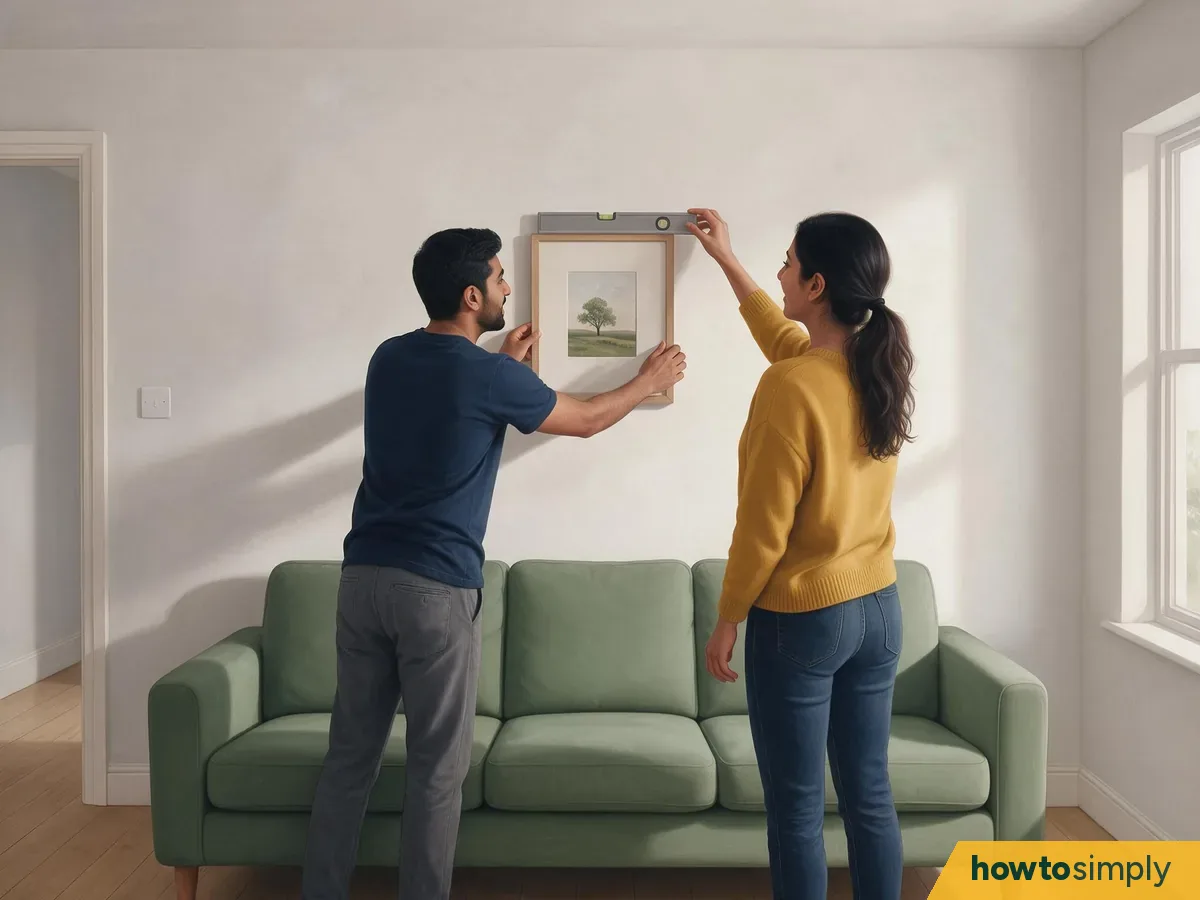
Illustration Sami hangs the small middle frame. Amira lays the level on top and nudges the corner until the bubble sits in the middle.
Start in the middle and work outwards, so any small error spreads evenly instead of building up at one end. Put the level on the top edge and nudge the frame until it is straight.
Hang the others and check each gap with a spacer card.
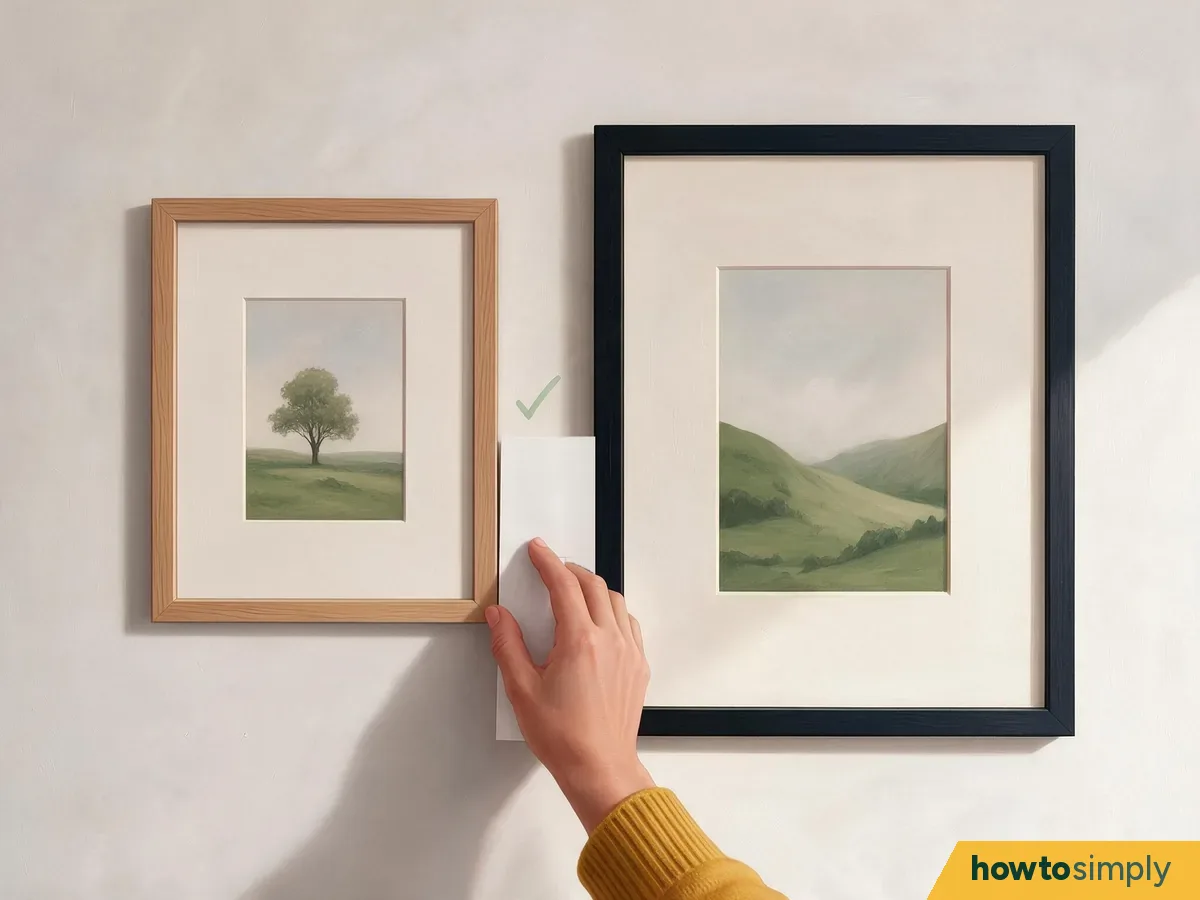
Illustration Amira cut a strip of card exactly 6 cm wide. Sami hangs the big frames on each side, and she slides the card into each gap: it fits snugly both times.
Cut a strip of card as wide as your gap. Slip it between each pair of frames: if it fits snugly top and bottom, the gap is right and the frame is straight. This is our general advice and saves measuring each gap again.
Step back and check the whole group.
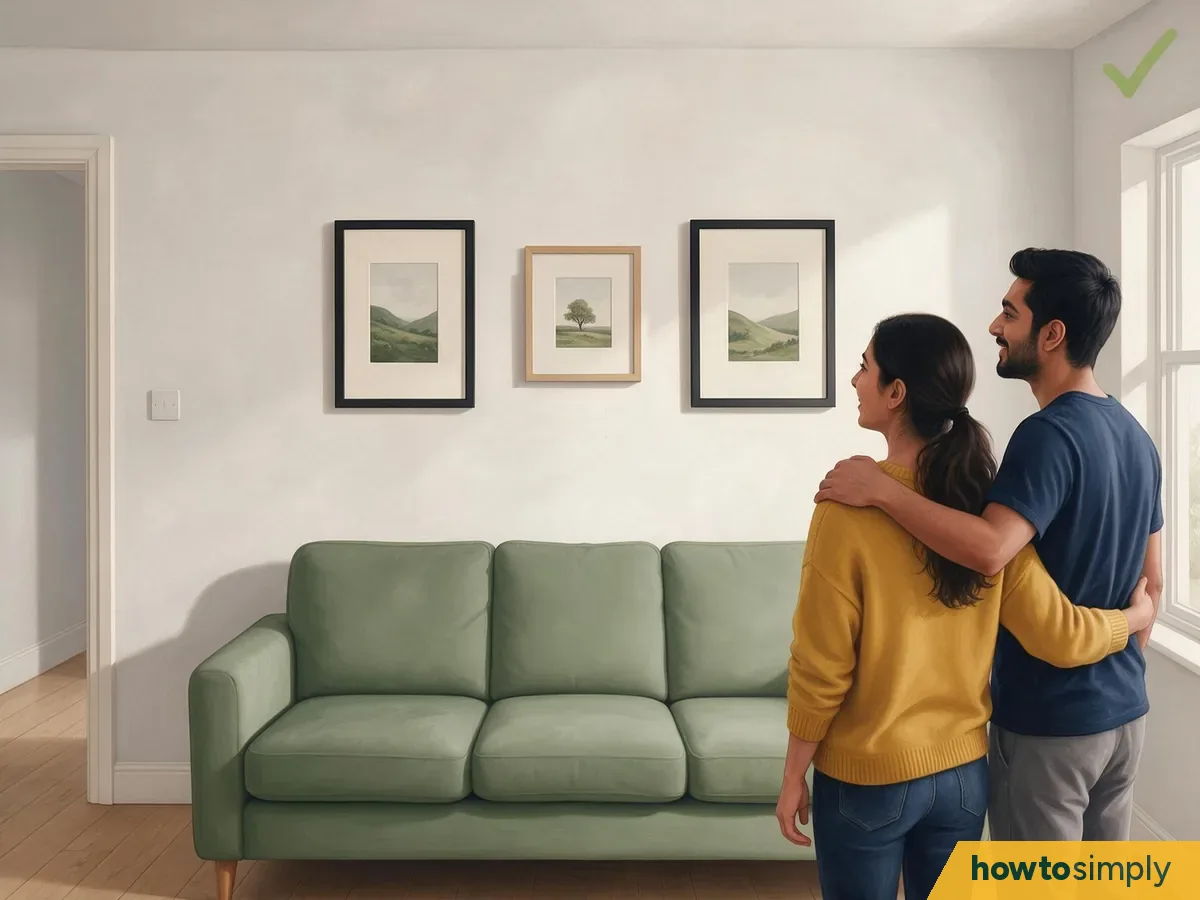
Illustration Amira and Sami stand back together in the middle of the room. Three frames, equal gaps, the same space at each end of the sofa, and only three small holes in the wall.
Look from the door and from where you sit. Rub out any pencil marks that still show with a soft eraser. If a frame tips over time, a small piece of removable adhesive putty behind each bottom corner holds it straight (our general advice).
How to tell it worked
- The space at each end of the sofa (or wall) is the same.
- Every gap between frames is the same width.
- The level sits straight on top of each frame.
- There is one hole per hook, and none in line with a socket or switch.
If it doesn't work
| What happens | What it means | What to do |
|---|---|---|
| The frame hangs lower than planned | The hanger drop was left out or measured with the wire slack | Measure the drop with the wire pulled taut and put it in the calculator (AS Hanging) |
| The gaps aren't equal | The frames were measured inside the frame, or hooks moved | Measure the outside edge; check with a spacer card |
| The calculator says the frames don't fit | Frames plus gaps are wider than the space | Use a smaller gap, fewer frames, or two rows |
| A frame keeps tilting | One hook in the middle lets it swing | Use two hooks on D-rings, or putty behind the bottom corners |
| The pin bends or won't go in | The wall is brick or concrete, not plasterboard | Drill and use a wall plug instead |
| An adhesive strip came off the wall | Wallpaper, textured paint or too much weight | Strips aren't for those walls (3M); use hooks |
Moving house or setting up a new room? See our guides to stopping condensation and mould and finding your main water valve.
Questions readers ask
How far apart should frames be on a gallery wall?
Frameology suggests 2 to 3 inches (5 to 8 cm), measured edge to edge, not centre to centre. What matters most is that every gap is the same; the calculator keeps them equal for you.
How high should a gallery wall be?
A common rule puts the middle of the whole group about 57 inches (145 cm) from the floor, roughly average eye level (AS Hanging). Some people go up to 60 inches (152 cm) for tall ceilings or a high sofa.
Should I centre the gallery wall on the wall or on the sofa?
Centre it on whatever sits under it. If a sofa, bed or sideboard is below, measure that and centre on it; if the wall is empty, centre on the wall. Our calculator takes either: enter the width and where it starts from the corner.
Can I hang a gallery wall without nails?
Yes, for light frames on smooth painted walls. 3M rates its Large Command picture strips at 4 lb (about 1.8 kg) per set, and says not to use them on wallpaper, textured walls or brick, and to wait an hour after sticking them before you hang anything.
Does the calculator work for a grid of frames?
Yes. Enter one row of frames and set the number of rows: it stacks identical rows with the gap you choose and keeps the whole block centred on your height.
Did this solve the problem?
What needs work?
What did you think?
Reaction counts are loading.
Spotted a mistake? If a step is unclear or a picture is inaccurate, tell us the step number and what needs correcting. Email us about this page or use the contact form. We read every report, and fixes are listed on What changed.
Liked this article?
Follow us for new articles and short how-to videos.
Sources
We use primary, official and specialist sources appropriate to the topic.
- AS Hanging: What is the rule of 57 for hanging art?
- AS Hanging: 57 inch rule, the magic number for hanging pictures
- Frameology: How far apart to space frames on a gallery wall
- IET Wiring Matters: concealed cables in walls (BS 7671 regulation 522.6)
- The Home Depot: 16 inch vs 24 inch framing wall studs
- 3M Command: Product weight limits guide
- 3M Command: Large picture hanging strips (surfaces)
- 3M Command: How to use picture hanging strips (wait 1 hour)
- fischer: Plasterboard fixing GK GreenLine (load table)