How to fix a running toilet
Researched by Abu Bakar Saadat9 min read
Last updated: 15 November 2026References
On this page 9 sections
In short
A trickling cistern can waste up to 400 litres a day, and the fix is usually one rubber washer. Lift the lid: water at its tide mark means the flush valve washer, water above it means the fill valve. Bunnings Workshop rates swapping either one a beginner job.
At a glance
- Test
- Dry toilet paper at the back of the pan, 1 hour to overnight (Bristol Water, WaterSafe)
- Or
- 1 teaspoon of food colouring in the cistern, wait 10 to 15 minutes (NYC DEP)
- Wasted
- Up to 400 litres a day from one leaking cistern (WaterSafe)
- Water level
- Roughly an inch (2.5 cm) under the top of the overflow (HomeServe)
- Advice from
- WaterSafe, Bristol Water, NYC DEP, HomeServe, read 28 October 2026
- Checked
- November 2026
Nobody enjoys lying in bed listening to the toilet trickle through the night and imagining the next water bill. Fortunately, it usually comes down to one of two parts, very often just a rubber washer, and we'll work out which one together.
The first thing to find out is which part is causing the trouble. According to NYC DEP and Bunnings Workshop, a toilet that keeps running, or keeps trickling into the pan long after a flush, is most often down to one of two parts. Either the flush valve at the bottom of the cistern isn't closing properly, or the fill valve isn't shutting off once the cistern is full. The tests below show you which, so you buy the right replacement part the first time. Do them even if nothing seems wrong, because WaterSafe warns that a leak can be silent and easily overlooked. And if your routine is jiggling the handle every night and hoping, I'm afraid the cistern isn't paying attention.
How to find and fix the leak
Test for a silent leak.
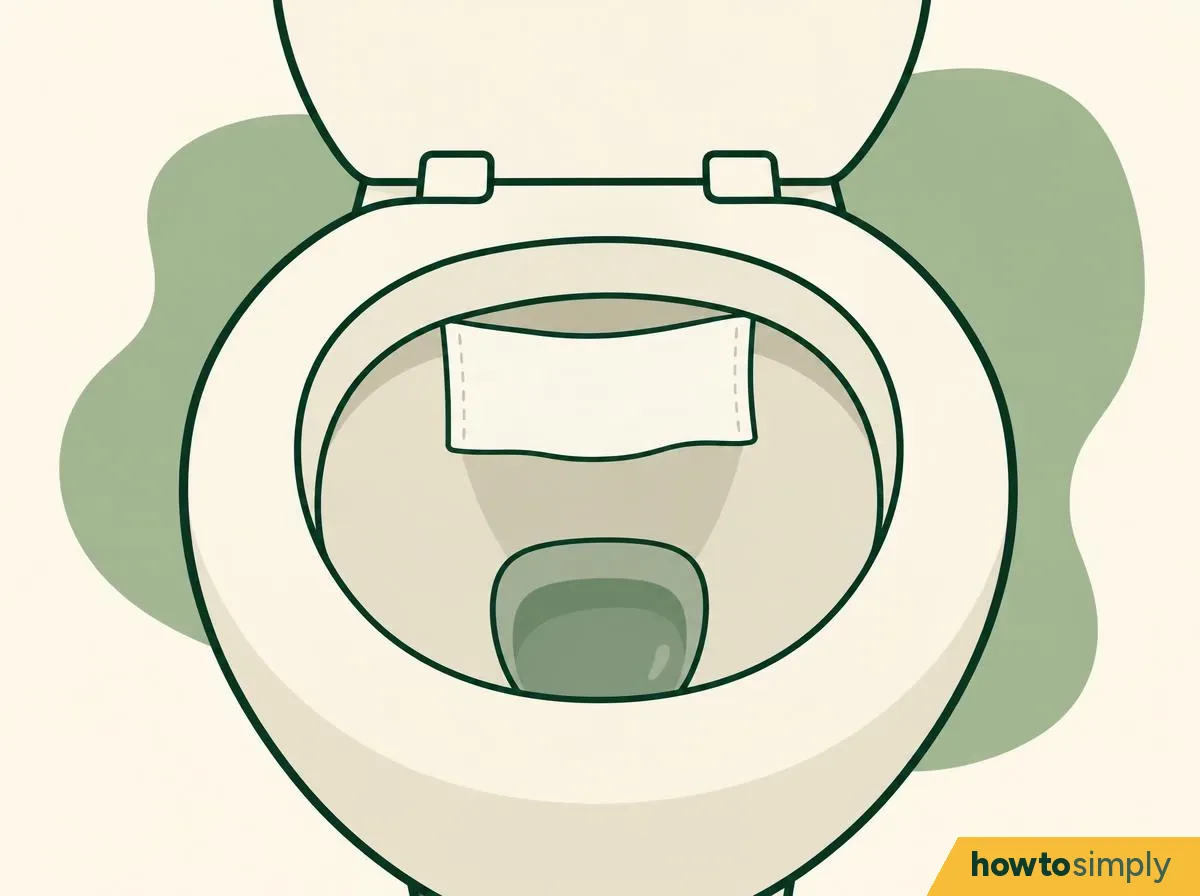
Illustration Toilet paper test: about 30 minutes after flushing, dry the back of the pan and lay a dry piece of toilet paper across it, just below the rim (WaterSafe, Bristol Water). Don't flush. Bristol Water says to leave it about an hour; WaterSafe says up to three hours or overnight.
Food colouring test: put a teaspoon of food colouring in the cistern and wait 10 to 15 minutes without flushing (NYC DEP). If you have food colouring in the kitchen, I would use this one, because you get your answer much sooner.
You should see: dry paper or clear water if there's no leak. Wet or torn paper, or coloured water in the pan, means the cistern is leaking. The faster colour appears, the bigger the leak (NYC DEP).
Lift the cistern lid and mark the water line.
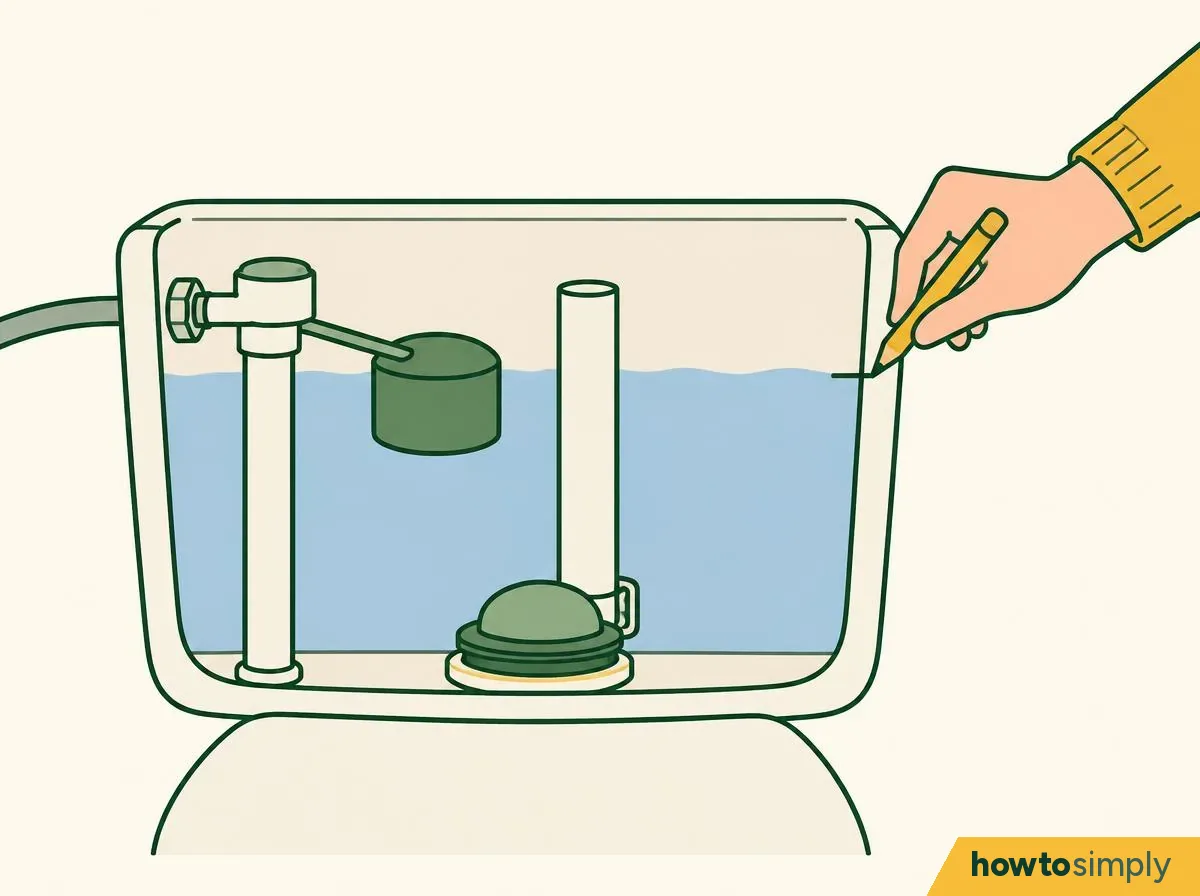
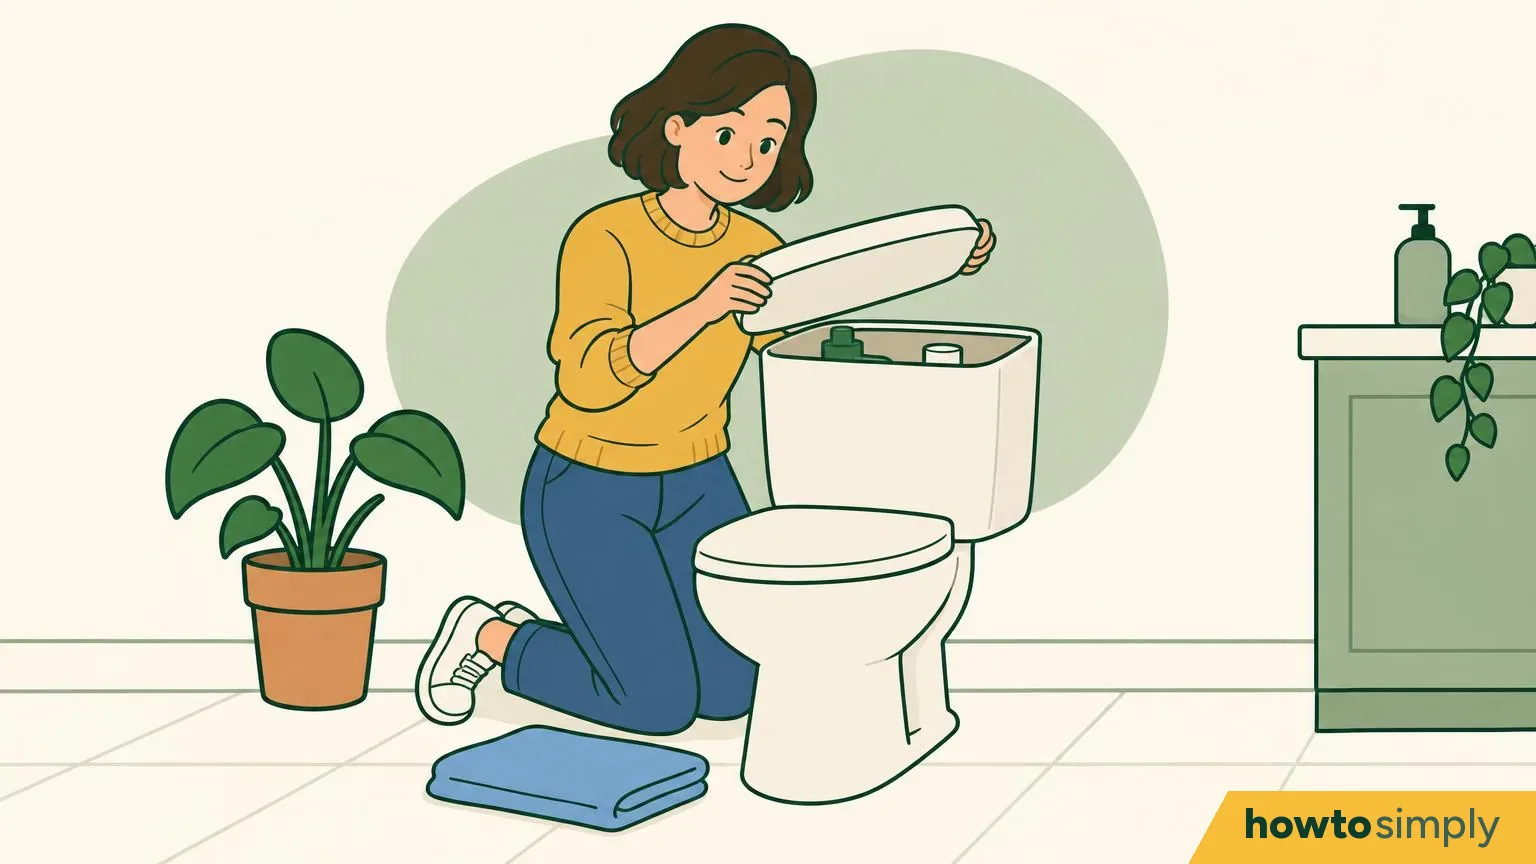
Illustration Put the lid on a towel on the floor, because it is heavier than it looks and breaks easily. Inside the tank, on the back wall, there's a line showing how high the water normally fills (NYC DEP); Bristol Water calls this the "tide mark". Mark the level the water is at now with a pencil (NYC DEP).
Find the two parts: the fill valve where the water comes in, with a float on it, and the flush valve in the middle at the bottom, which opens when you press the button or lever. Most have an overflow: a pipe or opening that takes away water if the level gets too high.
You should see: the tide mark, your pencil mark, and where both valves are.
Flush, watch the refill and compare with the line.
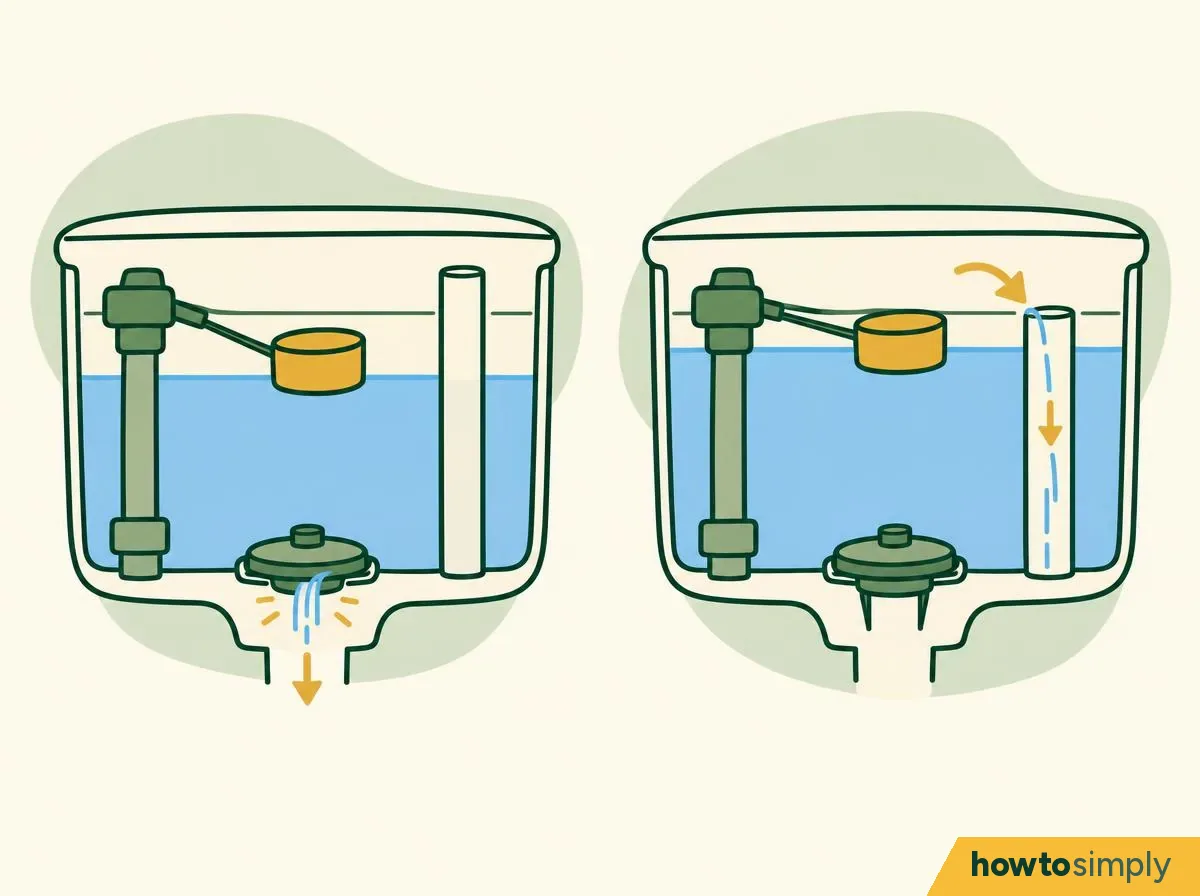
Illustration: left, flush valve leak; right, fill valve fault Bristol Water's rule: if the water sits at the tide mark, the flush valve is probably leaking and needs a new outlet washer. If the water sits higher than the tide mark, suspect the fill (inlet) valve; the fix is probably a new diaphragm washer.
NYC DEP adds a second check. If the water rises above your pencil mark and then drops, suspect the flush valve or flapper. If it stops below the mark and then creeps above it, suspect the fill valve.
One more quick check from Bunnings Workshop: turn off the tap to the cistern and listen. If the running stops, the inlet (fill) valve is letting water through; if water still trickles into the pan, it's the flush valve.
You should see: which part is at fault. Use the table below if you're unsure.
Turn off the water to the toilet and flush to empty the cistern.
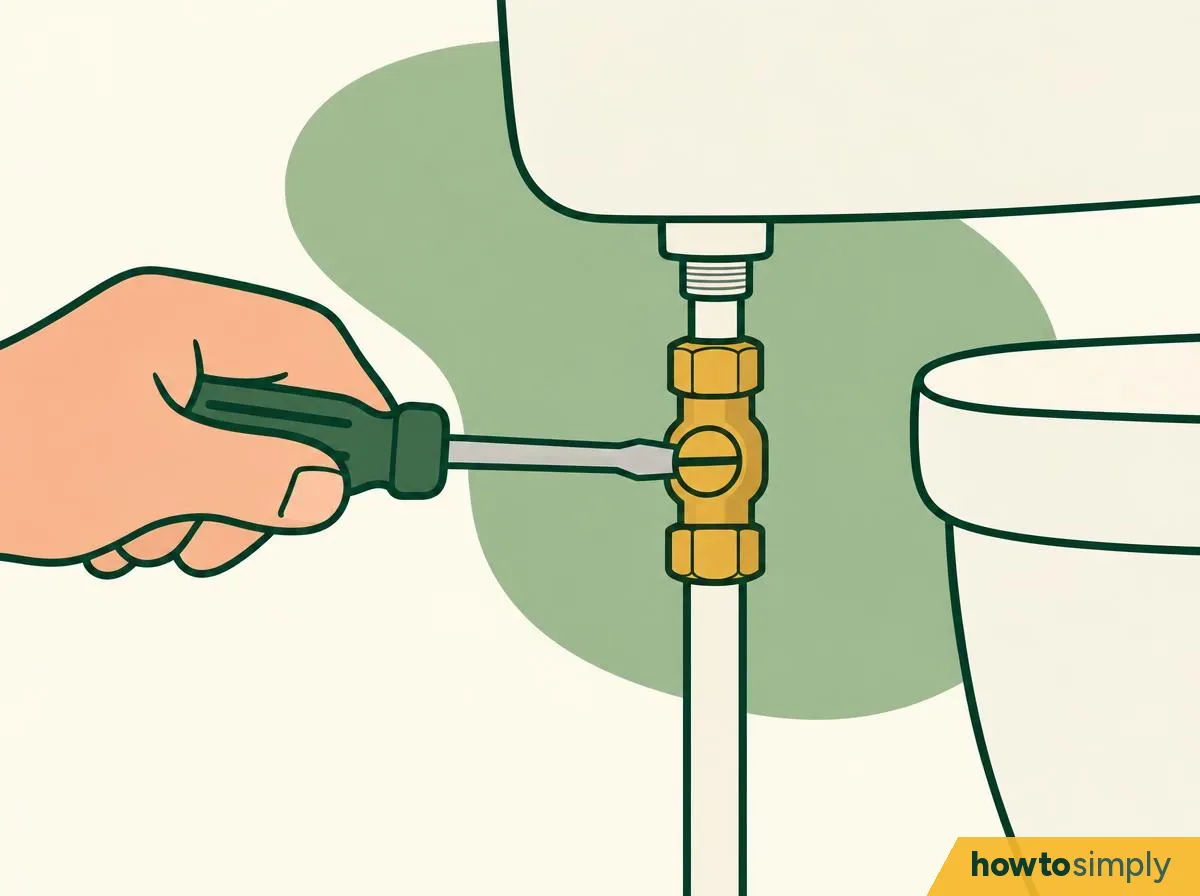
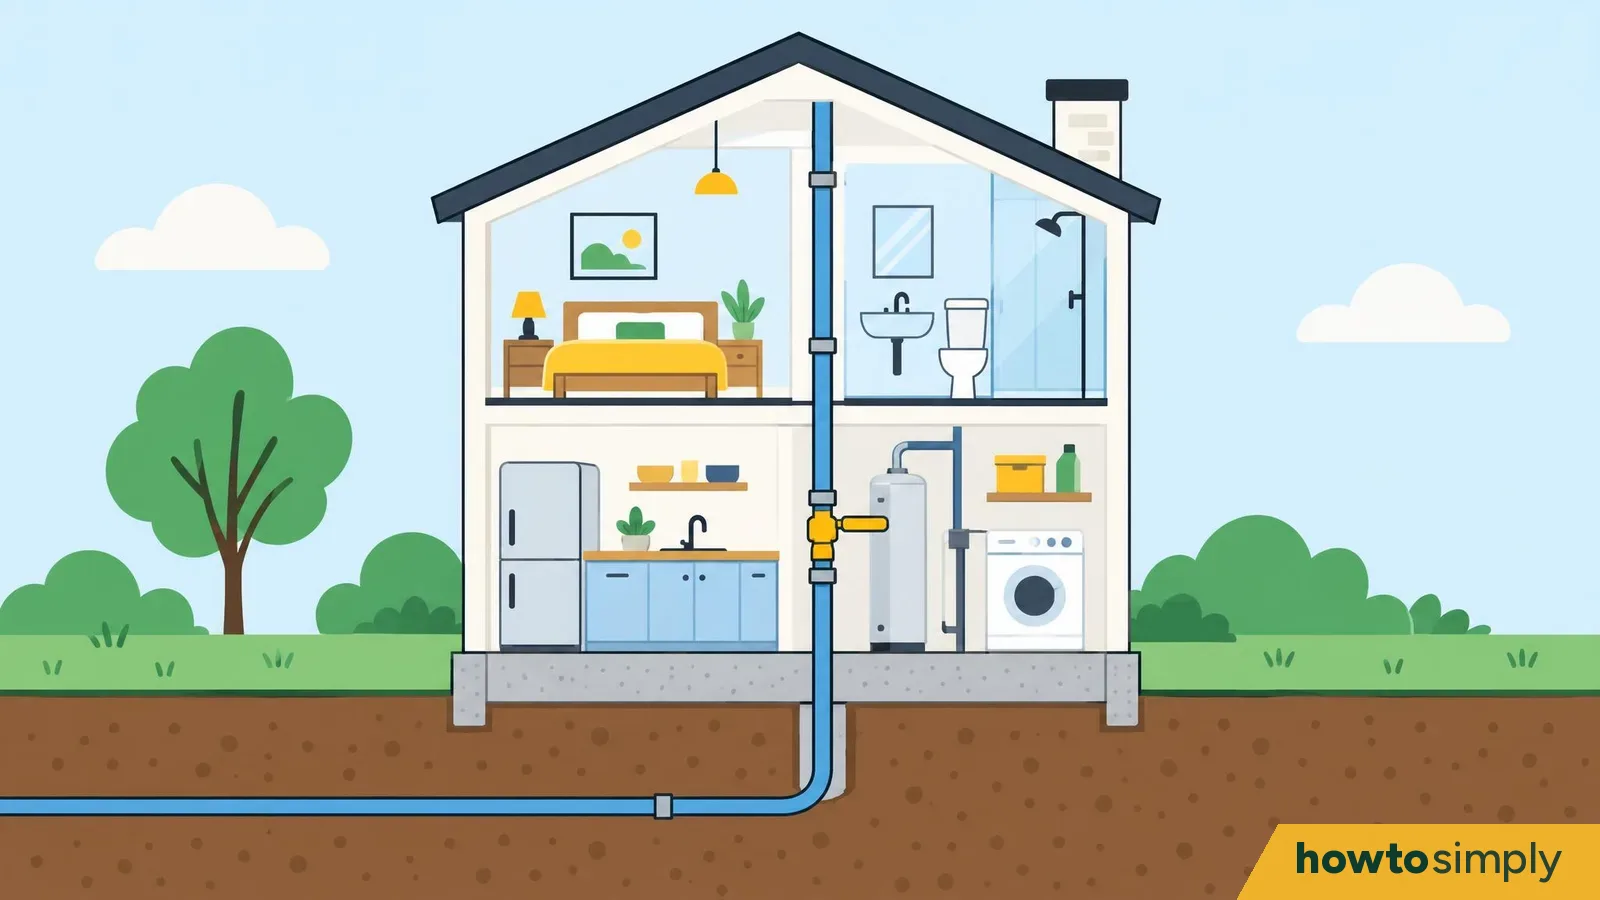
Illustration Close the stop tap or isolation valve on the pipe next to the toilet. If there isn't one, use your home's main stop tap (Bristol Water). Then flush to empty the cistern (Bristol Water).
Not sure where the main stop tap is? See how to turn off your main water valve.
You should see: an empty cistern that doesn't refill.
If the water was too high, lower the float.
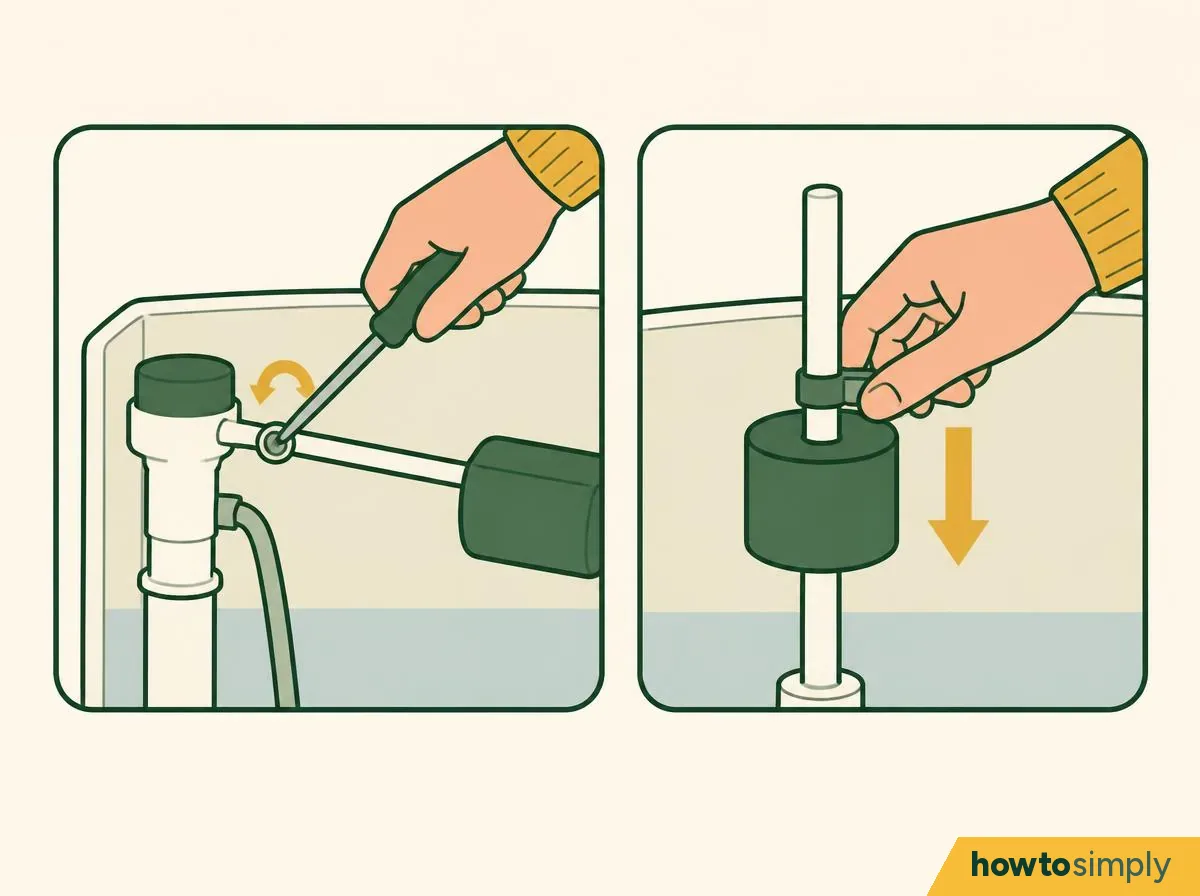
Illustration Then there is the float. Sometimes the fill valve is fine and just set too high, and lowering the float is the easiest fix on this page. However, it only helps when the water was sitting too high, so check your pencil mark first. HomeServe says the water should settle about an inch (2.5 cm) below the overflow.
Float on an arm: turn the adjustment screw where the arm meets the valve anticlockwise to lower the level. Cup float on a rod, clip type: pinch the clip and slide the float down. Cup float, screw type: turn the screw clockwise to lower it (HomeServe). Turn the water back on, flush and check; adjust again if needed.
You should see: the water stopping about 2.5 cm below the overflow, and no more running.
Swap the worn washer.
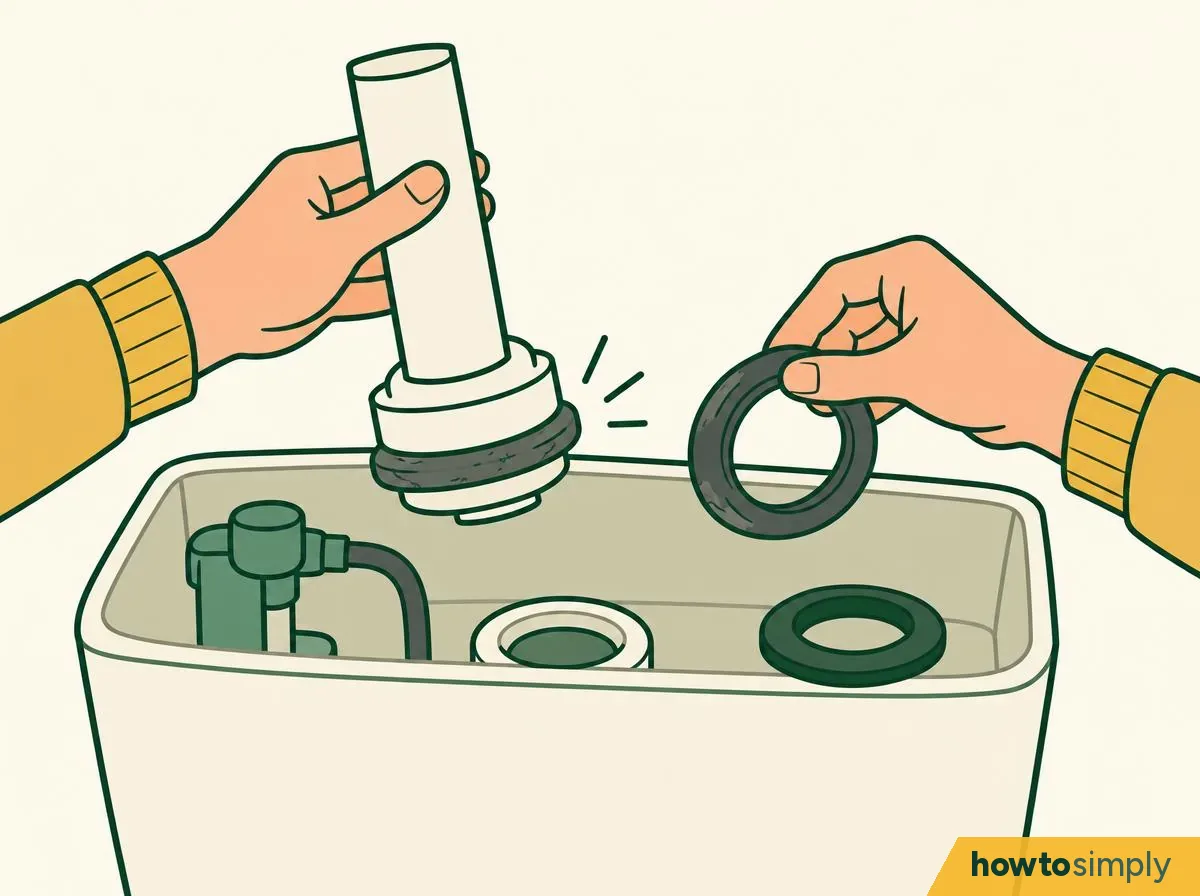
Illustration Flush valve (water at the tide mark): before you touch it, make sure you note which way the valve sits, so it goes back the same way. Trust me, it is very easy to forget once the valve is in your hand. Most modern drop valves come out by twisting the top or by pressing two release clips at the base together; a slot type turns to a release point and then lifts out (Bunnings Workshop). Turn the valve upside down. The seating washer is the rubber ring on the bottom: grab one edge and peel it off, then clip the new one to the bottom of the valve and pull its edges so it sits centred. Click the valve back into place (Bunnings Workshop).
Fill valve (water above the tide mark): on the common type with a float and lever, lift the float arm to the top, hold the cap and turn the valve body anticlockwise to take the top off. Pull out the old seal, push in the new one and refit the top (Bunnings Workshop).
Take the old washer or seal to the shop, or note your toilet's make, so you buy a match (Bristol Water, Bunnings Workshop). If your valve looks nothing like this, the maker's fitting guide is the next stop (Bristol Water).
Lever toilet with a chain and flapper: NYC DEP says to replace the flapper, choose one that suits a water-saving toilet if you have one, and check that the flapper, chain and lever line up with the flush valve. It suggests a flapper with a 5 or 10 year warranty.
You should see: the new washer flat and centred, with nothing twisted or caught, and the valve locked back in.
Turn the water back on and test again.
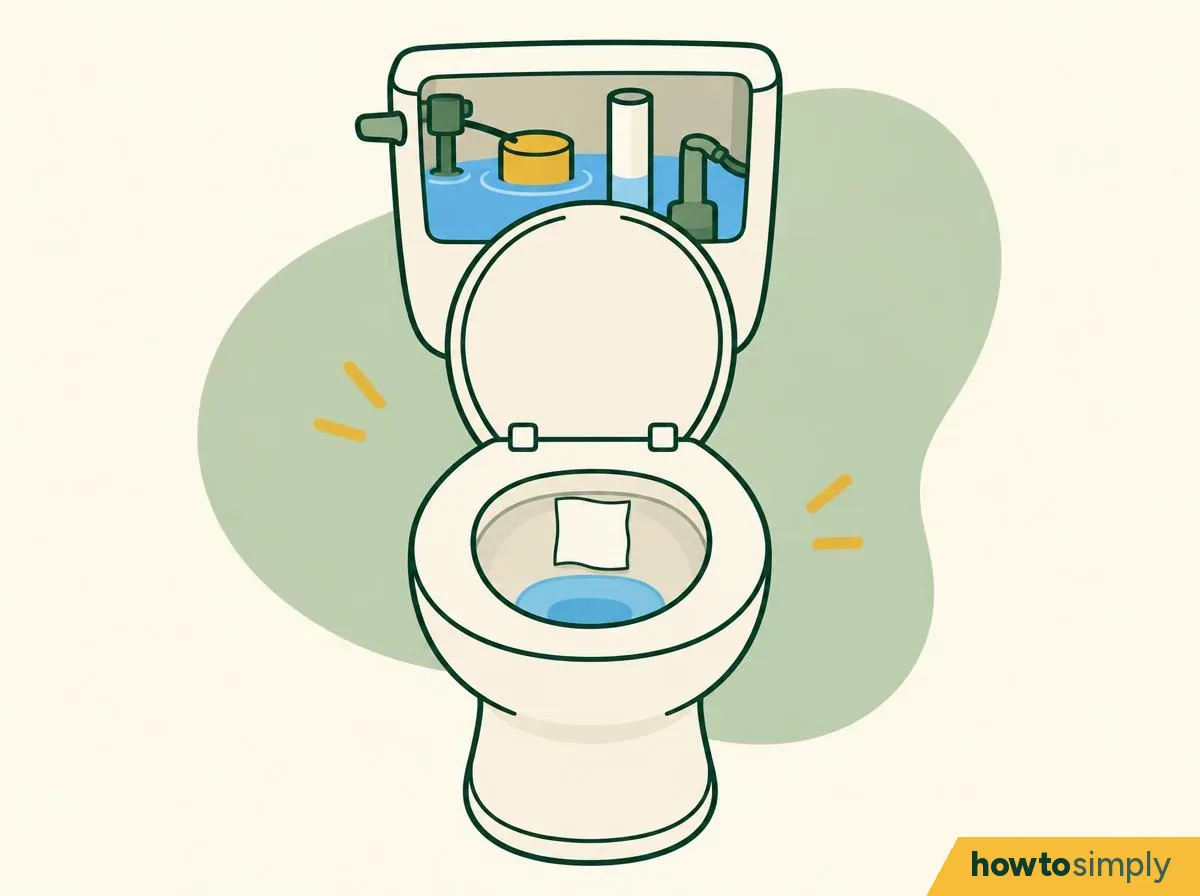
Illustration Open the isolation valve, let the cistern fill and check underneath for drips. Then repeat the toilet paper or food colouring test from step 1. A quiet cistern is not proof on its own; the test is. Bristol Water suggests checking for leaks regularly afterwards.
You should see: the fill stopping by itself, no water reaching the overflow, and dry paper or clear water in the pan.
Which part is failing?
| What you see in the cistern | Likely part | Usual fix |
|---|---|---|
| Water at the tide mark, trickling into the pan | Flush valve (Bristol Water) | New outlet washer, or a new flapper on a lever toilet (Bristol Water, NYC DEP) |
| Water above the tide mark, running into the overflow | Fill valve (Bristol Water) | Lower the float (HomeServe); if that fails, a new diaphragm washer (Bristol Water) or a new fill valve (NYC DEP) |
| Water rises above your pencil mark, then drops | Flapper or flush valve (NYC DEP) | Replace it and check the chain lines up (NYC DEP) |
| Water stops below your mark, then creeps above it | Fill valve (NYC DEP) | Replace it, or ask a plumber (NYC DEP) |
How to tell it worked
- The cistern refills and then goes quiet, with no hiss or trickle.
- The water settles below the overflow, about 2.5 cm down, as HomeServe describes.
- A fresh toilet paper or food colouring test shows no leak (Bristol Water, NYC DEP).
- No drips under the cistern or around the isolation valve.
If something goes wrong
| What happens | What it means | What to do |
|---|---|---|
| Still leaking after a new washer | Wrong part, or the flush valve itself is faulty (Bunnings Workshop) | Check it matches your toilet's make (Bristol Water); if it does, replace the flush valve (Bunnings Workshop) |
| The cistern fills too slowly after lowering the float | The isolation valve may be only partly open | Open it fully |
| The fill valve sticks open now and then | NYC DEP says pressure changes can leave a fill valve stuck open | Replace the fill valve, or ask a plumber |
| The isolation valve won't turn, or drips | A stiff or worn valve | Don't force it; turn off the main stop tap and call a plumber |
| You can't find a matching part | There are many flush valve types (Bunnings Workshop) | Ask a registered plumber (Bunnings Workshop); WaterSafe suggests a dual flush model if the cistern needs replacing |
Questions readers ask
How much water does a leaking toilet waste?
A lot more than it looks. WaterSafe says a cistern that drips into the pan can lose up to 400 litres a day, roughly five full baths, and put around 300 pounds a year on your water bill if nobody fixes it. NYC's water department says a fill valve stuck open can waste 3 to 5 US gallons a minute.
Can I get free leak test strips?
Some UK water companies offer them. WaterSafe suggests asking your water supplier, and Bristol Water, for example, sends a free leaky loo strip through its water-saving questionnaire.
Why is my dual flush toilet the one that leaks?
Bristol Water says modern dual flush toilets with drop valves are among the worst for this, and a leak is easy to miss because all you see is a thin trickle down the back of the pan. For a leaking flush valve, Bristol Water says you probably need a new outlet washer.
How do I find a plumber I can trust?
In the UK, WaterSafe runs a register of approved plumbers you can search by postcode. Bristol Water suggests a suitably qualified professional if you aren't confident with DIY repairs.
Sources and method
- Researched by
- Abu Bakar Saadat
- Pictures
- 9 illustrations drawn for this article: drawings, not photos.
- Sources
- Steps checked against the 6 named sources linked below.
- What this page adds
- A side-by-side drawing of a flush valve leak and a fill valve fault, a toilet paper test for silent leaks, and a table of which part is failing and the usual fix.
What to do next
When something goes wrong at home Step 5 of 5
- What to do if you smell gas: no switches, open windows, get out, callThe one that cannot wait.
- Power cut at home? What to do first, keep food safe and who to callLights out? Here is the order to check things.
- Power went off? How to reset a tripped RCD (FI-Schalter, GFCI) and find what tripped itOnly your house is dark? It is often a tripped switch.
Did this solve the problem?
Where did you get stuck?
Get new guides by email
Our newest guides, sent to your inbox. Free, and you can unsubscribe in one click.
We'll email you to confirm. How we use your email
Follow howtosimply on Facebook
We share every new article on our Facebook page, so the next fix turns up in your feed.
Follow on FacebookWhat did you think?
Reaction counts are loading.
Sources
We use primary, official and specialist sources appropriate to the topic.
- WaterSafe: How can I tell if I have a leaky loo?
- Bristol Water: How to fix a leaky loo (27 October 2025)
- NYC Department of Environmental Protection: Detecting toilet leaks
- HomeServe: How to adjust the water level in a toilet cistern (Liam Sharkey, 1 July 2025)
- Washington State Department of Health: Dangers of mixing bleach with cleaners
- Bunnings Workshop (Australian DIY retailer): How to fix a leaking toilet