How to start seeds indoors
Researched by Abu Bakar Saadat8 min read
Last updated: 15 November 2026References
On this page 7 sections
In short
Sow 4 to 8 weeks before your last frost into fresh seed compost in clean trays, cover thinly, keep it warm and covered until shoots appear, then give strong light. Prick out into pots once they're big enough to handle and harden off for about two weeks.
At a glance
- When
- 4 to 8 weeks before the last frost (Colorado State)
- Warmth
- Around 18 °C for most seeds (RHS); 21 to 24 °C (Colorado State)
- Light
- Grow light 5 to 10 cm above seedlings, 12 to 16 hours a day (Colorado State, Utah State)
- Harden off
- About 2 weeks (Colorado State, Utah State); 2 to 3 weeks (RHS)
- Advice from
- RHS, Colorado State and Utah State university extension services, read 28 October 2026
- Checked
- November 2026
The sight of tiny seedlings stretching thin or flopping over in the night can quickly have anyone believing they should never try growing their own. Don't even think about giving up. Most of the time, what goes wrong comes down to light and air, and each of the steps below takes care of both.
Sowing seeds indoors gives slow-growing, frost-tender varieties an early start, and it can be very enjoyable. However, two problems usually get in the way. According to Utah State University Extension, seedlings usually stretch because of poor lighting. The RHS says damping off is a disease that spreads fastest in crowded, damp, still conditions, where it makes seedlings collapse. Each of the steps below shows how to prevent one or the other.
How to start seeds indoors
Count back from your last frost date.
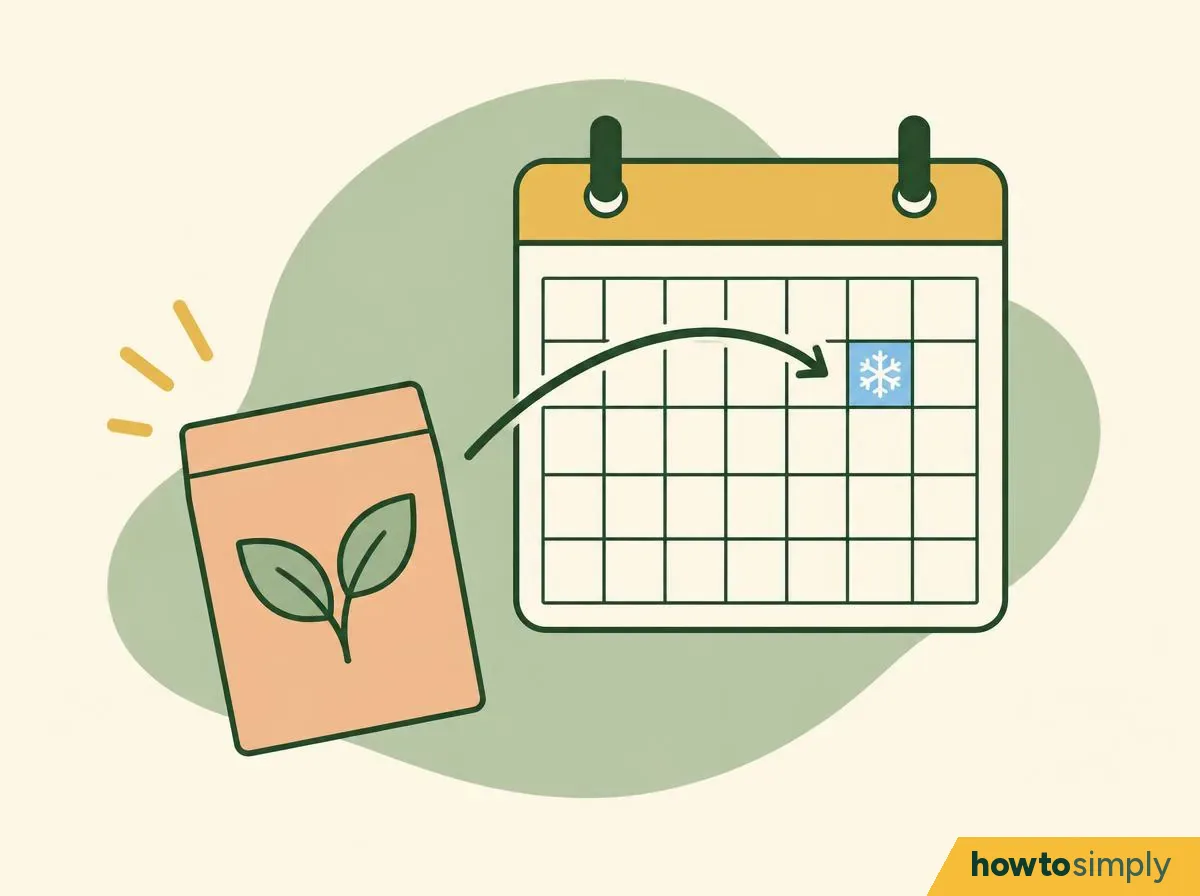
Illustration Colorado State University Extension says most seeds should be started 4 to 8 weeks before the last killing frost. Look up the usual last frost date for where you live. Then check each packet, because sowing times vary depending on the plant (RHS).
You should see: a sowing date for each packet, so seedlings are ready to go outside soon after the frost risk has passed.
Fill a clean tray with fresh compost and firm it.
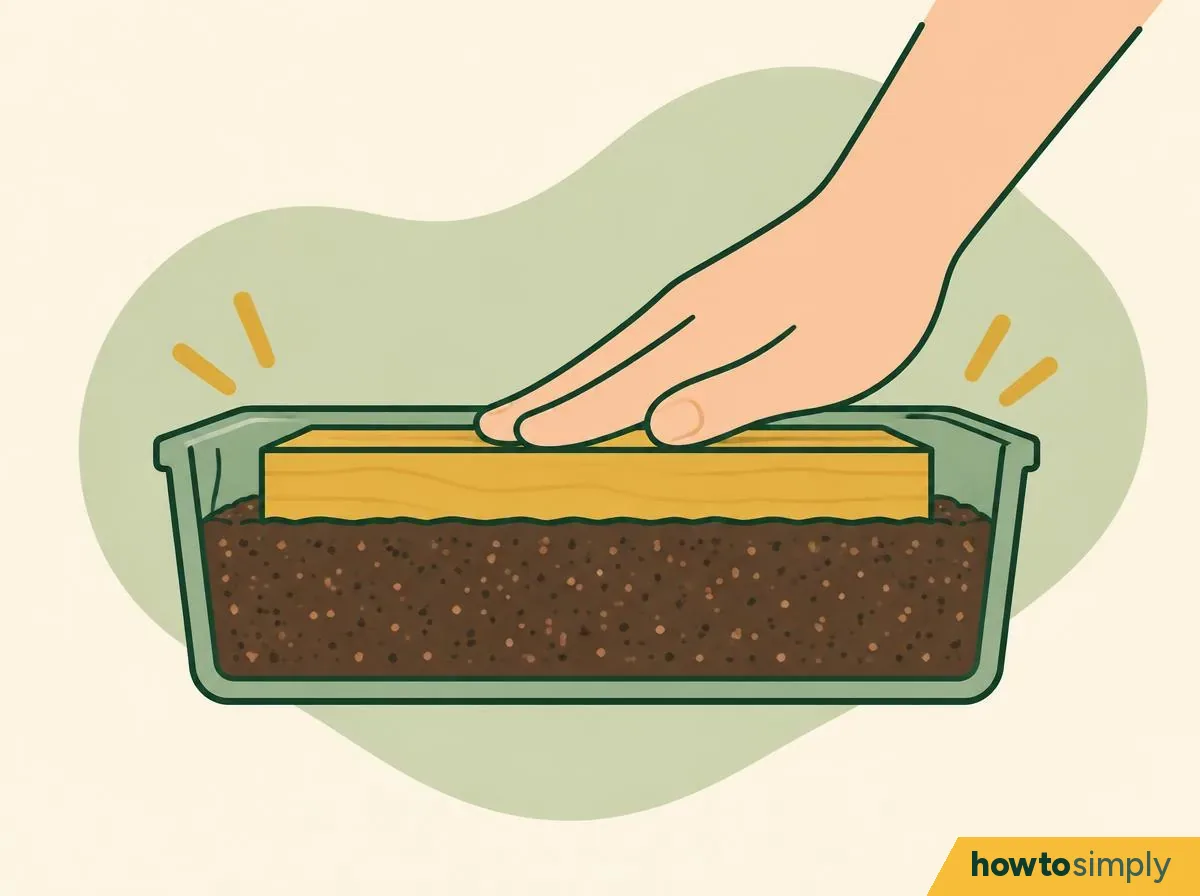
Illustration Fill to just below the rim, and make sure you reach right into the corners. Next, flatten it with a second tray or a flat bit of wood so it sits about 1 cm under the rim (RHS). Use pots or modules for big seeds and trays for small ones (RHS).
You should see: a flat, evenly firm surface with no hollows, about 1 cm below the rim.
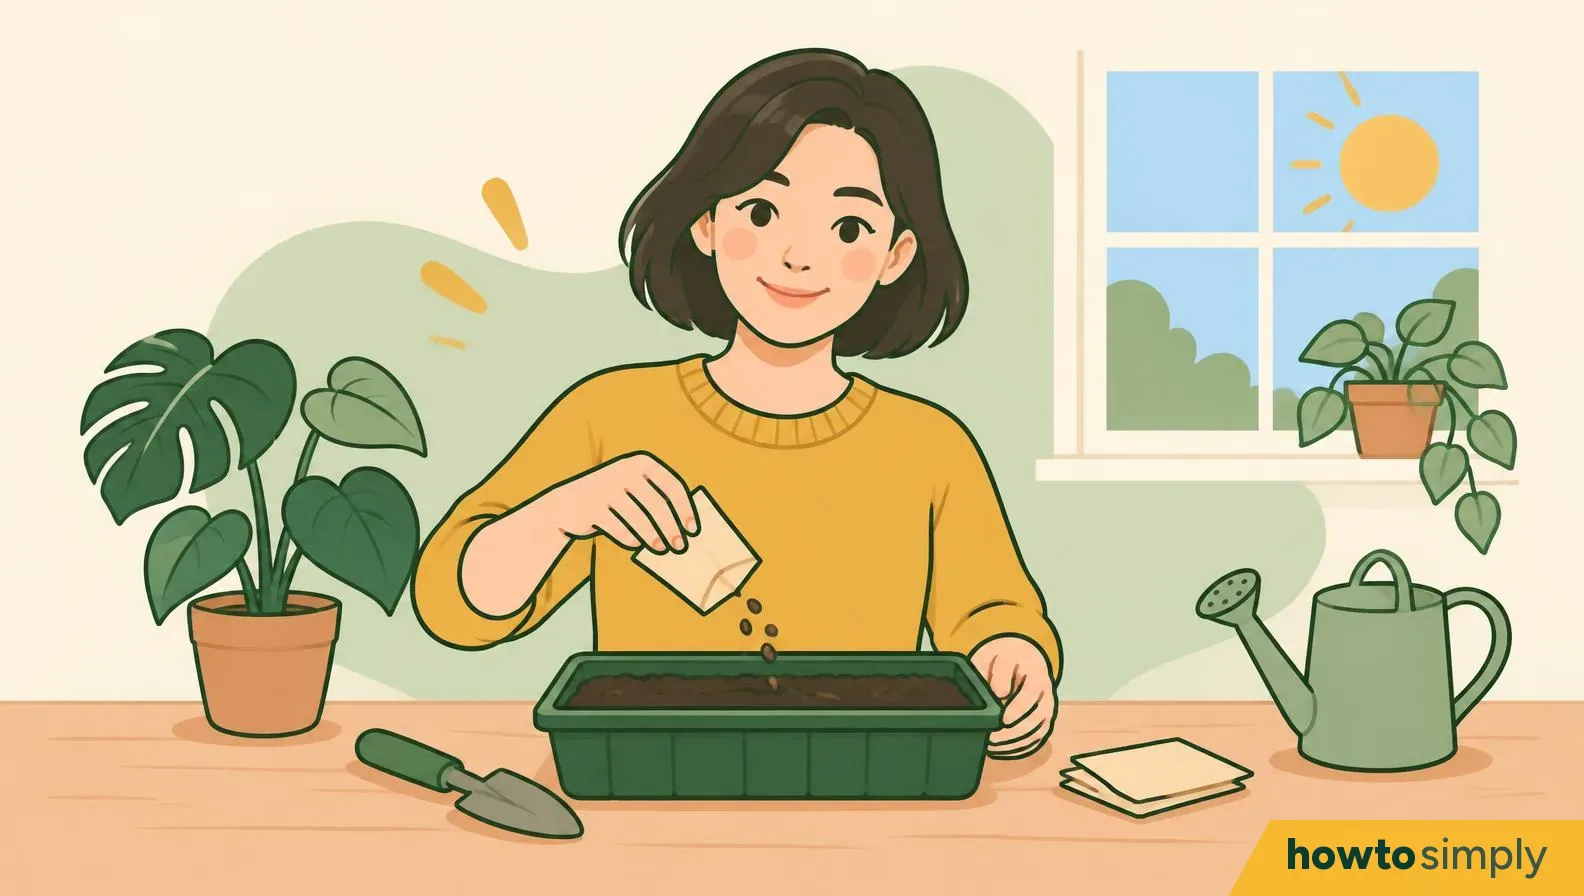
Sow thinly, then cover the seeds lightly.
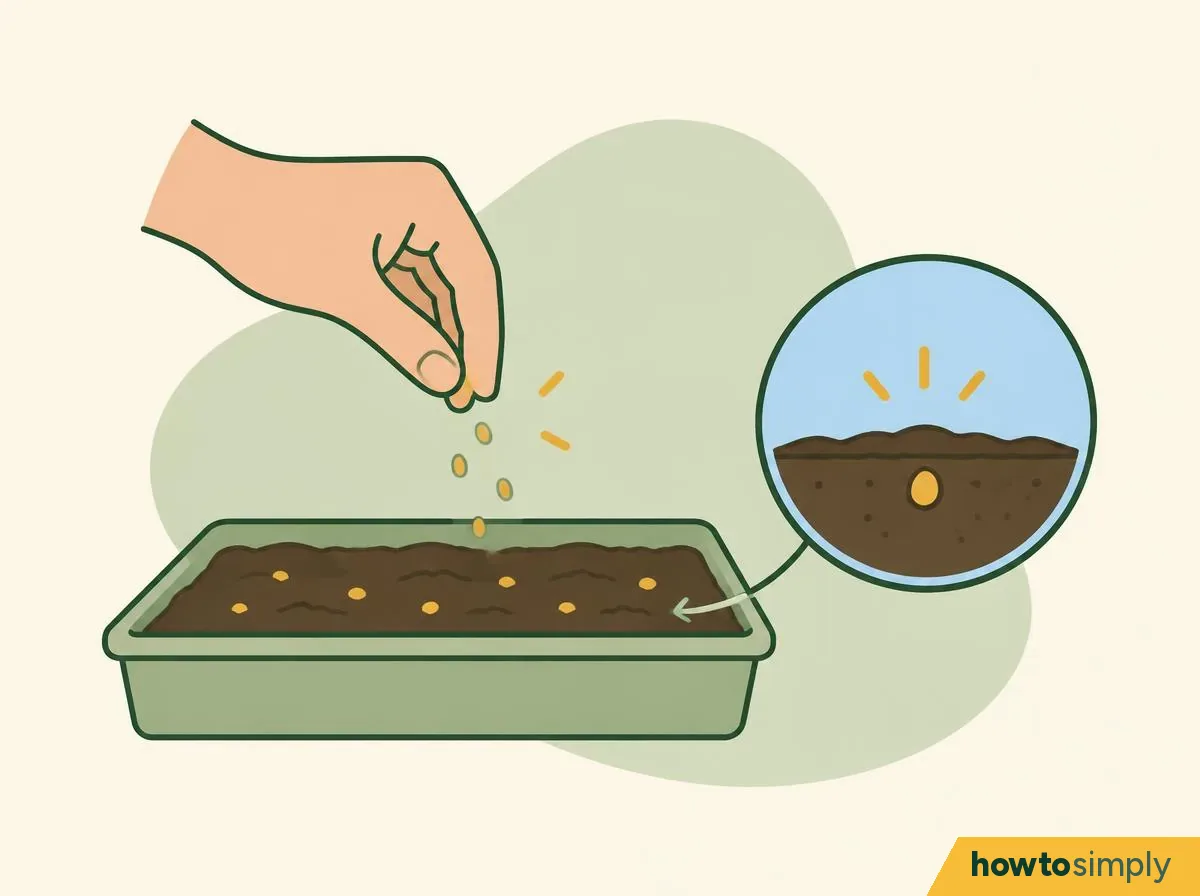
Illustration: thin sowing, thin cover Scatter a small pinch thinly and evenly; sow big seeds one at a time (RHS). Thin sowing really matters: the RHS says crowding raises the risk of damping off. So if your habit is to tip the whole packet into a tray just to be safe, I am afraid you are only making it crowded for them.
Cover with sieved compost. The RHS says usually no deeper than the seed itself; Utah State gives a rule of 2 to 3 times the seed's diameter. The RHS says the seed packet will tell you more.
You should see: seeds spaced apart, not touching, under a thin, even layer of compost.
Water gently, from below or with a fine rose.
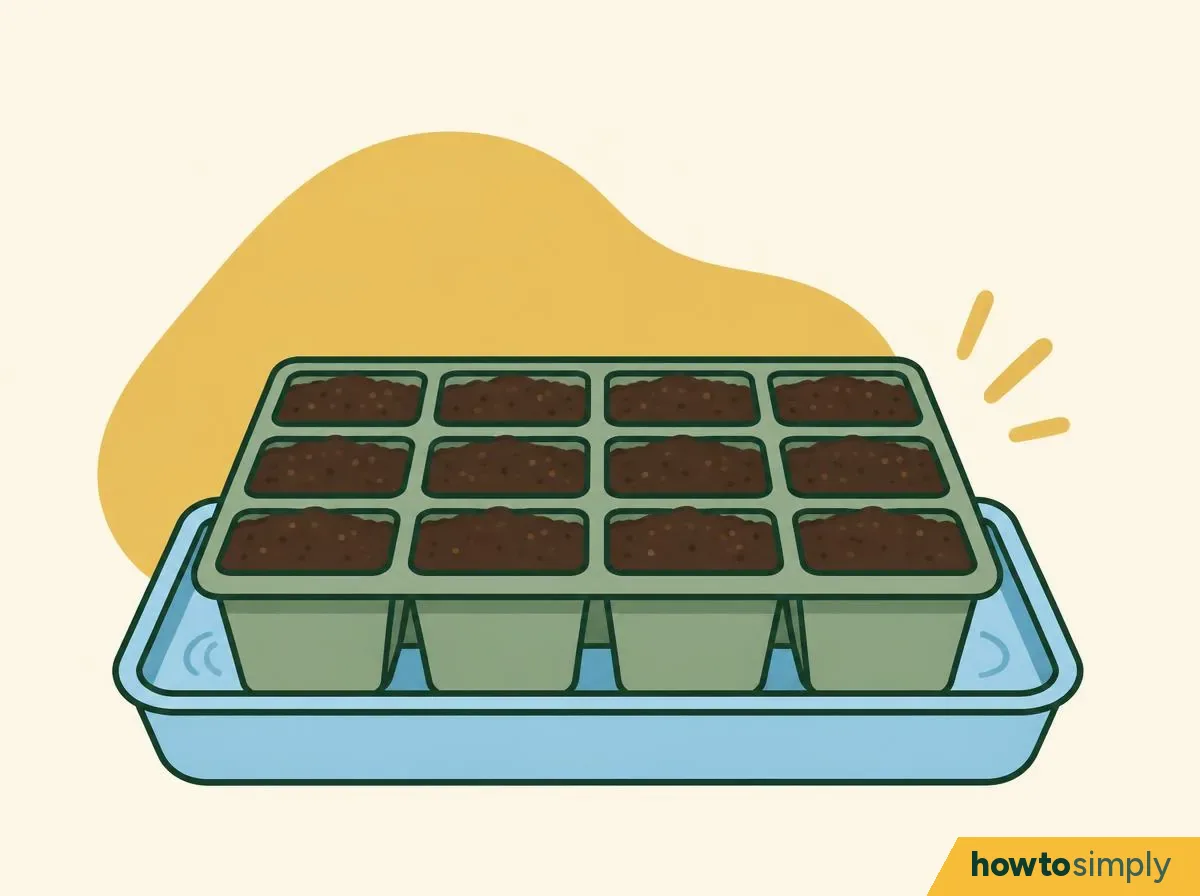
Illustration With watering, gentle is the word here. Water with an upside-down rose so you don't wash the seeds about, or stand the tray in water and lift it out once the compost is damp throughout (RHS). Colorado State suggests misting with a fine hand sprayer. The RHS suggests mains water where possible for seedlings.
You should see: compost that has turned dark all over, with no puddles and no seeds washed into a corner.
Cover the tray and keep it warm until shoots appear.
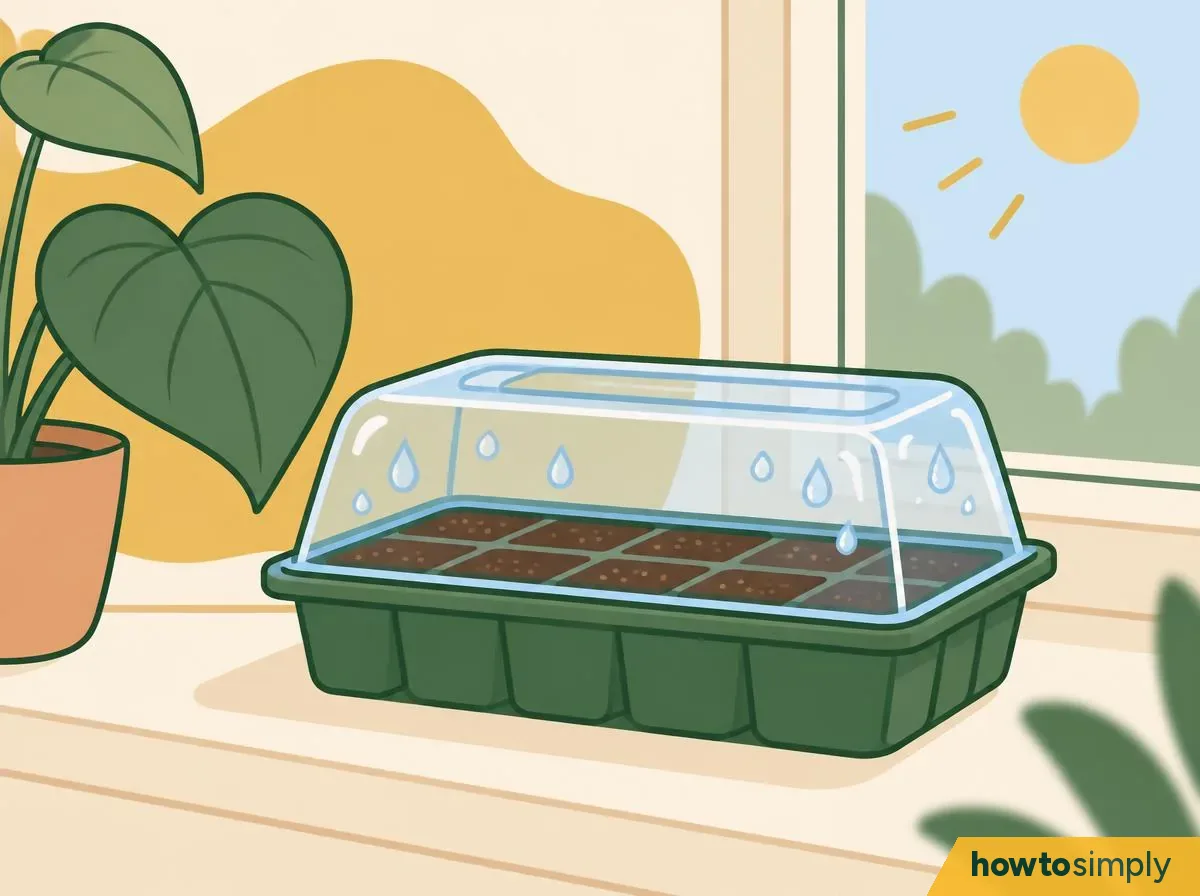
Illustration Put a propagator lid, glass or clear plastic over the tray to hold in moisture (RHS). The RHS says most seeds need about 18 °C to germinate; Colorado State says most germinate best at 70 to 75 °F (about 21 to 24 °C), and seeds in the nightshade family better with the soil close to 80 °F (about 27 °C). Check the packet, and look every day, because the next step depends on catching the shoots early.
You should see: the first shoots. The RHS says shoots can come up within just a few days.
As soon as shoots appear, take the cover off and give strong light.
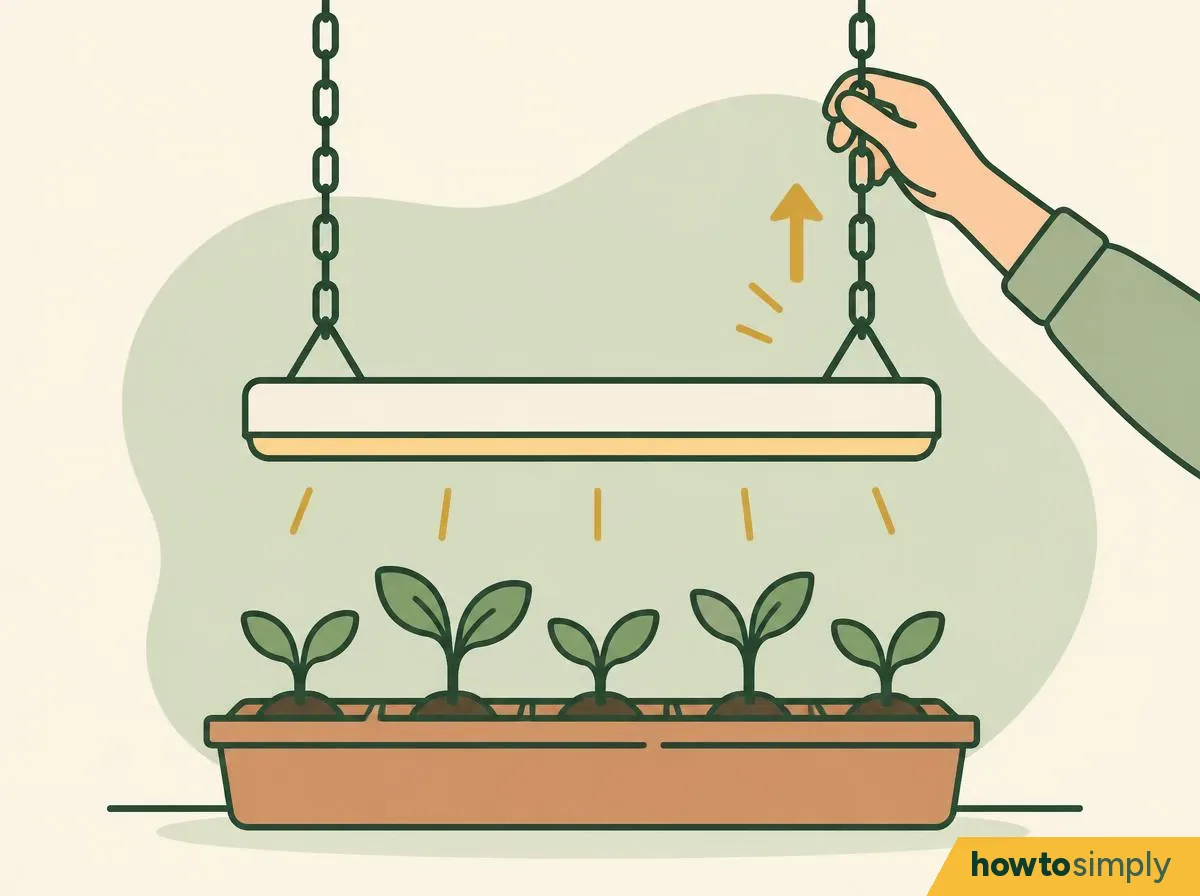
Illustration: keep the light close and raise it as they grow Remove the lid as soon as seedlings show (RHS). Then light is everything. Utah State says poor light is often the cause of tall, skinny seedlings. Without a bright window, Colorado State suggests a fluorescent light 3 to 4 inches (about 7.5 to 10 cm) above the seedlings for 12 to 16 hours a day; Utah State suggests 2 to 3 inches (5 to 7.5 cm) above and at least 12 to 14 hours, raising the light as they grow.
On a windowsill, the RHS suggests a south- or west-facing one. Good airflow helps too: the RHS says to keep seedlings well ventilated to reduce humidity.
You should see: short, sturdy seedlings standing upright, not pale, thin stems leaning towards the light.
Water when the compost starts to dry, and feed once true leaves appear.
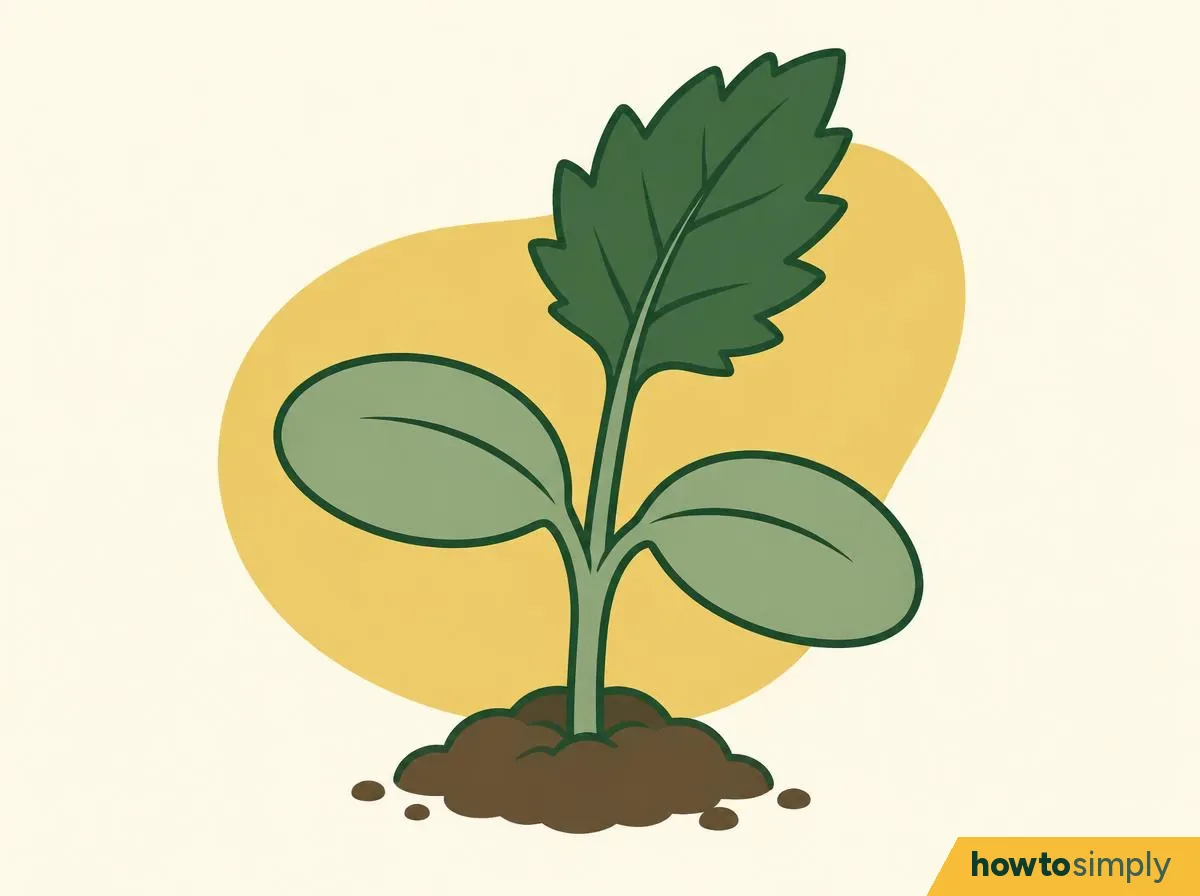
Illustration: seed leaves below, first true leaf above Never let the compost dry out completely, and never keep it saturated (RHS). Utah State says moist compost looks dark brown to nearly black and dry compost light brown, and a tray that feels noticeably lighter needs water.
The leaves also confuse people. The first two leaves are seed leaves. Once the true leaves (the next ones, shaped like the adult plant's) appear, Colorado State suggests a water-soluble fertiliser at a quarter to half strength.
You should see: compost that's moist but not wet, and seedlings with dark green true leaves.
Move the seedlings into their own pots once you can handle them.
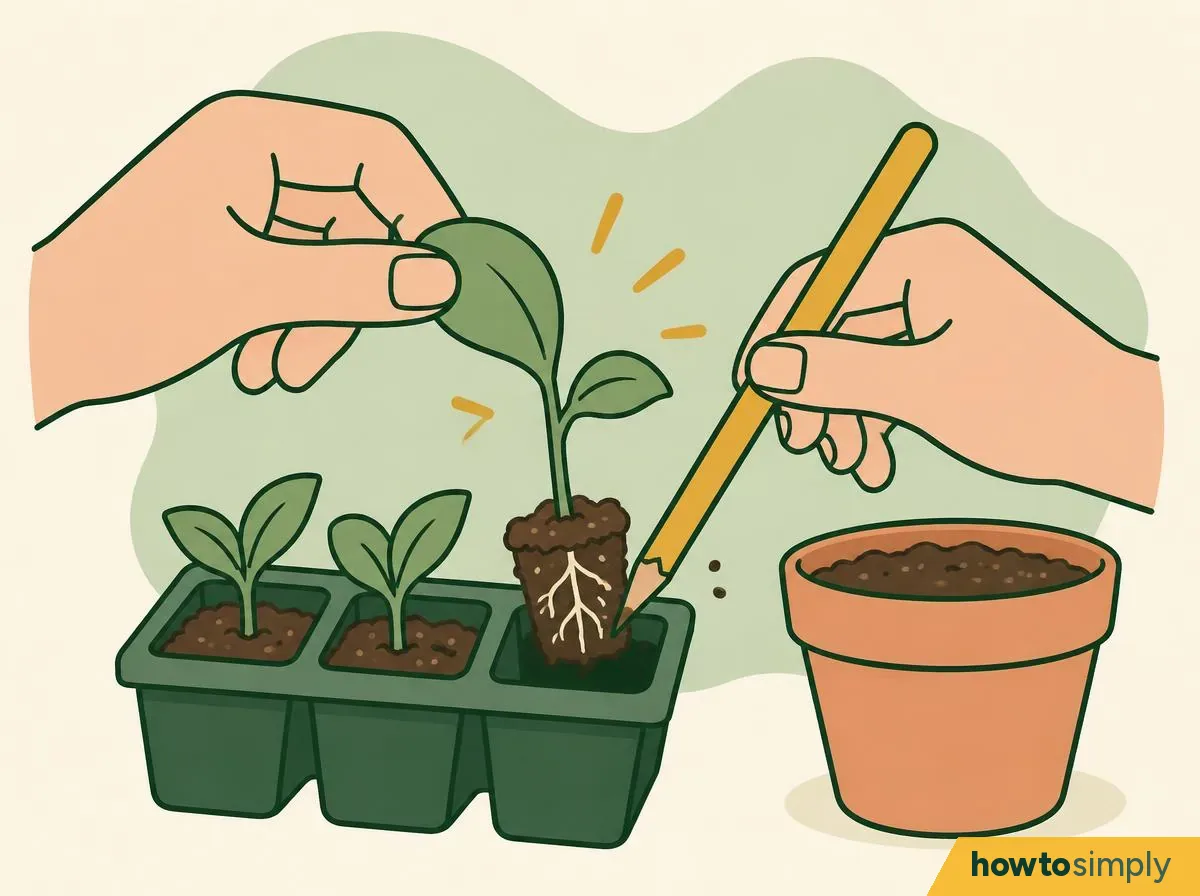
Illustration: hold by a leaf, never the stem This is called pricking out, and it is easier than it sounds. The RHS says to move seedlings into individual pots once they're large enough to handle, before they crowd each other; Utah State says to do it when their leaves start to overlap. Hold each seedling by a leaf, not the stem, and plant it at the same depth it was growing (Utah State).
You should see: one seedling per pot, upright, watered in, with the compost at the same level on its stem as before.
Careful: plant out frost-tender plants such as tomatoes only once the risk of frost has passed (RHS). Bring them in on cold nights: Utah State says to keep warm-season crops above 45 to 50 °F (about 7 to 10 °C).
Harden them off for about two weeks, then plant out.
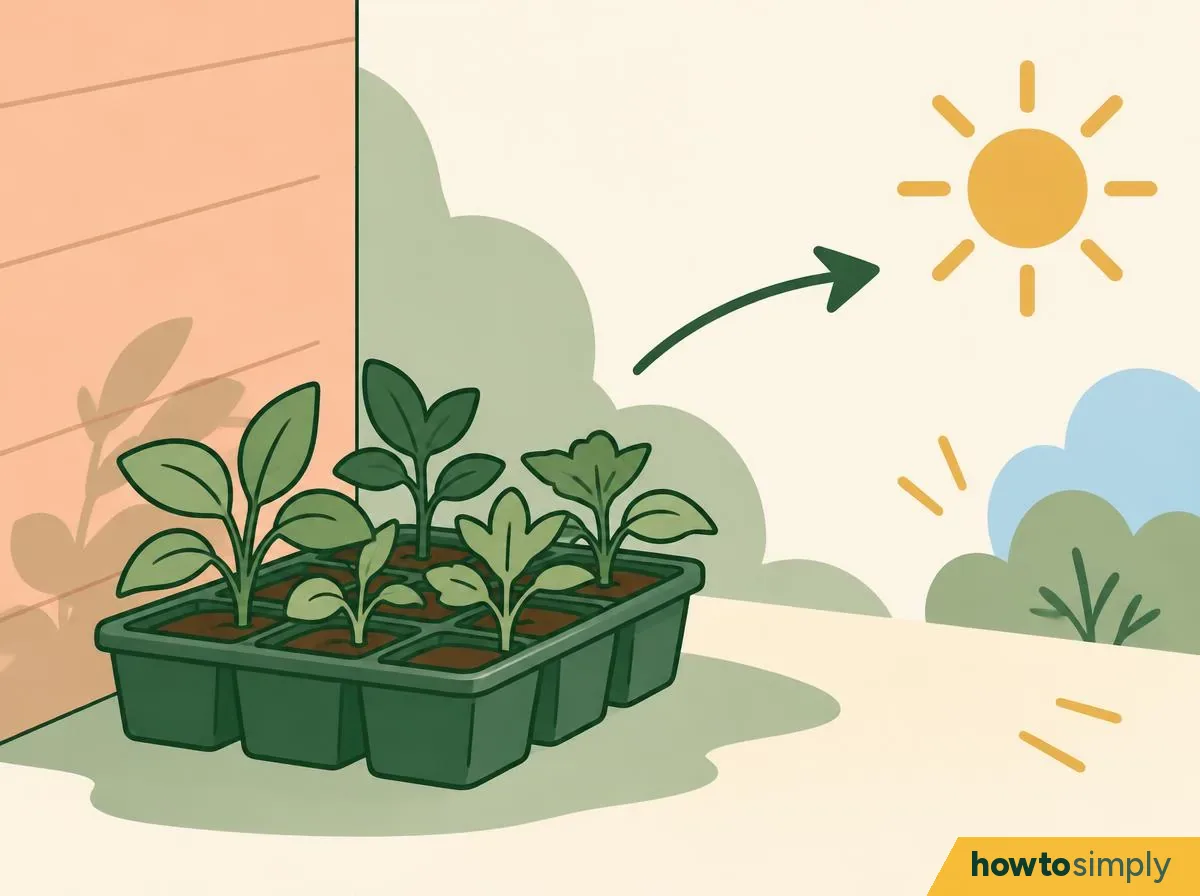
Illustration Please don't skip hardening off. It gets your indoor plants used to outdoor conditions (RHS). Colorado State and Utah State say to start about two weeks before planting out; the RHS says it takes about two to three weeks. Utah State says to begin with a few hours outside in the shade, add time each day, and gradually move them into full sun.
Move them outside in the morning or on an overcast day, and water them right away (Utah State).
You should see: plants that stay upright outside all day. Some yellowing or browning of leaves during hardening off is normal (Utah State).
Light and warmth at a glance
| Stage | Warmth | Light | Cover |
|---|---|---|---|
| Germinating | About 18 °C (RHS) to 21-24 °C (Colorado State); check the packet | A warm, sunny spot (RHS) | On (RHS) |
| Seedlings | Nights 16-18 °C, days about 5-6 °C warmer for most vegetables (Utah State) | 5 to 10 cm below a grow light, 12-16 hours (Utah State, Colorado State) | Off as soon as shoots appear (RHS) |
| Hardening off | Above 7-10 °C for warm-season crops (Utah State) | Shade first, then gradually full sun (Utah State) | No cover |
How to tell it's going well
- Seedlings are short and sturdy, not tall and skinny.
- None of them has collapsed at the base (RHS).
- The compost stays moist, and there's no whitish fungal growth around the seedlings (RHS).
- Once hardened off, the plants stay upright through a whole day outdoors.
If something goes wrong
Don't worry if a tray lets you down. It happens to plenty of growers, and the table below tells you what to try next.
| What happens | What it means | What to do |
|---|---|---|
| Seedlings suddenly collapse, sometimes with white fluff | Damping off (RHS) | Remove them with their compost and check the rest (Utah State); water less, ventilate more, sow thinner next time (RHS) |
| Tall, thin, pale seedlings leaning over | Not enough light | Bring the grow light down to 5 to 10 cm above them (Utah State, Colorado State) or move to a brighter window |
| Nothing comes up | Too cold or sown too deep (Utah State), or pre-emergence damping off (RHS) | Check the packet's depth and temperature; resow in fresh compost |
| Seedlings stunted or growing slowly | Possibly hungry: Utah State says starter fertiliser in a mix lasts a few weeks at most | Feed at a quarter to half strength (Colorado State) |
| Leaves yellow or turn dry and brown when first put outside | Some is normal while hardening off (Utah State) | Start in shade and increase time in the sun gradually (Utah State) |
From the writer
Abu Bakar, who wrote this article, has grown his own chillies, tomatoes and even lettuce in pots for years. In his own words:
“You are doing a bit of micro farming here, like growing your own chillies, tomatoes and even lettuce. It is fun. They just taste so much fresher, and they look incredibly beautiful.”
Questions readers ask
Can I start seeds on a windowsill without grow lights?
Yes, if it's bright. The RHS suggests a warm, bright windowsill that faces south or west. Colorado State says to use a fluorescent light 7.5 to 10 cm above the seedlings if you don't have a bright window.
Can I reuse last year's seed trays and compost?
Reuse trays only after cleaning them: the RHS says to brush off old compost, wash and disinfect them, and never reuse containers where damping off has occurred. Use fresh commercial compost, which the RHS says is usually free of damping-off organisms.
Should I use tap water or rainwater for seedlings?
The RHS suggests mains (tap) water for seedlings where possible. If you do use rainwater, keep the water butt covered.
Which seeds are worth starting indoors?
Many kinds, including tender crops such as tomatoes and chillies (RHS); Colorado State says seeds in the nightshade family germinate better with the soil close to 80 °F (about 27 °C). Always check the packet for recommended indoor sowing months (RHS).
Sources and method
- Researched by
- Abu Bakar Saadat
- Pictures
- 10 illustrations drawn for this article: drawings, not photos.
- Sources
- Steps checked against the 4 named sources linked below.
- What this page adds
- A close-up of lifting a seedling by its leaf with a pencil, a drawing telling seed leaves from true leaves, and a warmth, light and cover table for each stage.
What to do next
Grow something new indoors Step 3 of 6
- How to grow a hyacinth bulb in water: roots first in the dark, then flowers indoorsA winter flower in a glass.
- How to get a Christmas cactus to flower: long nights, a cool room and no bud dropGet the Christmas cactus to bloom on time.
- How to care for a peace lily: why it droops, how to water it and where to put itA forgiving plant for beginners.
Did this solve the problem?
Where did you get stuck?
Get new guides by email
Our newest guides, sent to your inbox. Free, and you can unsubscribe in one click.
We'll email you to confirm. How we use your email
Follow howtosimply on Facebook
We share every new article on our Facebook page, so the next fix turns up in your feed.
Follow on FacebookWhat did you think?
Reaction counts are loading.
Sources
We use primary, official and specialist sources appropriate to the topic.
- RHS: How to sow seeds indoors (no page date)
- RHS: Damping off (no page date)
- Colorado State University Extension, PlantTalk 1034: Starting seeds indoors (no page date)
- Utah State University Extension: Starting vegetable seeds indoors: seeding, culture and transplanting (Crump, Beddes, Caron and Oliveira, 18 February 2025)