How to draw a room in one-point perspective
Researched by Abu Bakar Saadat7 min read
Last updated: 14 November 2026References

On this page 10 sections
In short
Draw a horizon line at eye level, put one vanishing point on it, draw the back wall as a large rectangle, then draw lines from its corners towards the point. Add doors, windows and furniture the same way.
At a glance
- You need
- Pencil, ruler, eraser, paper
- Rule
- Verticals stay vertical, horizontals stay parallel to the horizon
- Checked
- November 2026
A room that looks flat or lopsided is probably one of the most common frustrations people have when they first start drawing. What's missing at this point is a method, not talent. A single dot and just a few light lines give you a simple sense of depth.
Parallel lines never actually meet, but as they move away from you, they appear to. Linear perspective uses this effect: lines going back into the distance are drawn so they meet at a vanishing point on the horizon. In a one-point room, the back wall faces you straight on, and every line that runs off into the distance, along the floor, the ceiling and the side walls, travels to that single spot. Once you can draw a simple room, corridors, streets and box shapes work exactly the same way.
Three terms are used in every step. The horizon line is your eye level. The vanishing point is the spot on the horizon line where parallel lines moving away from you seem to meet. Orthogonals are those receding lines, all drawn towards that spot.
Where should the vanishing point go?
In the middle of the back wall
The two side walls match, and the room looks symmetrical and deep.
Left or right of centre
Kennedy suggests putting the vanishing point where you want the viewer to look. It's a good choice for a door on one side.
High or low
Raising the horizon shows more floor, and lowering it shows more ceiling. For an ordinary standing view, keep it within the back wall.
How to draw the room
Method from Kristen Kennedy's one-point chapters (LibreTexts), Smarthistory and Tate.
Draw a light horizontal line across the paper at eye level.
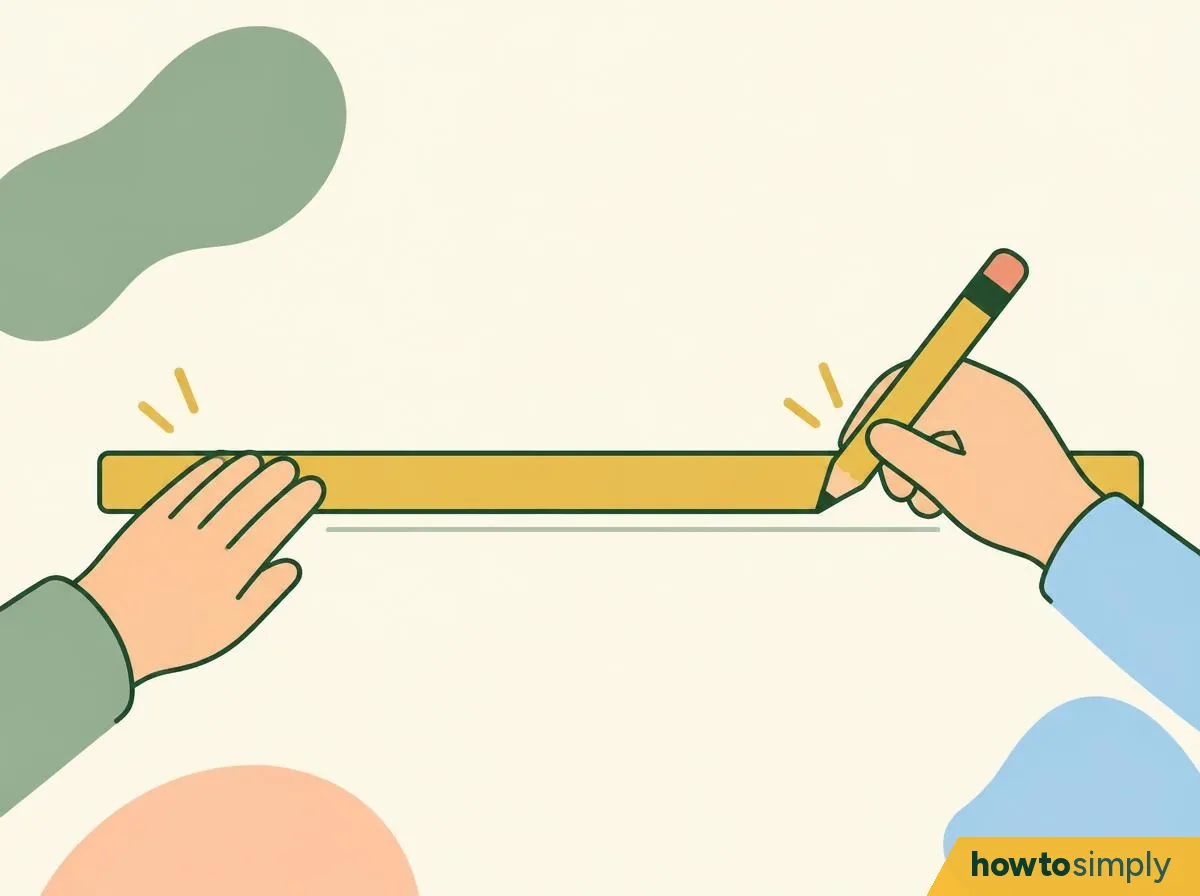
Illustration We call this the horizon line, and it shows where the viewer's eyes are. Draw it across the centre of the page. Use the ruler and press lightly.
You should see: one faint line running edge to edge, parallel to the top of the paper.
Mark one vanishing point on the horizon line.
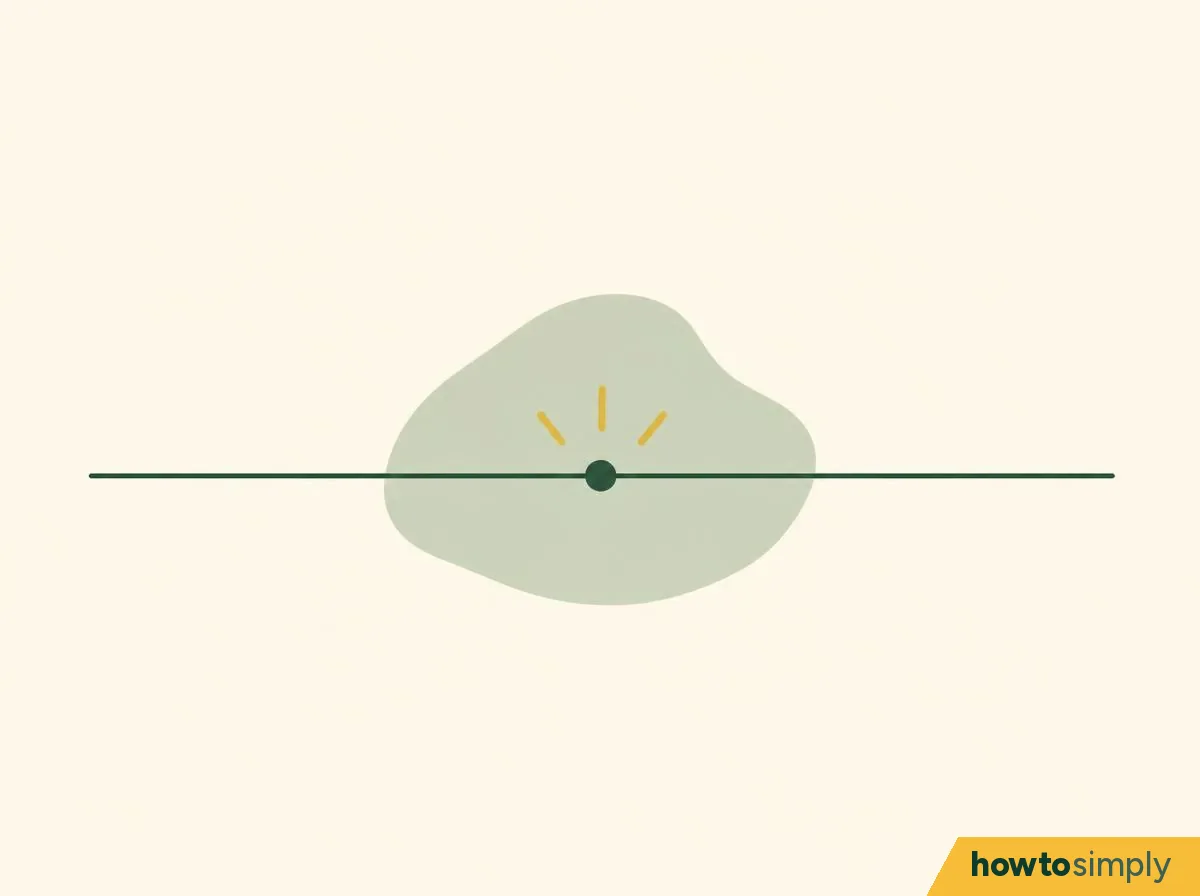
Illustration Make a small dot on the line, using the box above to decide where. Every receding line in the drawing will go to this dot, so it must sit exactly on the horizon line.
You should see: a single dot on the line. Only one: that's what makes it one-point perspective.
Draw the back wall as a large rectangle.
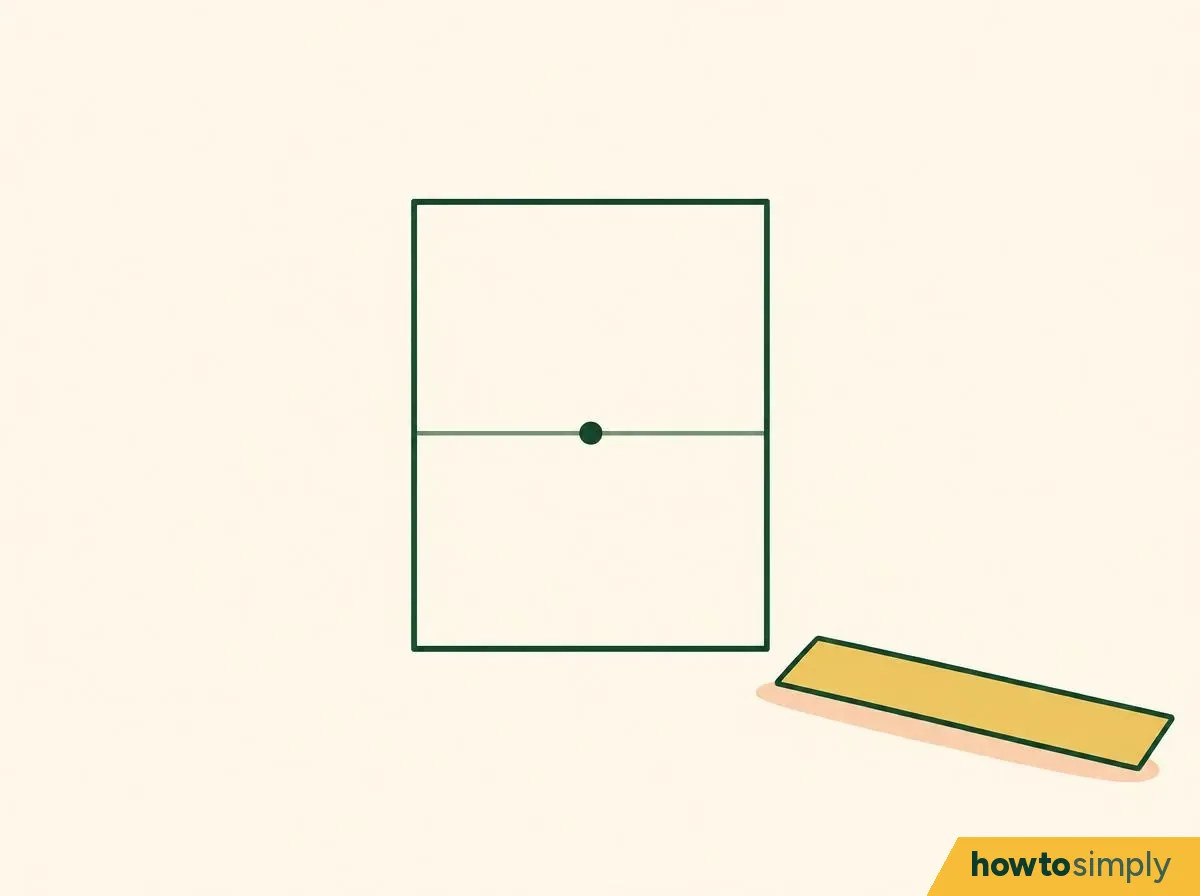
Illustration Draw a rectangle with its top and bottom edges parallel to the horizon and its sides exactly vertical. The rule for one-point interiors: horizontal elements follow the horizon line, and vertical elements stay at right angles to it. Make it large.
You should see: a square-on rectangle with the vanishing point somewhere inside it.
Draw lines from each corner of the back wall towards the vanishing point.
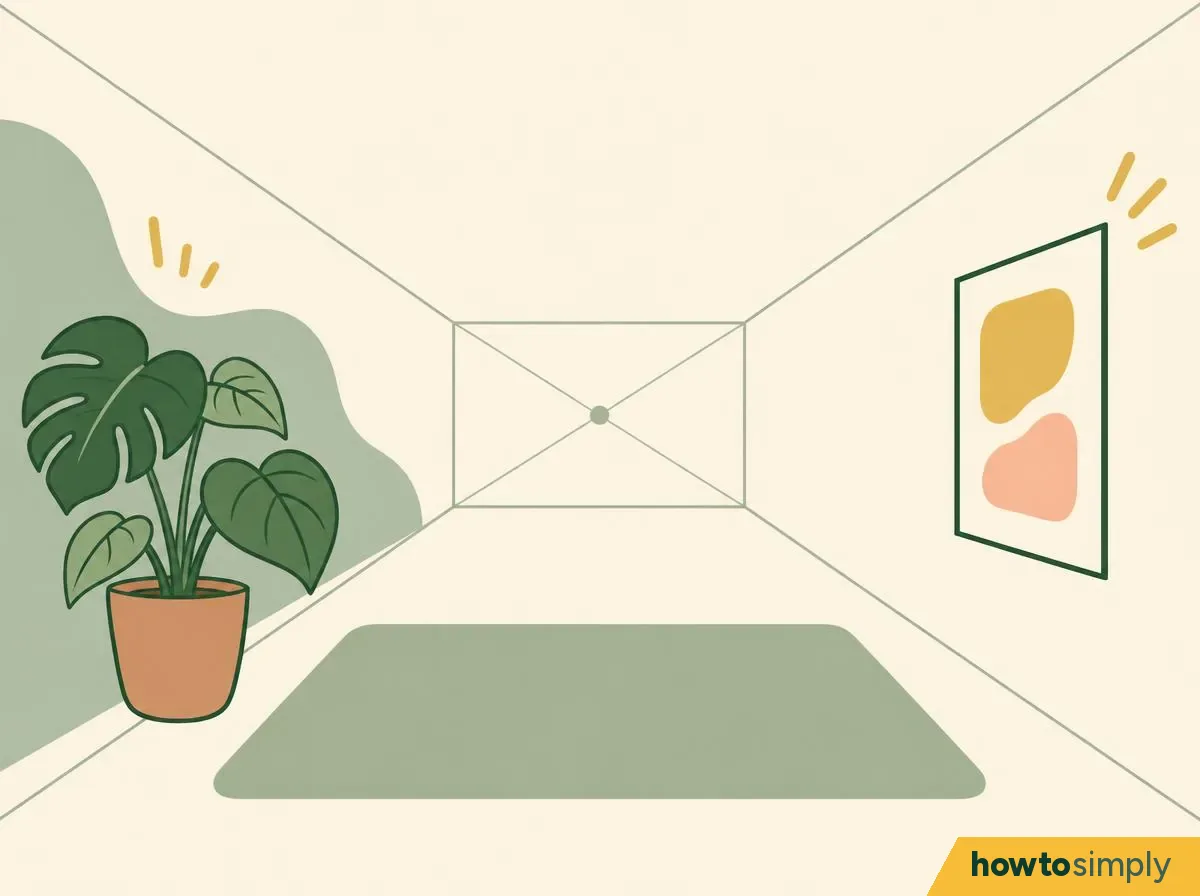
Illustration Line the ruler up on the vanishing point and one corner of the back wall, and draw the line between them. Repeat for all four corners. These are the orthogonals that meet at the vanishing point, and they form the edges where the walls meet the floor and ceiling. Rub out the parts inside the back wall later.
You should see: a box opening towards you: floor at the bottom, ceiling at the top, a wall on each side.
Add a door on a side wall.
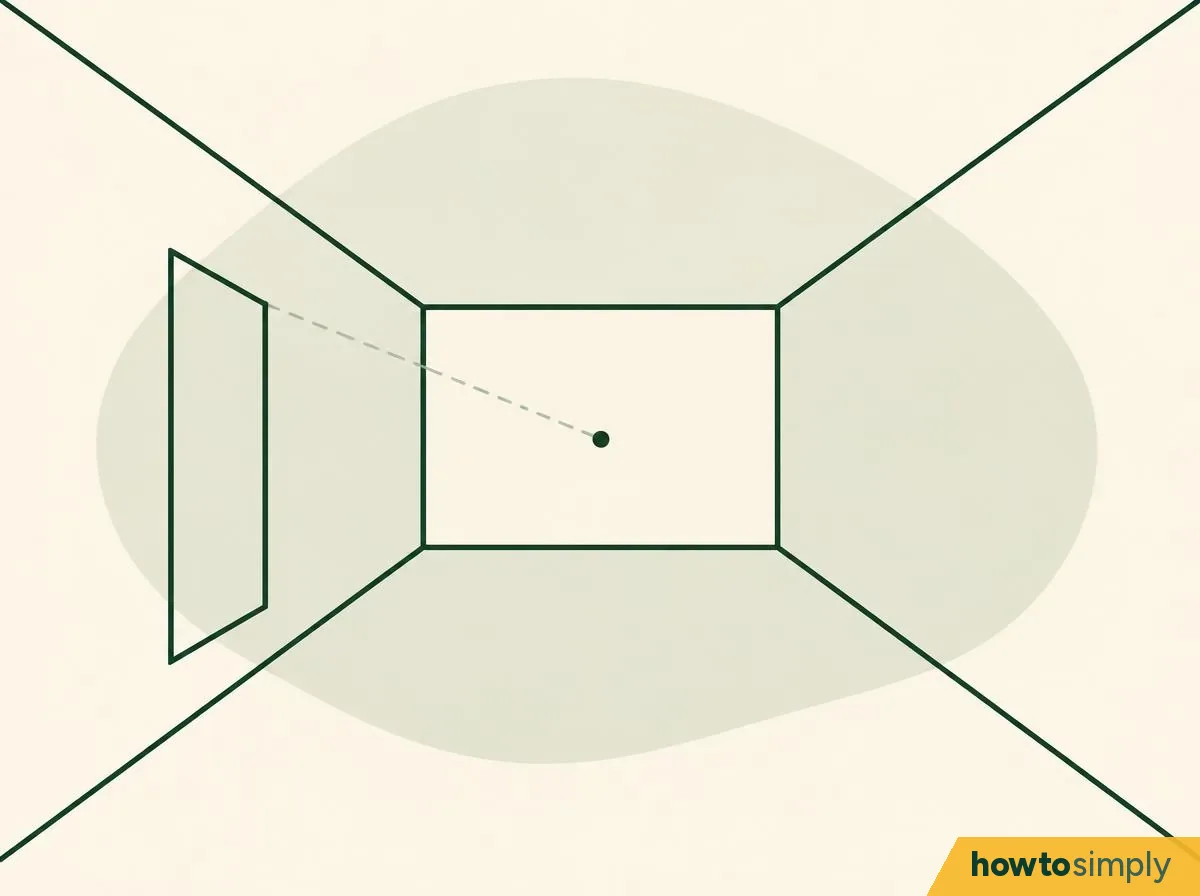
Illustration On one of the side walls, draw a straight line upwards from where the wall meets the floor, as tall as you want the door. From the top and the bottom of that line, draw lines towards the vanishing point, then add a second vertical line to close the door. The top and bottom of the door slant; its sides stay vertical.
You should see: a door that looks as if it's on the wall, getting narrower as it goes back.
Add a window on the back wall.
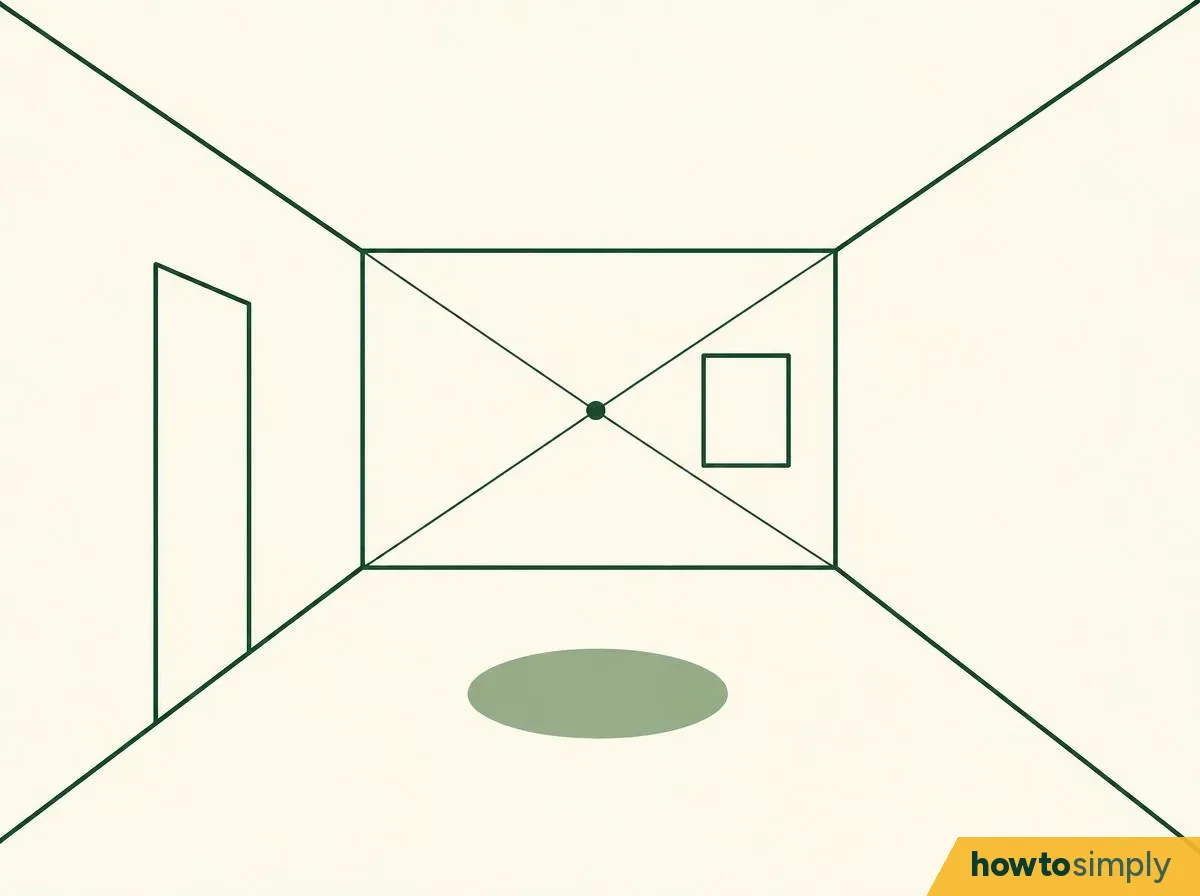
Illustration The back wall faces you, so anything flat on it is drawn square on: a plain rectangle with horizontal and vertical sides, no slanting lines. For a window on a side wall instead, use the door method, starting higher up the wall.
You should see: a rectangle that sits flat on the back wall, with edges parallel to the wall's edges.
Add a simple piece of furniture as a box.
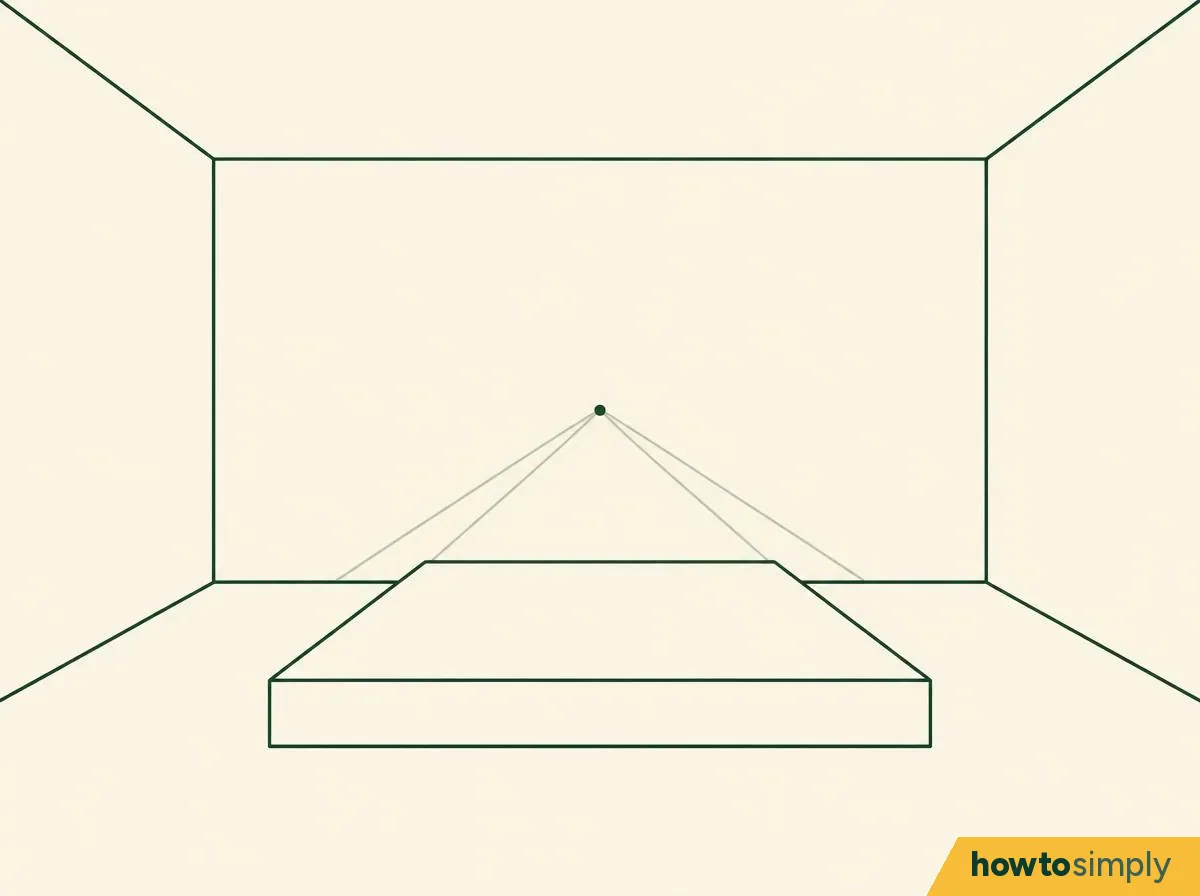
Illustration Draw the front face of the box as a rectangle on the floor. From its corners, draw light lines towards the vanishing point, then decide how deep it is and draw the back edges parallel to the front ones. For a table, drop vertical legs from the corners of the top.
You should see: a solid-looking box whose sides point to the vanishing point.
Erase the guidelines and go over the final lines.
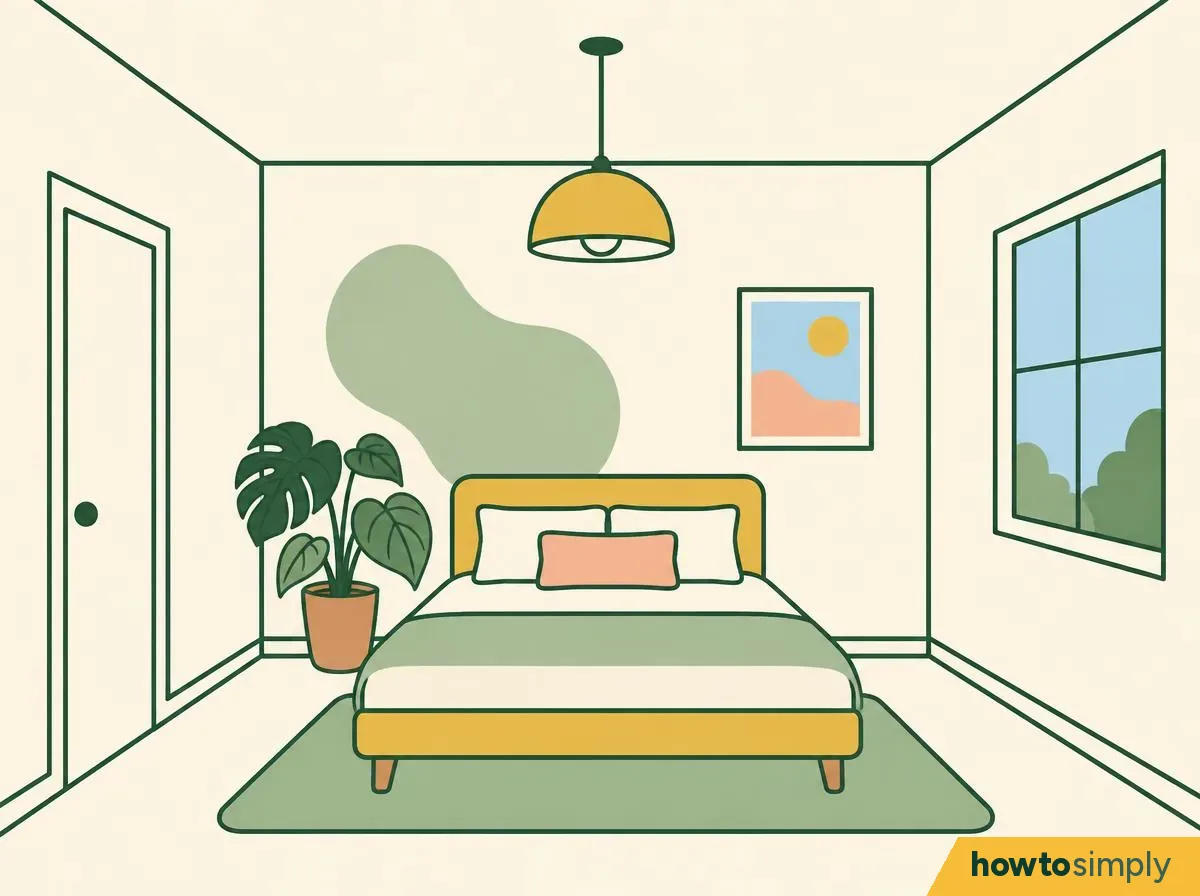
Illustration Rub out the construction lines you don't need, including the orthogonals inside the back wall and behind furniture. Then go over the real edges with a softer pencil.
You should see: a clean room drawing. It looks deep even though there is only one point.
How to tell it worked
- Line the ruler up with any slanting line: it should run through the vanishing point.
- Every vertical edge (wall corners, door sides, legs) is properly upright.
- Every edge that faces you runs parallel to the horizon line.
- A person drawn standing anywhere in the room has their eyes at about the horizon line.
If it looks wrong
| What happens | What it means | What to do |
|---|---|---|
| A receding line misses the vanishing point | With one-point perspective, every line going into the distance meets at a single point | Check it with the ruler and redraw it through the point |
| A vertical edge slants | Vertical elements should stay perpendicular to the horizon line | Make all verticals at right angles to the horizon |
| The door's top and bottom are drawn level | On a side wall they are orthogonals, so they slant | Draw them towards the vanishing point |
| The tiled floor looks like it's popping up | Cross lines are evenly spaced | They should get closer together as they go back; use the method in the box below |
| Guidelines won't rub out | They were pressed too hard | Next time draw them faintly; trace the final lines onto fresh paper this time |
Sources: Kristen Kennedy (LibreTexts), Smarthistory.
Questions readers ask
What is the difference between one-point and two-point perspective?
In one-point perspective the back wall faces you square on, so all the lines going into the distance meet at a single vanishing point. In two-point perspective the top and bottom lines of two walls meet at two vanishing points. Tate notes that early systems used one point and later ones used several.
Can the vanishing point be off the page?
In two-point drawings it can be. Kennedy's beginning-drawing chapter notes the horizon line runs on indefinitely, so a point can sit beyond the paper edge if the composition needs it.
Do I need a ruler?
For a first room, yes. Smarthistory notes the lines are drawn more accurately with a ruler than freehand.
Sources and method
- Researched by
- Abu Bakar Saadat
- Tested by our team
- No. We have no record of anyone on our team trying these steps, so treat them as researched instructions from the sources below.
- Pictures
- 10 illustrations drawn for this article: drawings, not photos.
- Sources
- 9 named sources, linked below.
- What this page adds
- Drawings that build the room one line at a time, including a door angled to the vanishing point, a 'looks wrong' fix table and a method for spacing floor tiles.
What to do next
Learn to draw and paint from scratch Step 2 of 7
Did this solve the problem?
Where did you get stuck?
What did you think?
Reaction counts are loading.
Sources
We use primary, official and specialist sources appropriate to the topic.
- Tate: Art term, Perspective
- Tate: Art term, Vanishing point
- Tate: Student resource, Perspective
- Smarthistory (Dr Beth Harris, Dr Steven Zucker): Linear perspective, Brunelleschi's experiment (28 November 2015)
- Smarthistory: How one-point linear perspective works
- Kristen Kennedy, Coalinga College, Humanities LibreTexts: Drawing interior spaces and simple structures (CC BY-SA 4.0)
- Kristen Kennedy, Palo Verde College Beginning Drawing, Humanities LibreTexts: One-point perspective (CC BY-SA 4.0)
- Leader Doors: Door Size Guide | Door Size Conversion Chart & FAQ
- Michael Kubovy and Christopher Tyler, The Arrow in the Eye (WebExhibits): Chapter II, The Elements of Perspective (page 7)