 Illustration
In short
This manual covers a long-sleeved shirt with front buttons.
At a glance
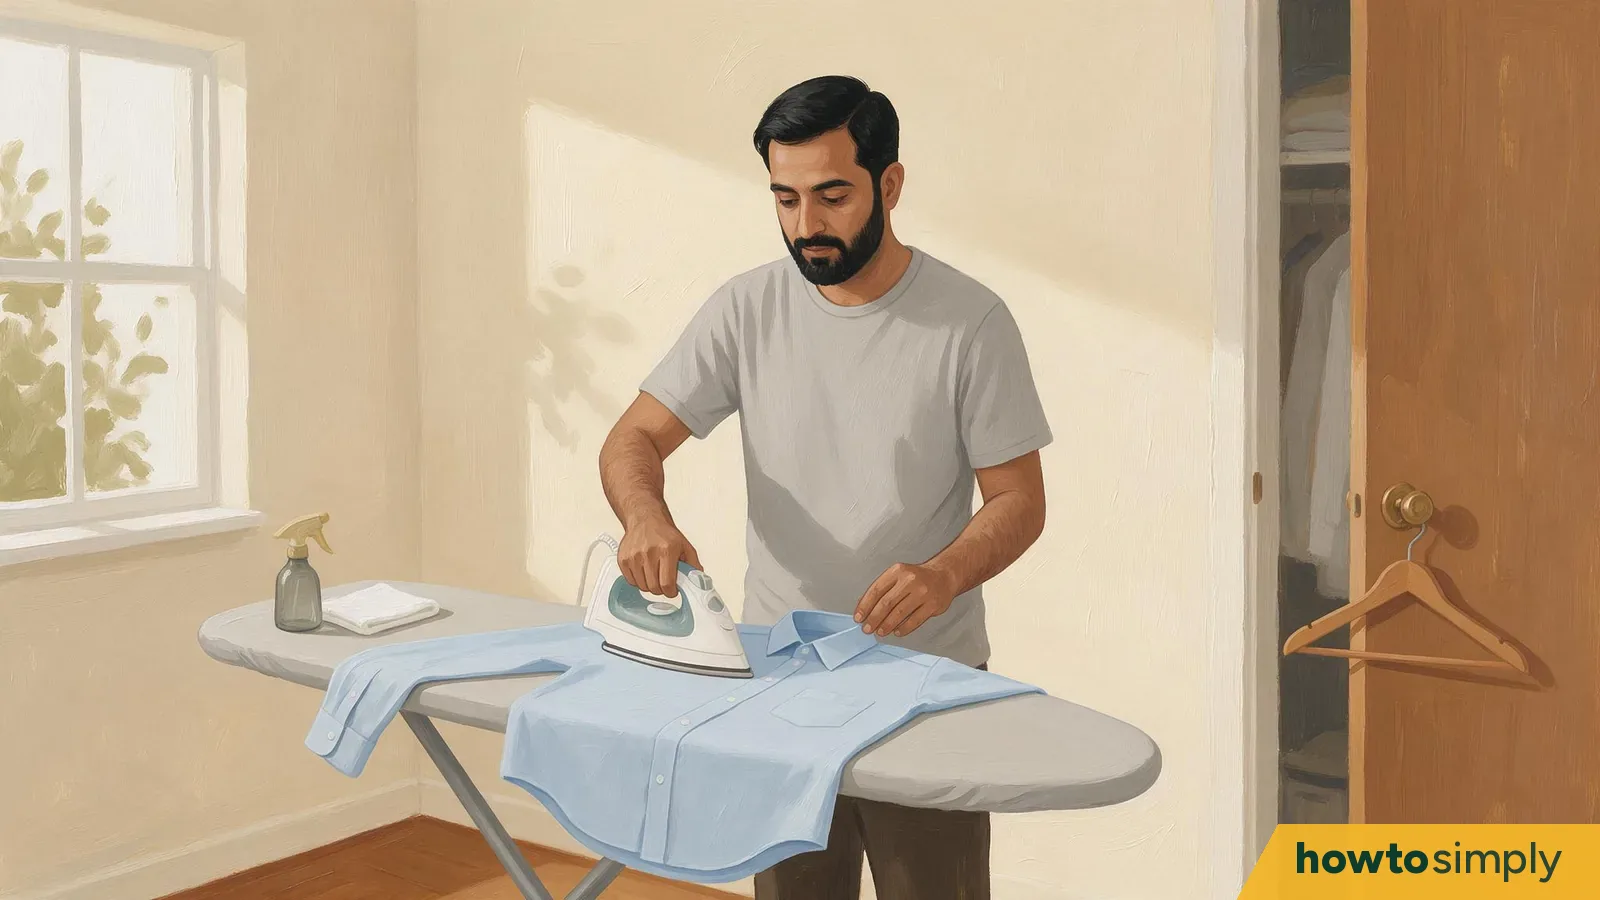
This manual covers a long-sleeved shirt with front buttons. An iron, a stable ironing board with a clean cover, a hanger, and a clean, thin cotton cloth to place between the iron and the delicate fabric are all necessary. A spray bottle of plain water is beneficial for cotton or linen shirts.
Before choosing the heat, read the shirt’s care label.
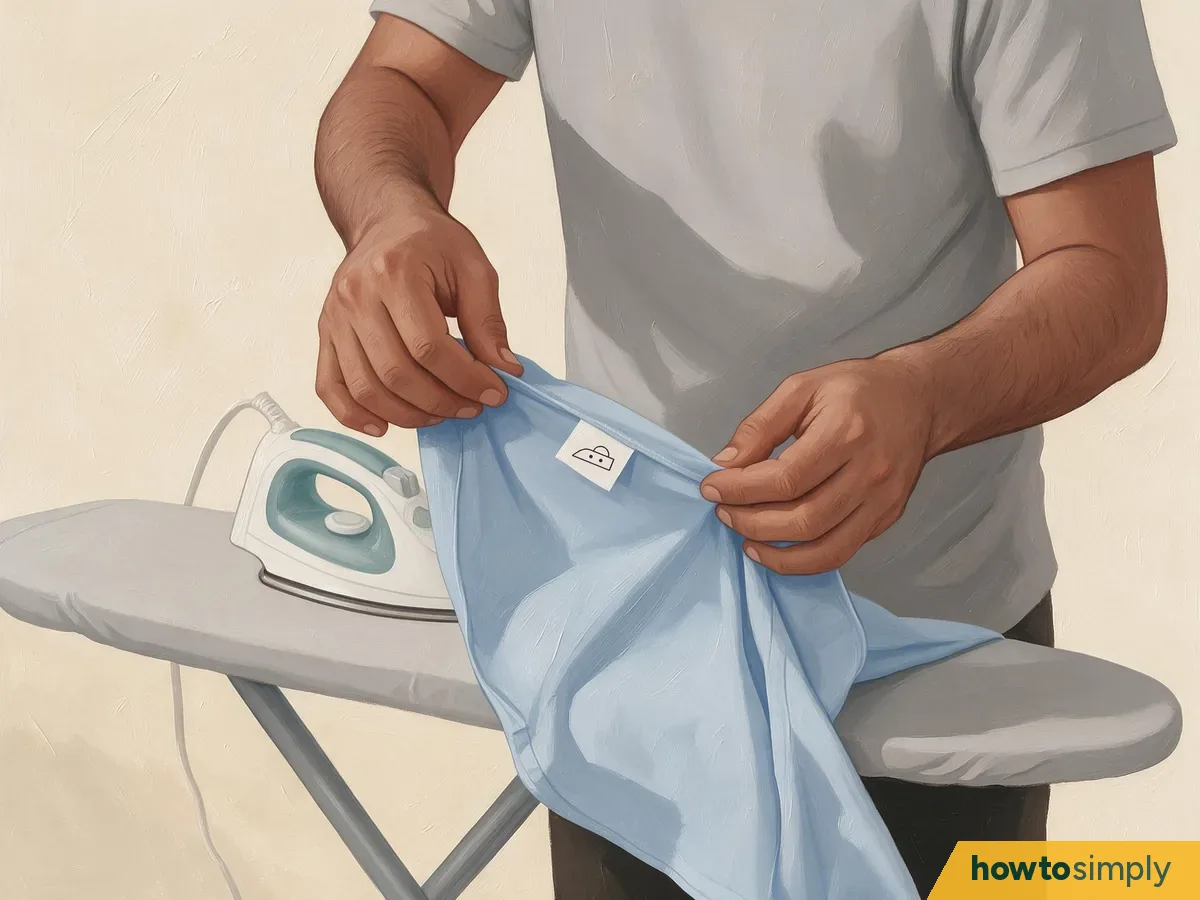
Illustration Locate the label inside the garment, typically at a seam on one side. Seek out the iron sign. Low heat is represented by one dot, medium heat by two, and high heat by three. Do not iron the clothing if the iron symbol is crossed out. Do not turn on the steam if the lines are crossed out.
Follow the care label even when you recognize the fabric.
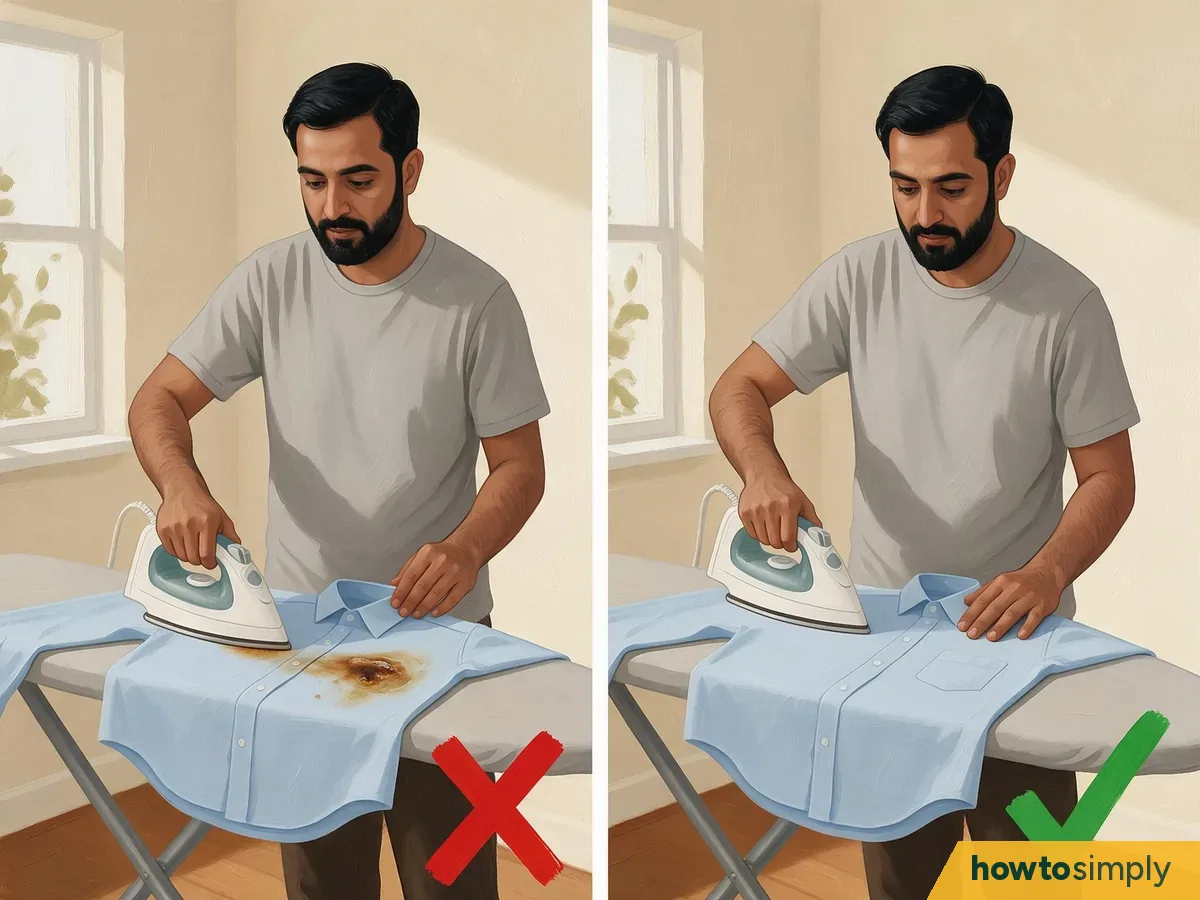
Illustration Be careful when handling a cotton shirt if it has a finish, decoration, or other delicate element. Before applying heat, verify the manufacturer's care instructions if the label is missing or illegible.
Set up a steady, comfortable workspace.
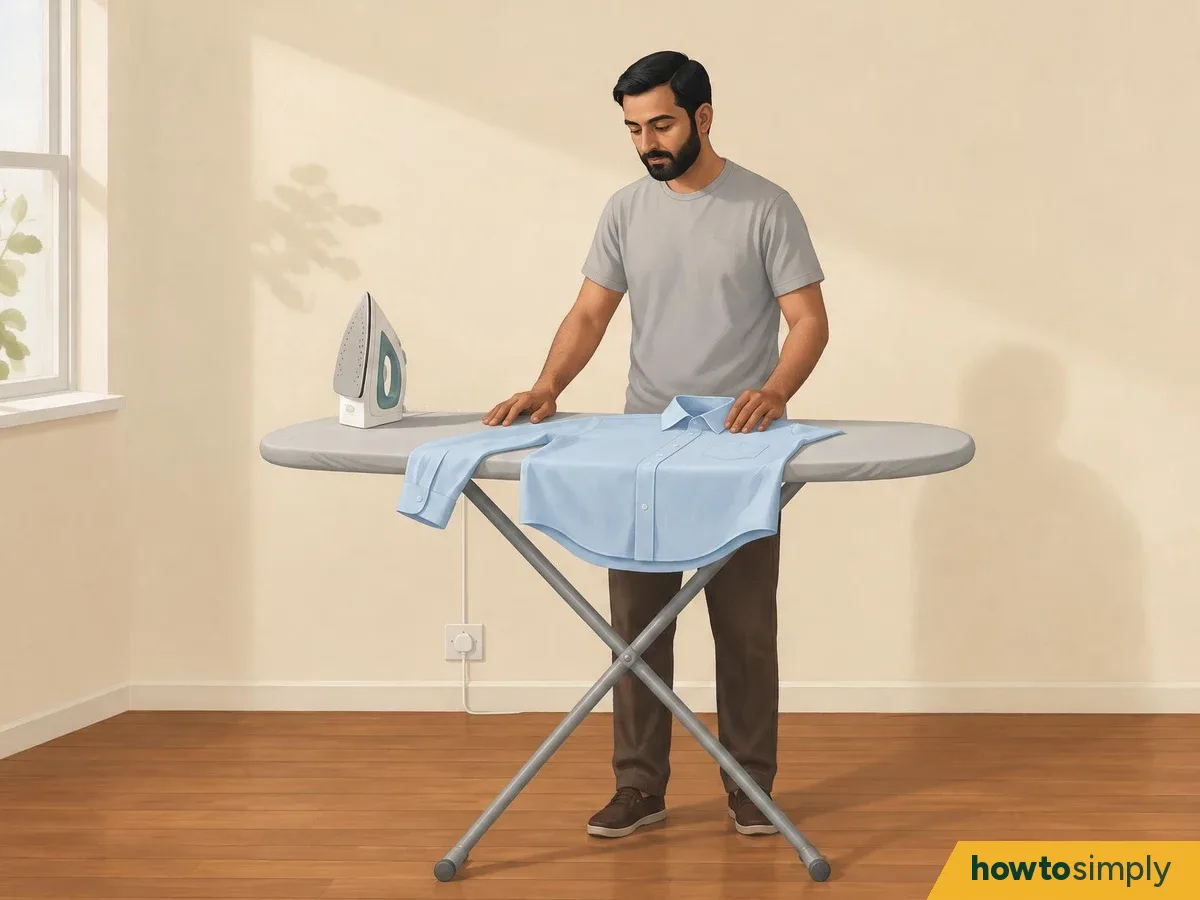
Illustration Open the ironing board fully and check that its legs are locked. Adjust its height so you can move the iron comfortably without bending over. Smooth the cover so there are no folds beneath your shirt. Put the wire in a spot where it won't snag on anything or be accidentally pulled. When the iron is hot, in use, or cooling, keep kids and pets away. Before you attach it, make sure the plug and cable are in good condition.
Check the shirt and open everything that needs to lie flat.
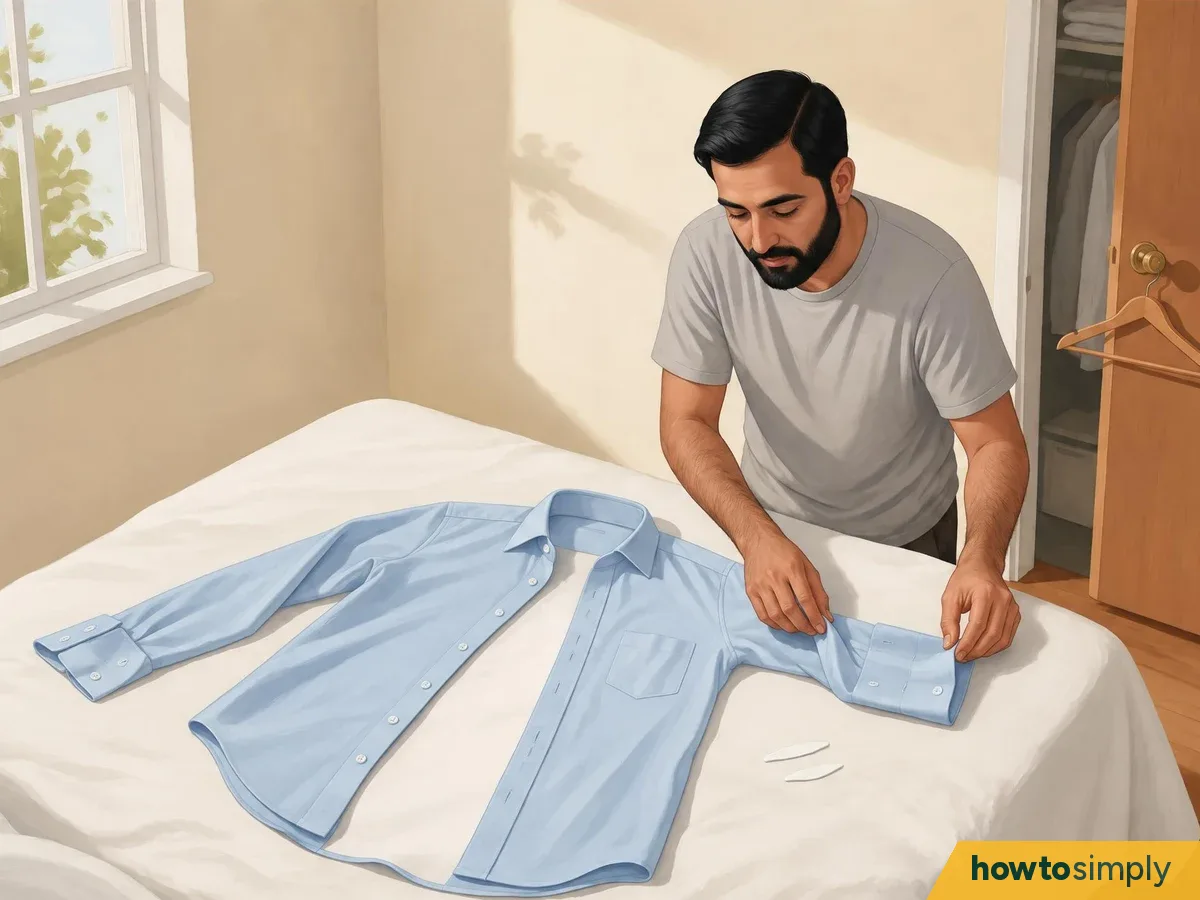
Illustration Check the front, cuffs, and collar for any signs of stains. Some stains are more difficult to remove with heat, so it's best to treat and wash affected areas before ironing. Take off the buttons that fasten the collar points, cuffs, and front. Detach the cufflinks and empty the pockets. Slide out the collar's detachable stays, the little pieces inside the pockets under the points. You may lay each piece flat without snagging fabric by opening the shirt.
Get the iron ready by heating it to the proper temperature.
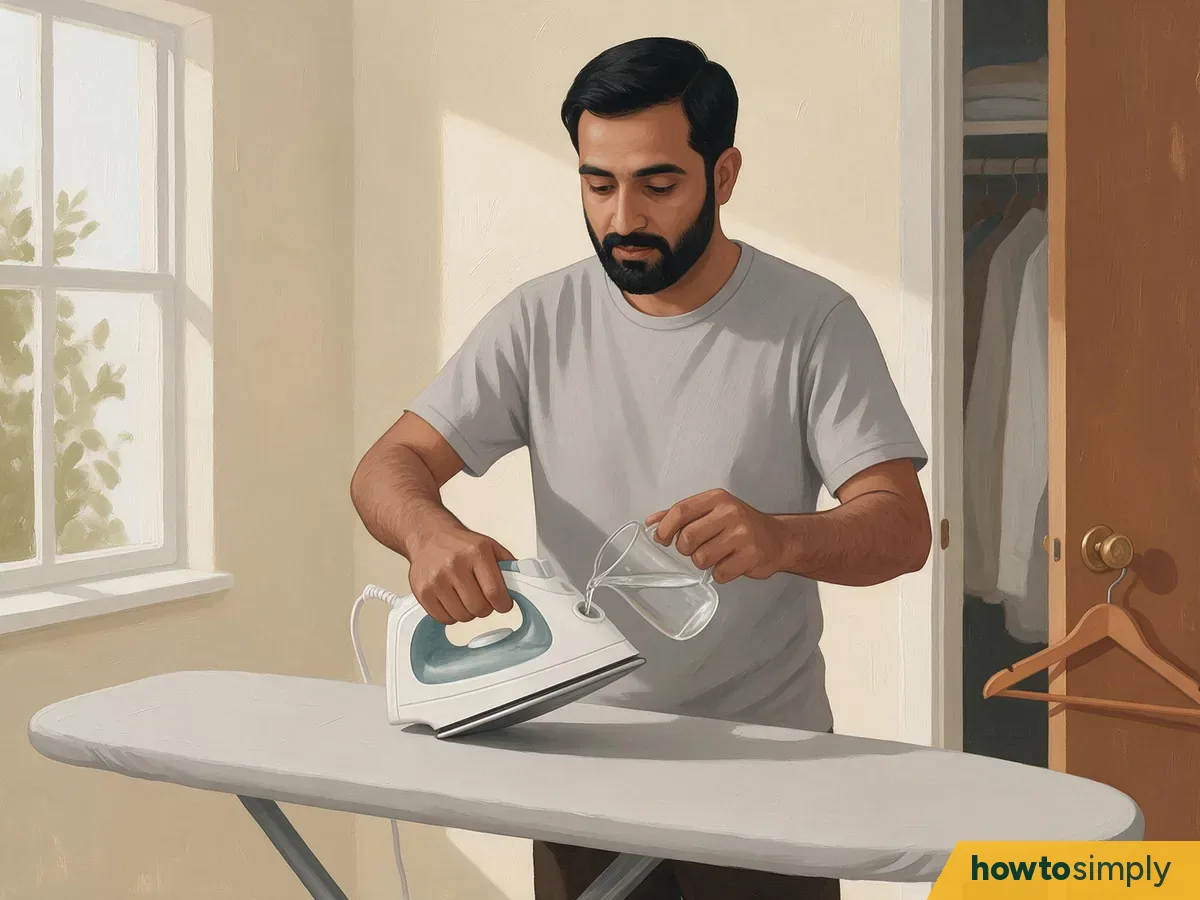
Illustration Once the iron is unplugged and cooled, you can examine the soleplate, the metal surface located underneath. Follow the instructions carefully to remove any residue before applying it to the shirt. Fill the reservoir with the manufacturer-specified water type, and be careful not to go above the maximum mark if you intend to use steam. Different irons have different water needs. Do not add any additives to the tank, such as perfume or starch. The label on the shirt will tell you how to set the heat. After you've plugged in the iron and set it on the heel or rest as directed, you should see a ready indicator. Only turn on steam if the iron's settings and the garment's specifications both permit it.
Before making any smooth passes, prepare the fabric.
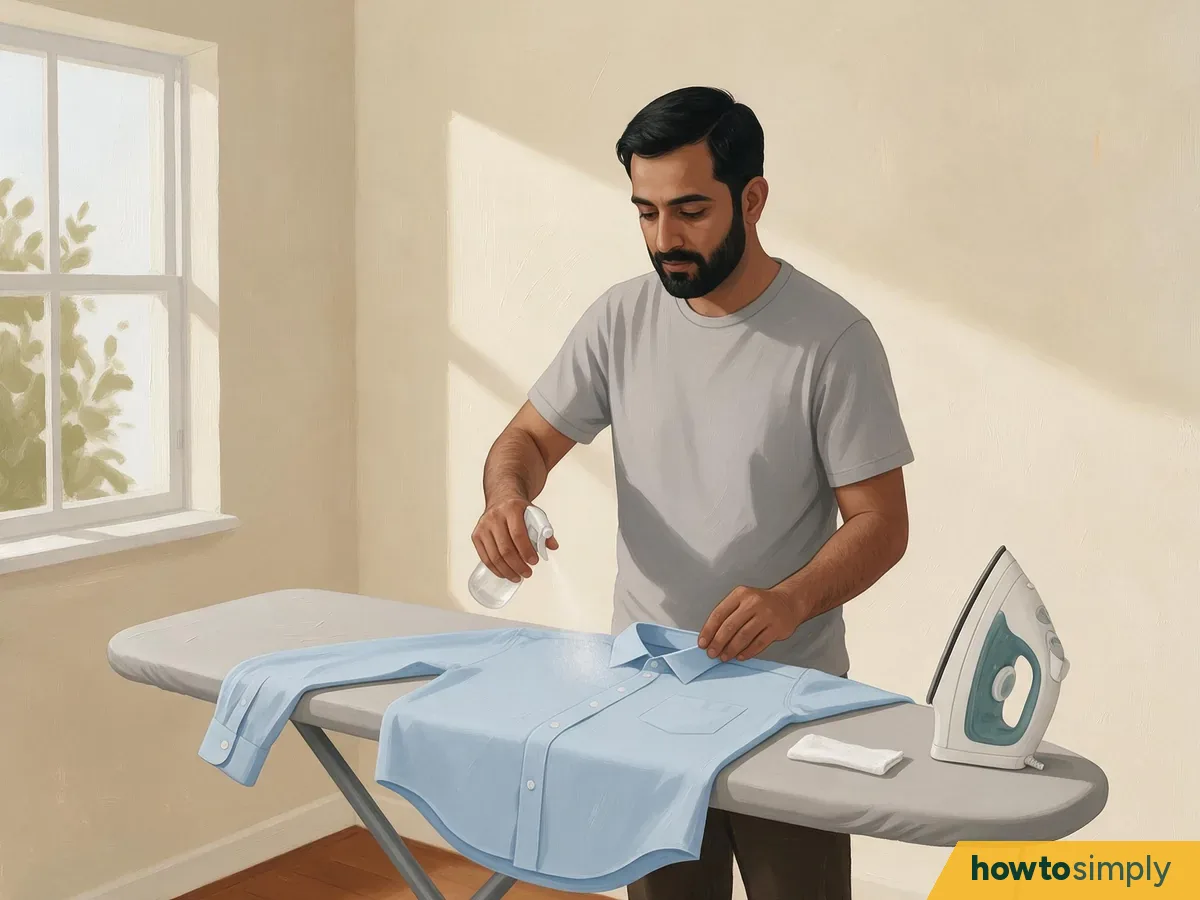
Illustration When ironing cotton and linen, it's best to iron them slightly damp. Lightly spray a dry area and allow the moisture to permeate the cloth, if the label allows it. You want it slightly damp, not drenched. Iron on the inside of the fabric or lay a clean pressing cloth over it if it marks easily. Using a cloth does not exempt you from the allowed temperature. Before moving on to a visible panel, try your selected strategy on a small, hidden region.
While the collar is completely open, iron it.
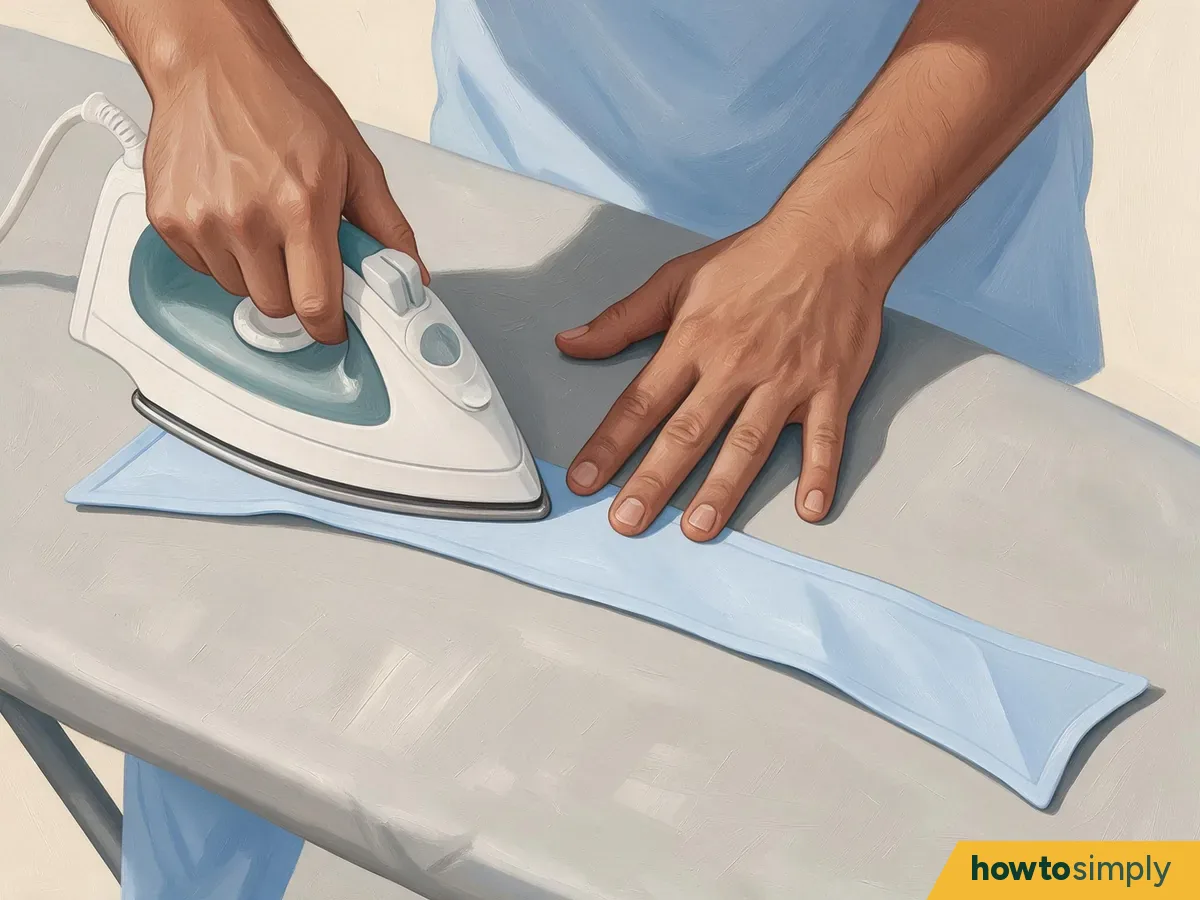
Illustration With the underside of the collar facing upward, lay it flat. Make a smooth motion with your hand, and then release it. Move the iron from the point of one collar to the center. Lift it, go back to the other end, and work your way inward again. Press lightly on the tips. Flip the collar over and do the same on the visible side. During this stage, keep the collar open. Allow it to revert to its original form after you've smoothed both surfaces. Before proceeding, make sure that you haven't forced a little fold into either end.
Iron the inside and outside of both cuffs.
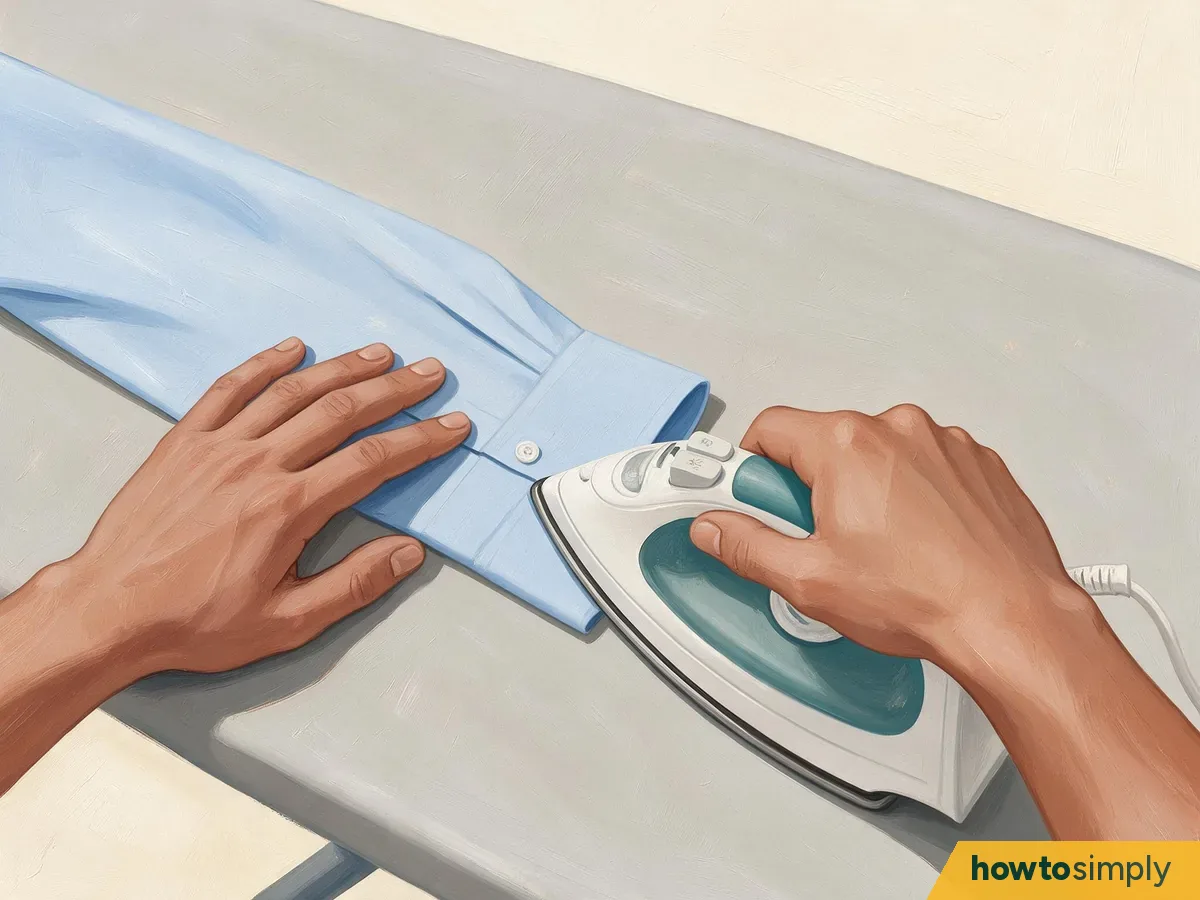
Illustration With the inside of one cuff facing up, lay it flat. Iron it over the available fabric until it's smooth, then flip it over and do the same thing on the other side. To get under buttons, use the iron's pointed end. The soleplate should not touch the buttons, as they are susceptible to damage from pressure and heat. Continue with the opposite wristband. If your cuffs are cufflink-fastened, fully unfold them before ironing.
Before ironing the first sleeve, make sure it is flat.
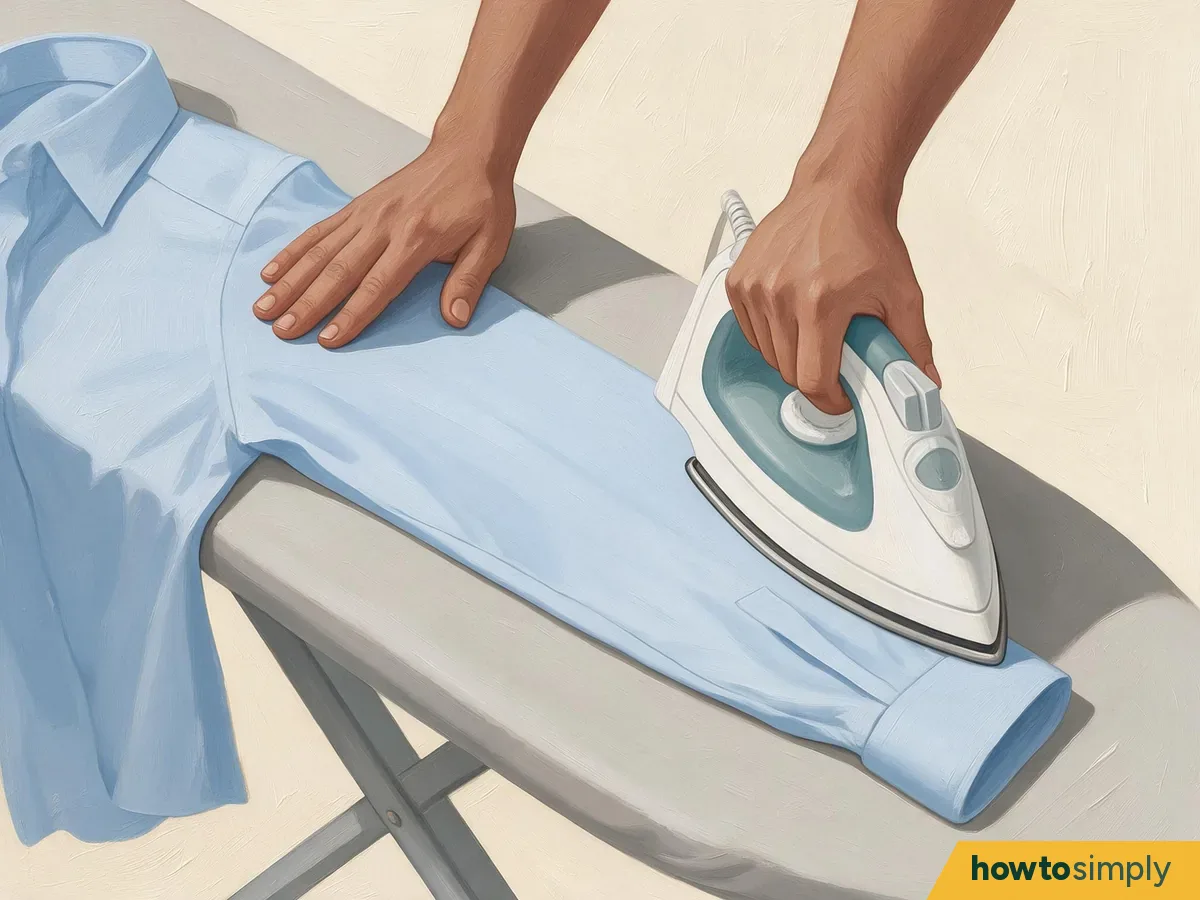
Illustration If you need more space, lay the sleeve lengthwise on the board, cuff facing the narrow end. Line up the seam on the underside with one edge. Feel the sleeve with your palm to make sure the two layers of cloth are lying flat. Watch for areas where the underlayer might gather, such as the elbow and underarm. Overlap your passes as you work the iron from the shoulder region toward the cuff. When the cloth starts to gather, raise it and move it to a different spot. After you've smoothed the sleeve, flip it over and iron any remaining creases.
Determine whether to apply a crease to the sleeve.
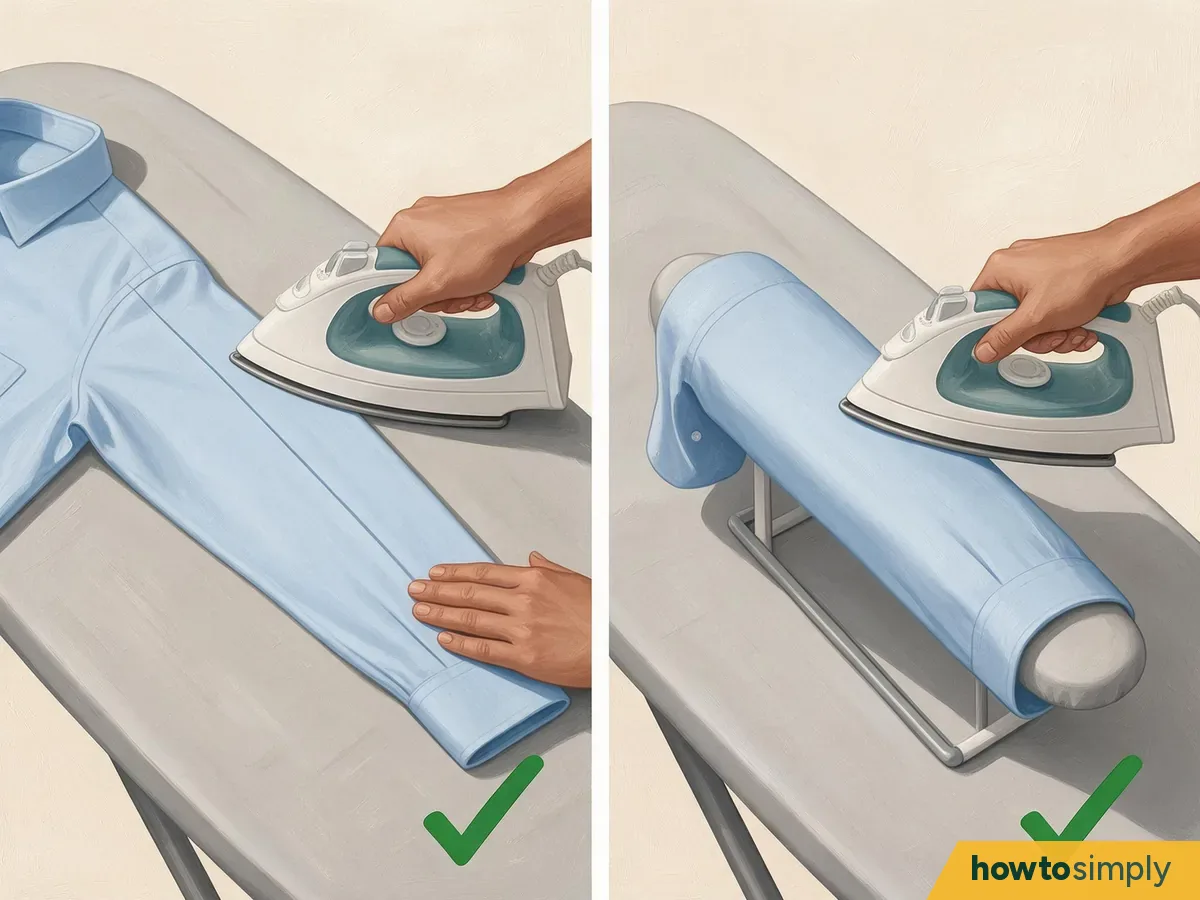
Illustration To achieve a clean crease, ensure that the sleeve is precisely aligned and press down along the folded upper edge. Verify the alignment before pressing to ensure you create a single, unbroken line. To achieve a gentler sleeve, iron the flat section, ensuring the folded edge extends just beyond the board's edge. Smooth the previously unpressed area by rotating the sleeve until it is level. A compact sleeve board also makes it easier to work around the sleeve without compressing it into a fold. Repeat the same method on the second sleeve.
Place each shoulder over the narrow end of the board.
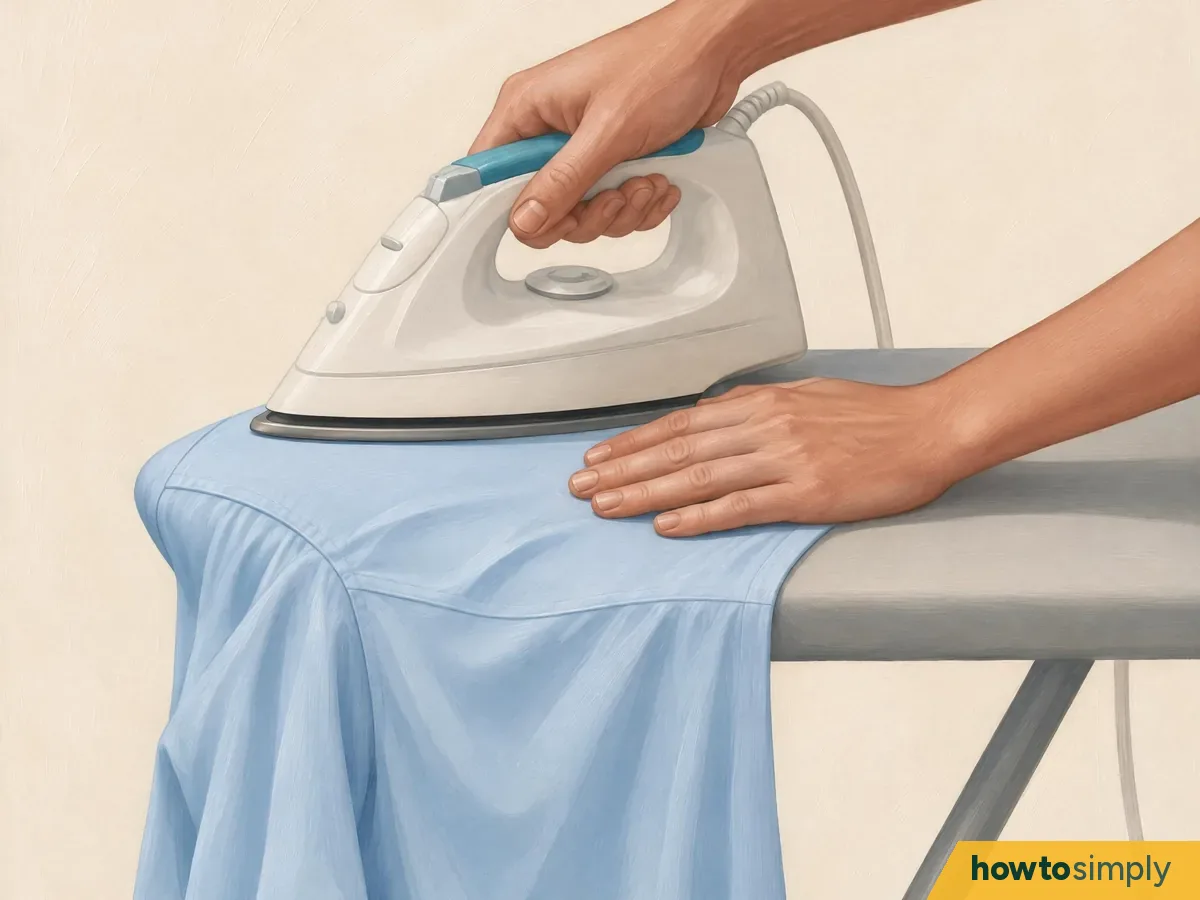
Illustration Allow the sleeve and body to hang freely by sliding one shoulder over the pointed end of the board. Adjust the shirt so the shoulder section is level. Use brief, controlled strokes to iron this region. Reposition the blouse to access the yoke, the upper-back panel beneath the collar. Cross it in manageable sections, and then repeat the process on the other shoulder. Ensure that a seam or loose pleat does not conceal the area you are pressing before making each pass.
Separately iron the two front panels.
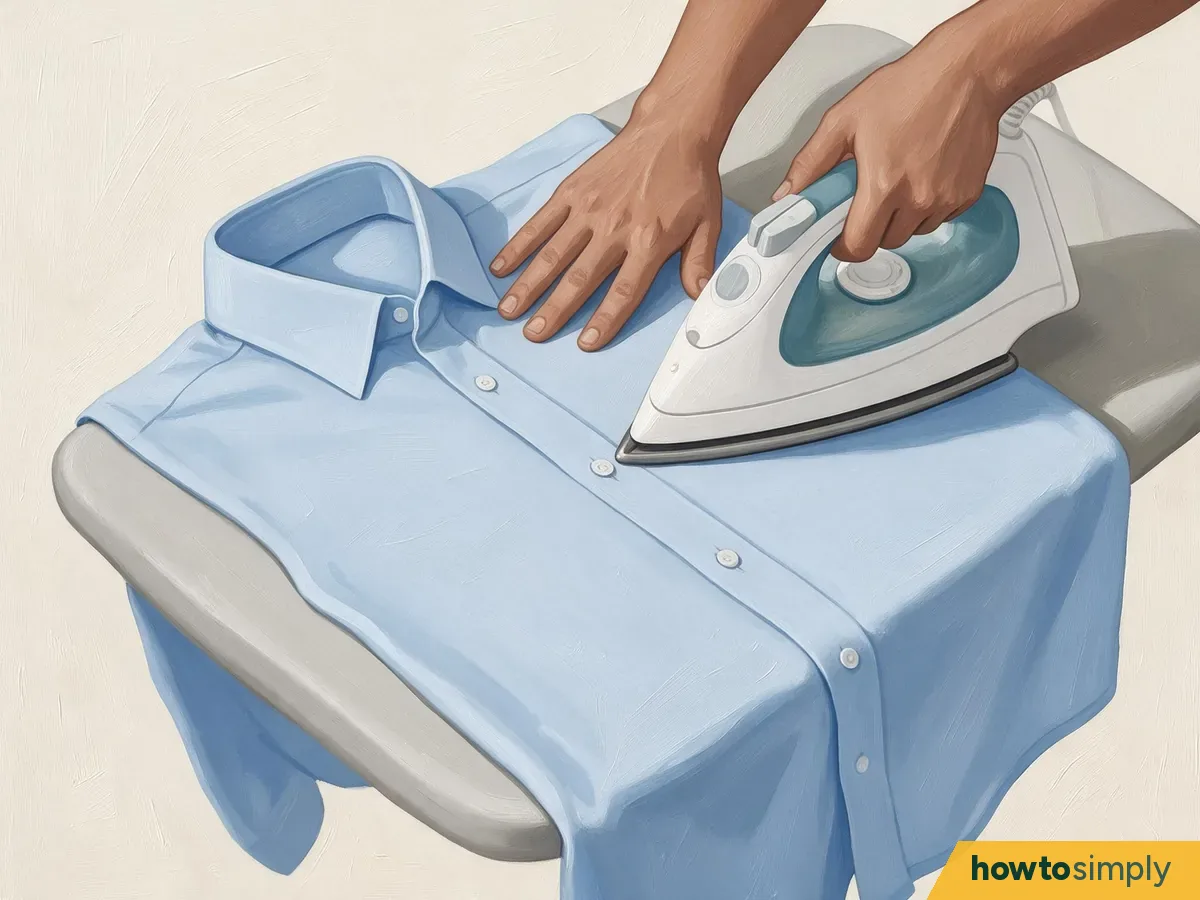
Illustration Lay one of the front panels on the board, with the collar situated near the narrow end. Allow the remaining portion of the shirt to hang over the sides in order to work on a single layer. Begin by smoothing the fabric, and then iron it downward from the shoulder to the hem. Instead of stretching to access the entire panel, move the shirt as needed. Guide the iron's tip through the spaces between buttons on the button side. The reinforced strip adjacent to the opening should be straightened on the buttonhole side prior to being pressed. If a chest pocket is present, gently iron over its aperture and flatten it. Repeat the process on the other front panel.
Work in sections across the back.
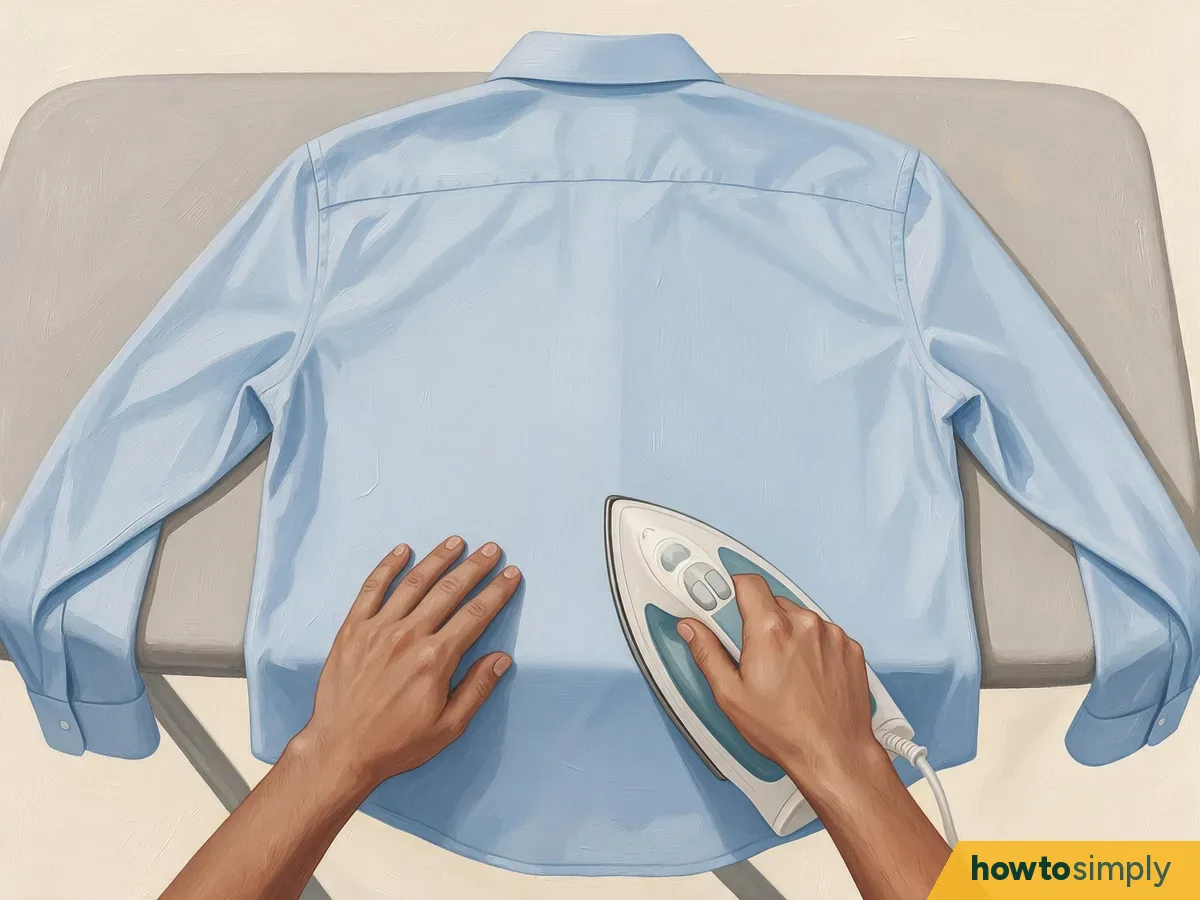
Illustration Spread one side of the back over the board, ensuring that the front panels remain unobstructed. Smooth the fabric and iron it downward. Cover the entire back by moving the garment across the board. Before pressing around it, neatly arrange the fold if it has an existing pleat beneath the yoke. Ensure that the curved hem is unfolded and lying flat along the lower edge.
Inspect the clothing and address any remaining wrinkles.
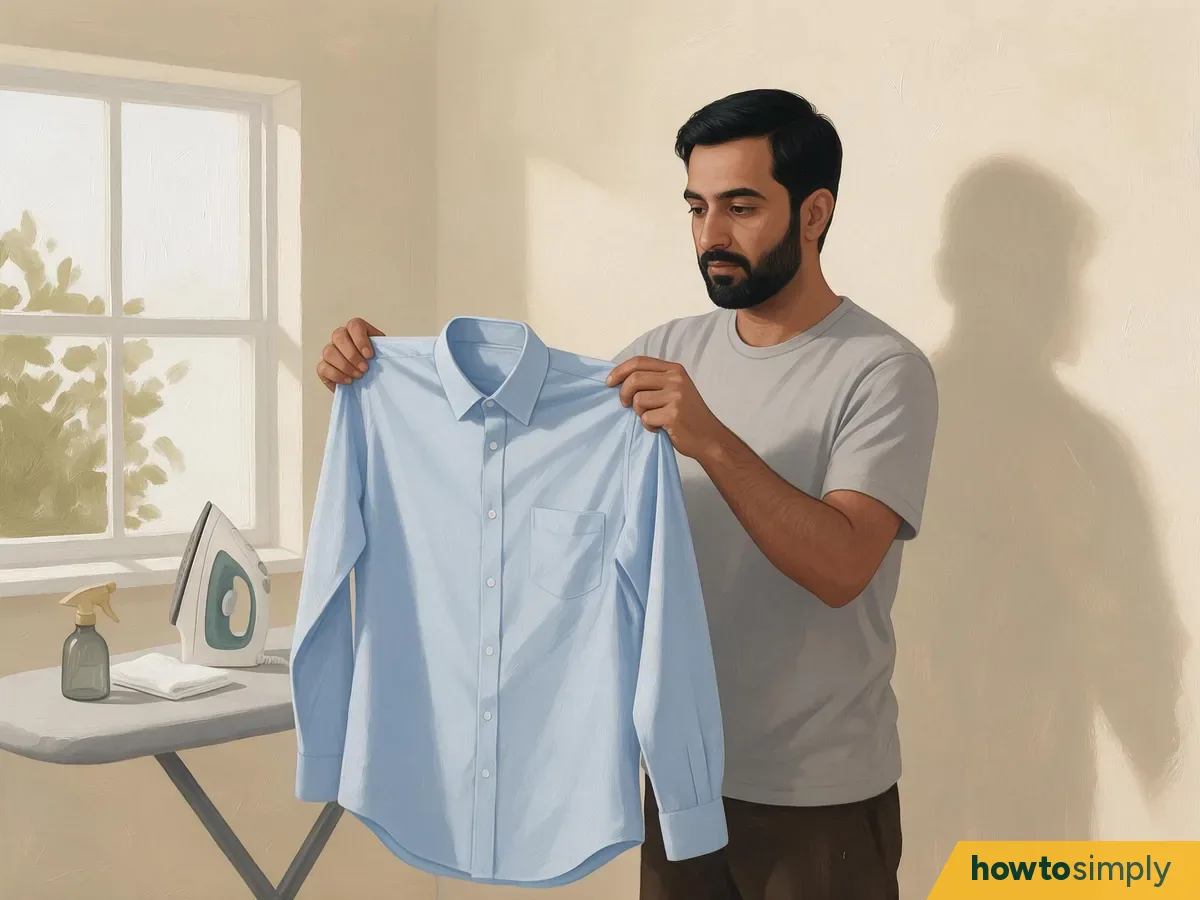
Illustration Examine the garment in a well-lit environment by lifting it by the shoulders. Pay particular attention to the areas surrounding the underarms, buttons, and cuffs. Before making another pass, return each wrinkled area to the board and flatten it. Use a small amount of moisture or permitted steam when appropriate for the fabric. Ensure that the steam is turned off to allow the area to dry. Keep the iron in motion, and set it down on a safe surface whenever you reposition the shirt.
Store the iron safely and hang the shirt.
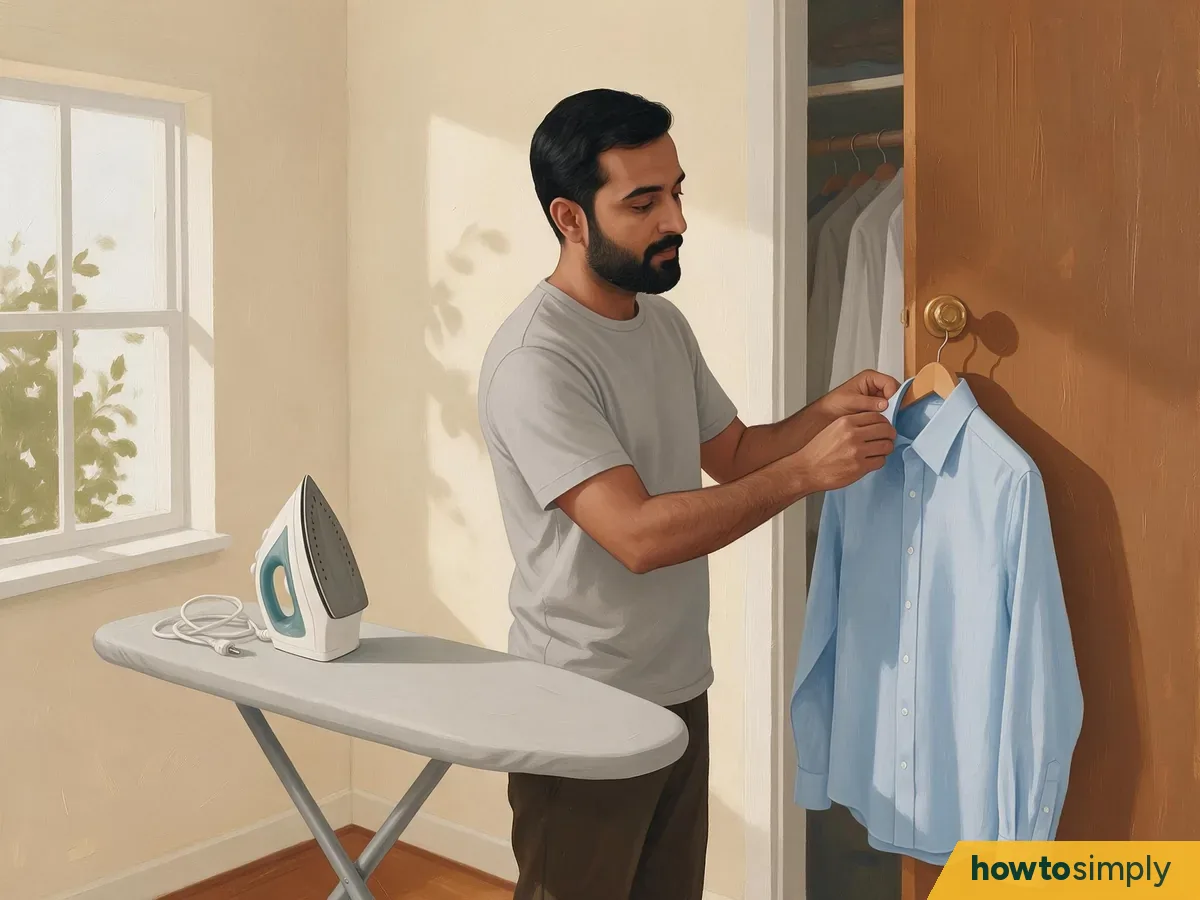
Illustration Hang the shirt and secure the top button to help it maintain its shape. Please allow it to cool and finish drying before wearing it or placing it securely between other garments. Deactivate and disconnect the iron. Empty the reservoir and store it according to the manual. Keep the cable away from the heated soleplate and maintain it in a stable, safe position.
About this article
- Written by
- howtosimply staff
- Pictures
- 16 illustrations drawn for this article, each marked Illustration (drawings, not photos).
What to do next
Make your clothes last longer Step 5 of 7
- How to sew on a button so it stays on (flat and shank buttons)Five minutes with a needle saves a good shirt.
- How to fold clothes to save drawer space and avoid creasesThen fit it all back in the drawer.
- How to read clothing care labels: every symbol explained, EU and USEvery good wash starts with the label.
Did this solve the problem?
What needs work?
What did you think?
Reaction counts are loading.