How to sew on a button
Researched by Abu Bakar Saadat6 min read
Last updated: 13 November 2026References
On this page 8 sections
In short
Double about 40 cm of thread and knot it. Start from the inside, sew through the holes several times over a toothpick, then wind the thread round the stitches under the button to make a shank. Finish with a knot on the inside.
At a glance
- Thread
- Doubled, matched to fabric and button (UF/IFAS, Univ. of Idaho)
- Spacer
- Toothpick, pin or matchstick (UF/IFAS, NLWA)
- Shank
- Wind thread round the stitches, about six times (NLWA)
- Heavy coats
- Add a small reinforcing button inside (Univ. of Idaho)
- Advice from
- UF/IFAS Extension, University of Idaho Extension and North London Waste Authority, read 28 October 2026
- Checked
- November 2026
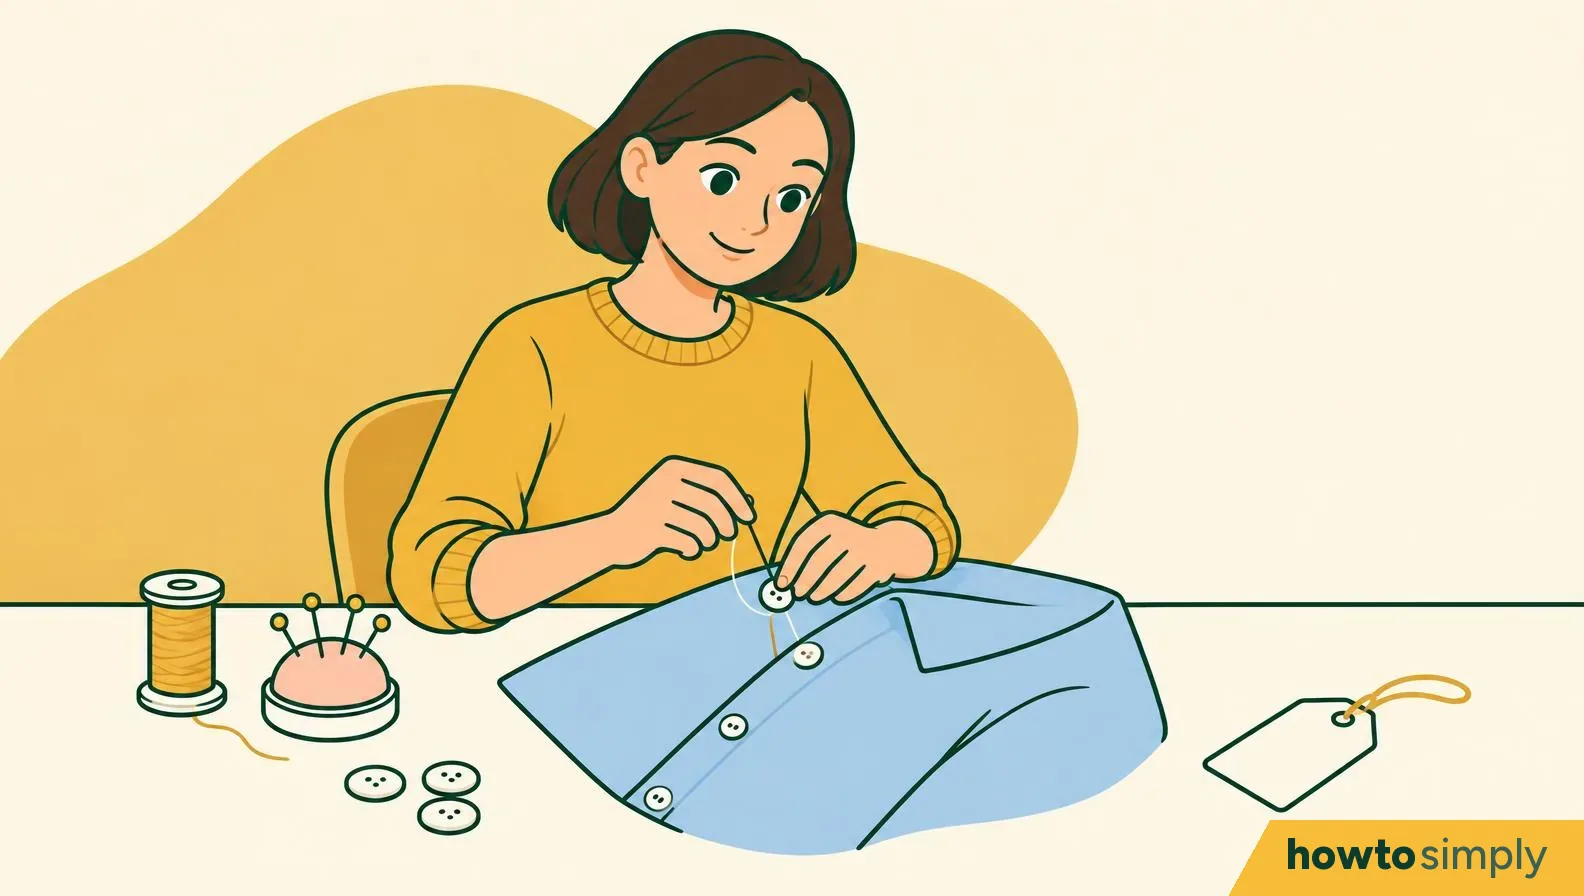
A button that pops off just as you are heading out of the door is so annoying, and it is easy to decide that sewing is not for you. Please don't decide that yet. A needle, some thread and a toothpick are all you need, and we will make this one stay put.
A button stays on when two things are right: strong enough thread, and a short "neck" of thread under the button, called a shank. The shank leaves room for the fabric with the buttonhole to sit under the button, so the buttonhole doesn't rub through your stitches. Most loose buttons are missing one or the other. So if your habit is to stitch a button down as tight as it will go, I am afraid that is usually why it keeps coming off again.
Which button do you have?
Two holes
Follow the steps below as written.
Four holes
Same steps, but stitch in an X across the holes, or as two parallel bars (UF/IFAS Extension). Four-hole buttons suit clothes that get heavier wear.
Shank (a loop or post underneath)
No spacer needed: the shank is built in. Sew through the loop several times, then knot a couple of times on the inside (UF/IFAS Extension). Line the loop up with the buttonhole so it closes neatly (University of Idaho Extension).
Heavy coat or jacket
Add a small flat reinforcing button on the inside, directly under it, and sew through both (University of Idaho Extension).
How to sew on a flat button
Mark where the button goes, through the buttonhole.
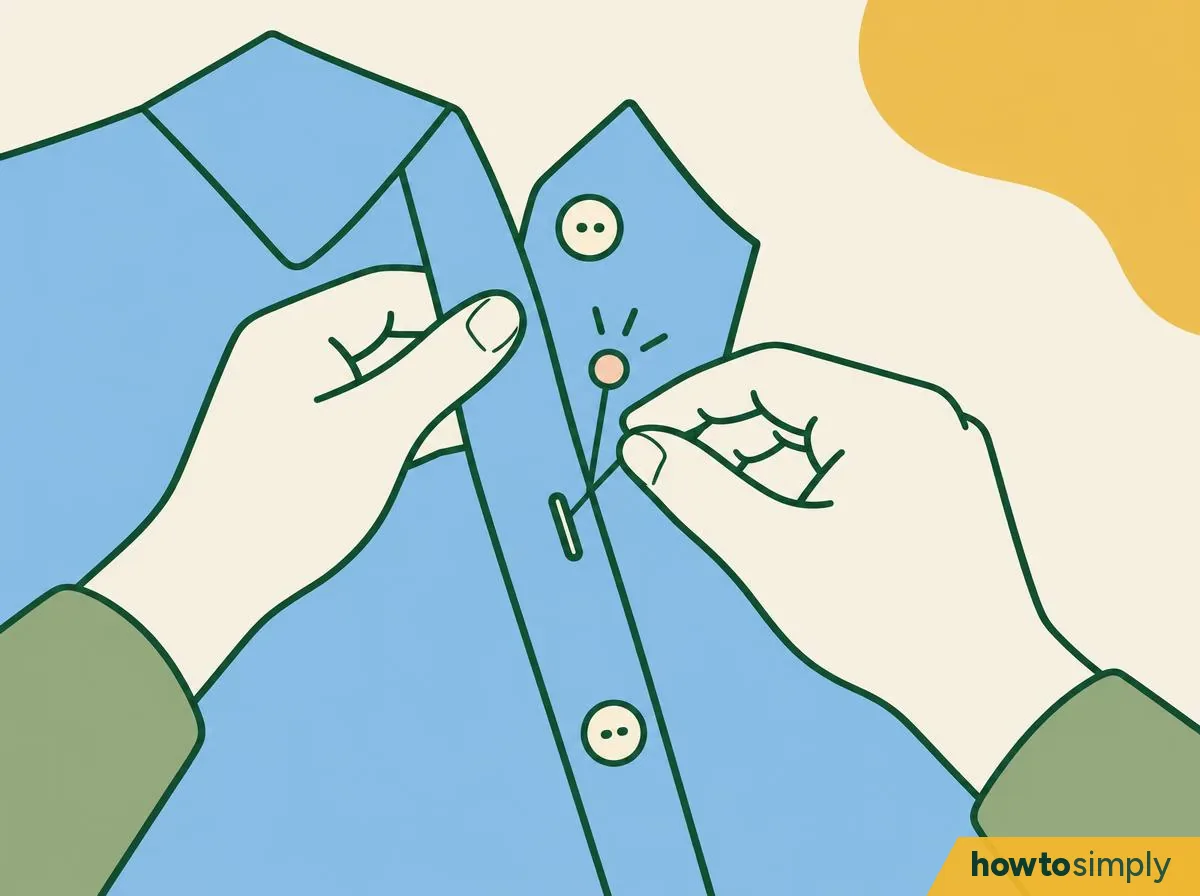
Illustration Close the garment so the edges line up as they do when worn. Push a pin through the buttonhole into the fabric underneath: that is where the button goes (University of Idaho Extension). The old thread marks often show the spot too. Please don't skip this bit. Marking first is what makes the button line up with its buttonhole (UF/IFAS Extension).
You should see: a pin, or the old thread holes, in line with the buttons above and below.
Thread the needle with doubled thread and knot the end.
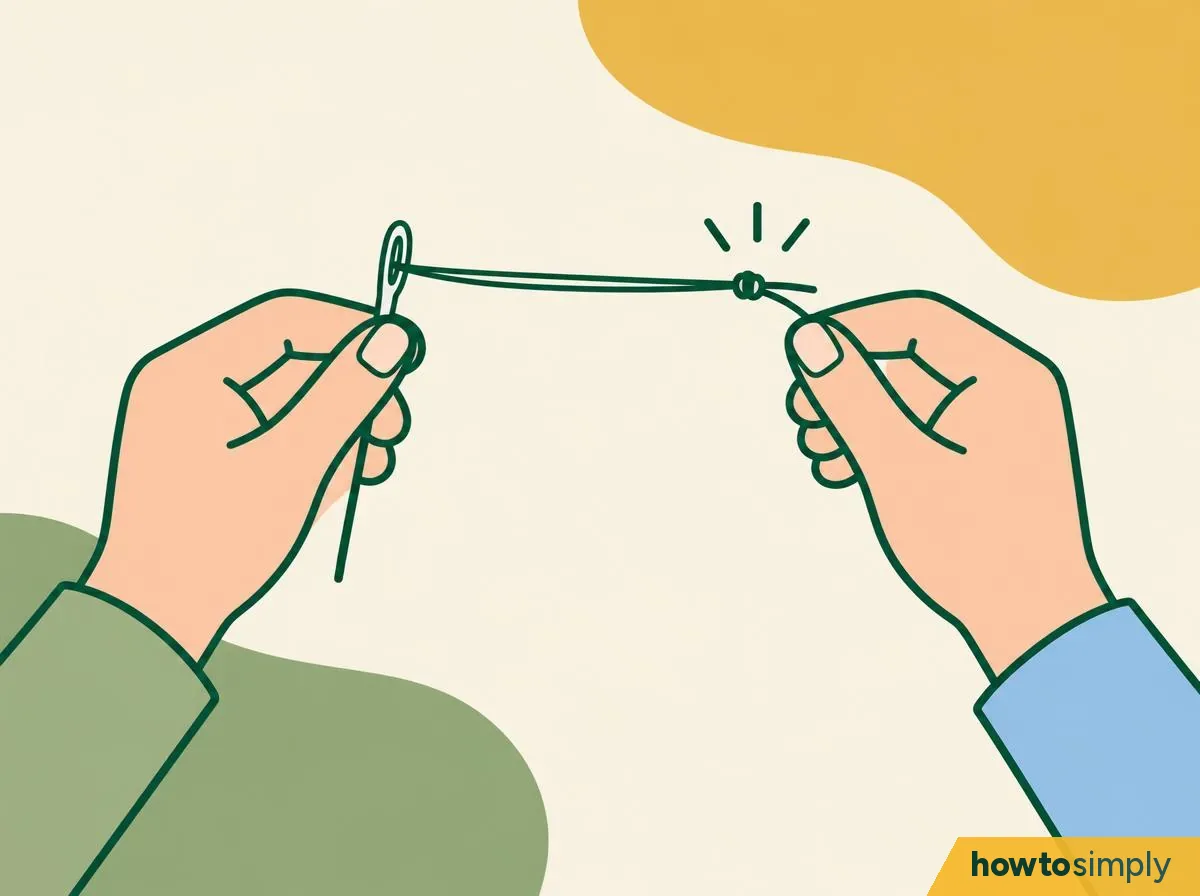
Illustration Cut about 16 inches of thread (about 40 cm, our conversion), thread the needle and pull the two tails level, then knot them together (UF/IFAS Extension). The reason for doubling it is that a single strand is usually too weak for a button unless the thread is thick (UF/IFAS Extension). The North London Waste Authority guide uses a shorter doubled thread of about 20 cm; either works.
You should see: a needle hanging in the middle of a double thread, with one knot holding both ends.
Start from the inside of the garment and come up through one hole.
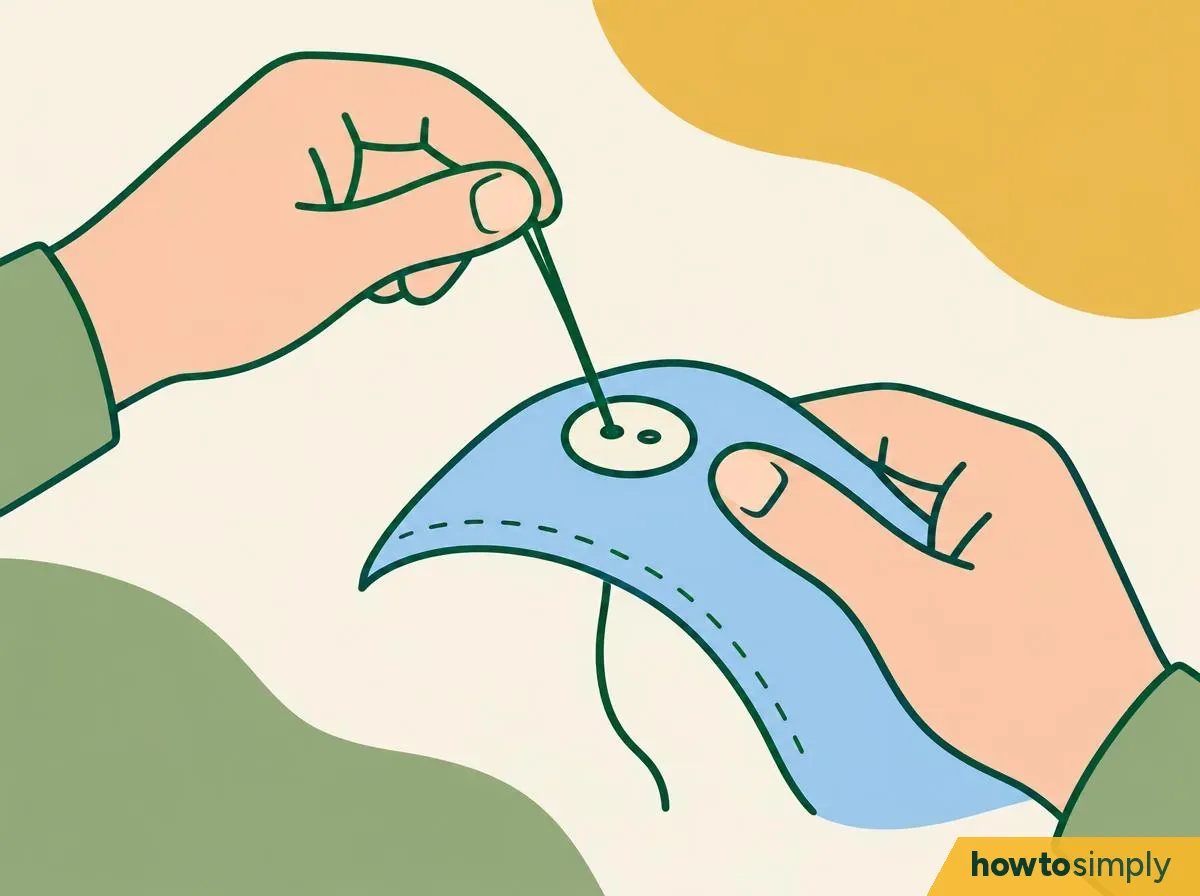
Illustration Make a small stitch on the inside at the mark, so the knot is hidden (NLWA). Nobody wants a knot showing on the front of a good shirt. Then push the needle up to the outside and through one hole of the button, held on the mark (UF/IFAS Extension).
You should see: the button sitting on the mark with the thread coming up through one hole, and the knot out of sight on the inside.
Lay a toothpick across the button and sew over it.
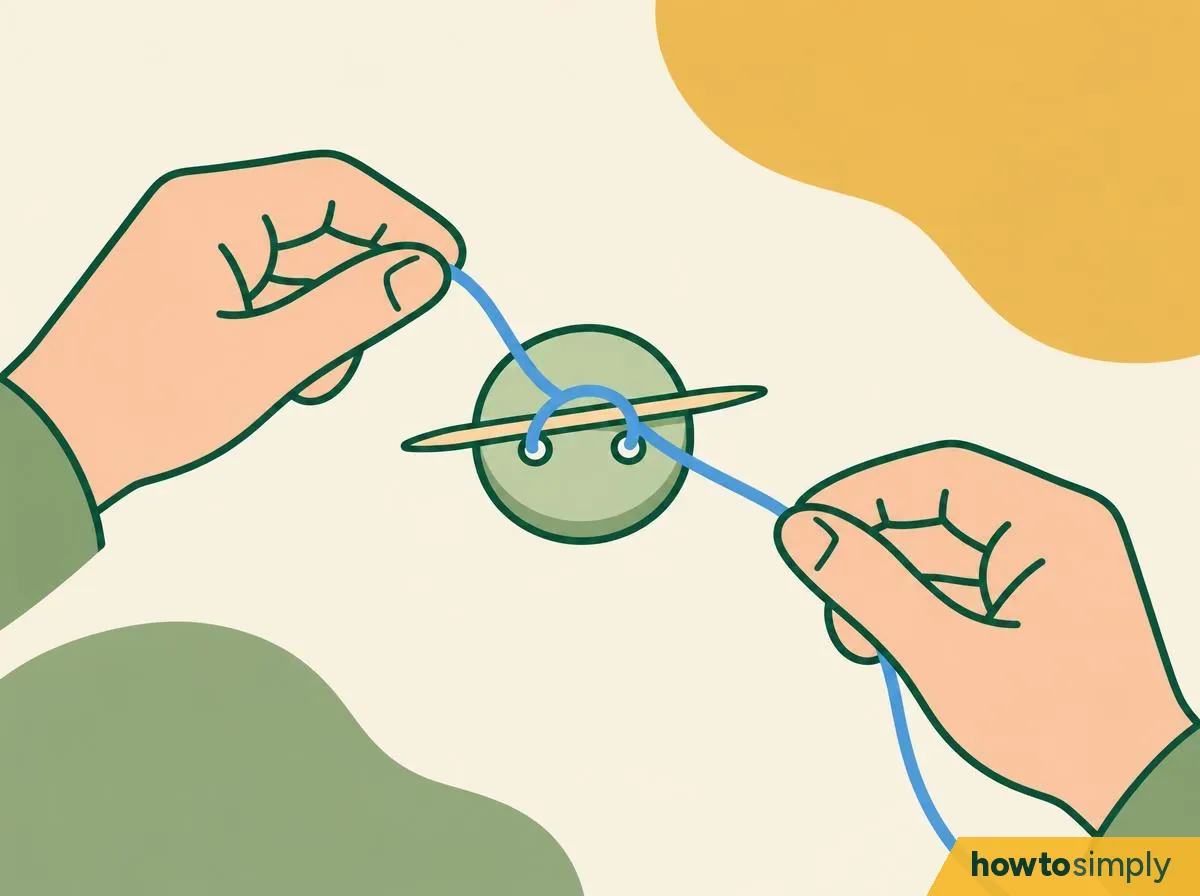
Illustration Lay the spacer across the top of the button, between the holes, so each stitch passes over it (UF/IFAS Extension). What it will do, it stops you sewing the button on too tightly and leaves slack for the shank (NLWA). Go down through the second hole and back up through the first, several times (UF/IFAS Extension). For a four-hole button, make an X or two parallel bars.
You should see: several neat stitches over the toothpick, pulled firm but not puckering the fabric.
Remove the toothpick and wind the thread round the stitches under the button.
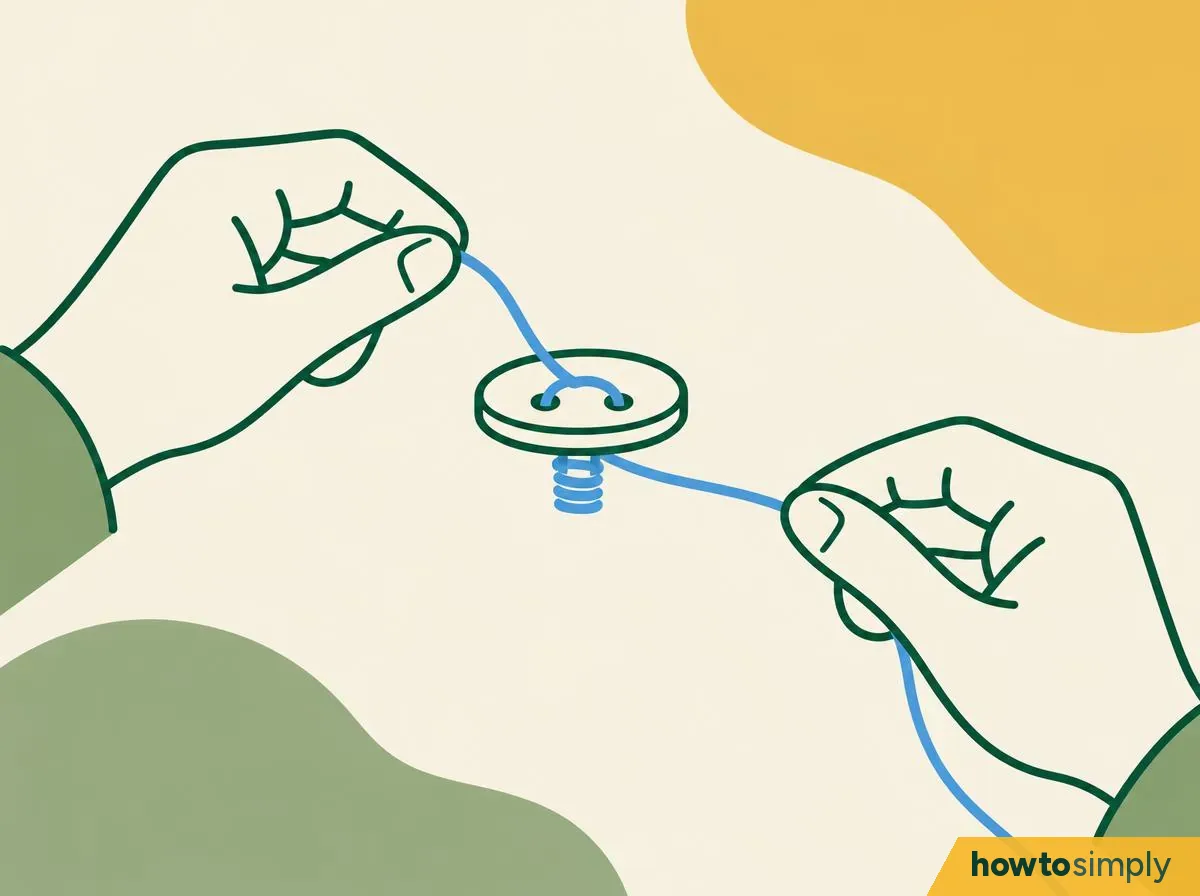
Illustration Bring the needle up between the button and the fabric, not through a hole (UF/IFAS Extension). Pull out the spacer, lift the button so the stitches stand up, and wind the thread tightly round them, about six times (NLWA). This is the thread shank. It is the little part that stops the buttonhole rubbing through your stitches, so make sure you wind it firmly.
How tall? University of Idaho Extension says as long as the fabric with the buttonhole is thick, plus about 1/16 inch (about 1.5 mm, our conversion). Too short a shank makes the front pucker when it's buttoned, so it is worth taking a moment over this.
You should see: the button standing a little off the fabric on a firm, wrapped column of thread.
Take the needle to the inside and knot it off.
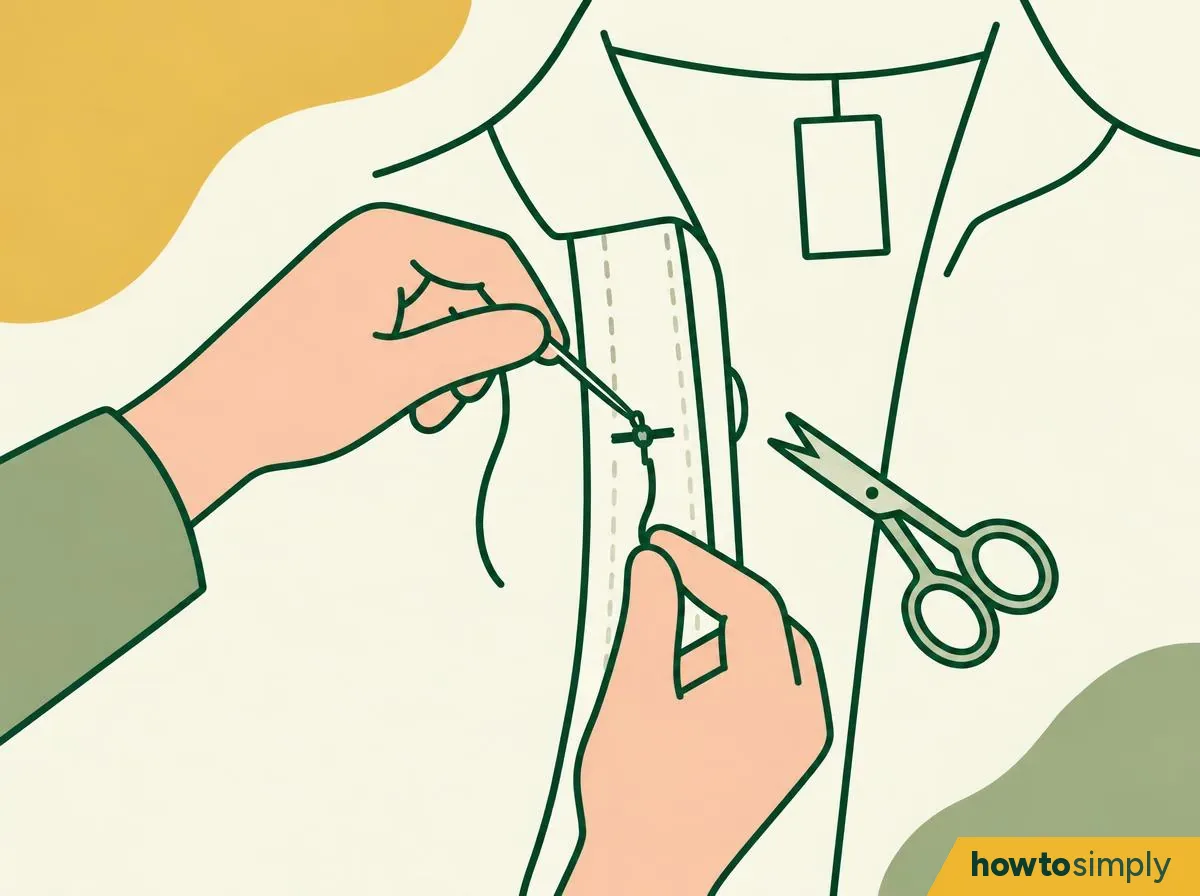
Illustration Push the needle through to the inside and knot the thread (UF/IFAS Extension), or make a few small stitches on the spot (NLWA). Trim the ends. It is that easy.
You should see: a small, tidy knot on the inside and no loose thread on the outside.
How to tell it worked
- The button lines up with its buttonhole and with the buttons above and below.
- It goes through the buttonhole easily, and the front lies flat when buttoned.
- A gentle tug doesn't wobble the button.
- There's a short wrapped shank under a flat button.
- No knot or loose thread shows on the outside.
If something goes wrong
Don't worry if the button doesn't sit right the first time. That happens to lots of people, and each problem below has a clear way forward.
| What happens | What it means | What to do |
|---|---|---|
| The front puckers when buttoned | The shank is too short (University of Idaho Extension) | Re-sew over a thicker spacer and wind a longer shank |
| The button won't line up with its hole | It wasn't marked through the buttonhole | Cut it off, mark the spot with a pin through the buttonhole and sew again |
| The thread keeps knotting | Doubled thread twists as you sew | Run it over beeswax (University of Idaho Extension), or use a shorter length (NLWA) |
| The needle won't go through thick fabric | Normal on denim and coats | Be patient (UF/IFAS Extension); push the needle with a thimble or a firm surface behind it |
| The fabric round the button tears | Heavy fabric under strain | Patch the tear, then sew on with a reinforcing button inside (University of Idaho Extension) |
Questions readers ask
Why does my button keep falling off?
Usually the thread is too thin, or there's no thread shank, so the buttonhole rubs the stitches. UF/IFAS Extension says a single strand is usually too weak and recommends doubled thread. On metal shank buttons the metal can cut the thread over time (University of Idaho Extension).
What colour thread should I use?
University of Idaho Extension suggests thread that matches the fabric and the button, unless you want a contrasting or decorative look.
Can I sew on a button with a sewing machine?
Flat sew-through buttons, yes, on many machines with a button foot (University of Idaho Extension). Shank buttons, the ones with a loop underneath, can only be sewn by hand (UF/IFAS Extension).
How do I stop a coat button tearing the fabric?
Sew a small flat reinforcing button on the inside, directly under the outer button, sewing through both at once. University of Idaho Extension says it takes the strain that would otherwise tear heavy fabric.
Sources and method
- Researched by
- Abu Bakar Saadat
- Tested by our team
- No. We have no record of anyone on our team trying these steps, so treat them as researched instructions from the sources below.
- Pictures
- 8 illustrations drawn for this article: drawings, not photos.
- Sources
- 3 named sources, linked below.
- What this page adds
- Close-ups of sewing over a toothpick and winding a thread shank under the button, and a fix table for puckering, misaligned buttons and knotting thread.
What to do next
Make your clothes last longer Step 6 of 7
Did this solve the problem?
Where did you get stuck?
What did you think?
Reaction counts are loading.
Sources
We use primary, official and specialist sources appropriate to the topic.