How to remove pilling from clothes
By howtosimply staff7 min read
Last updated: 14 November 2026References
 Illustration
In short
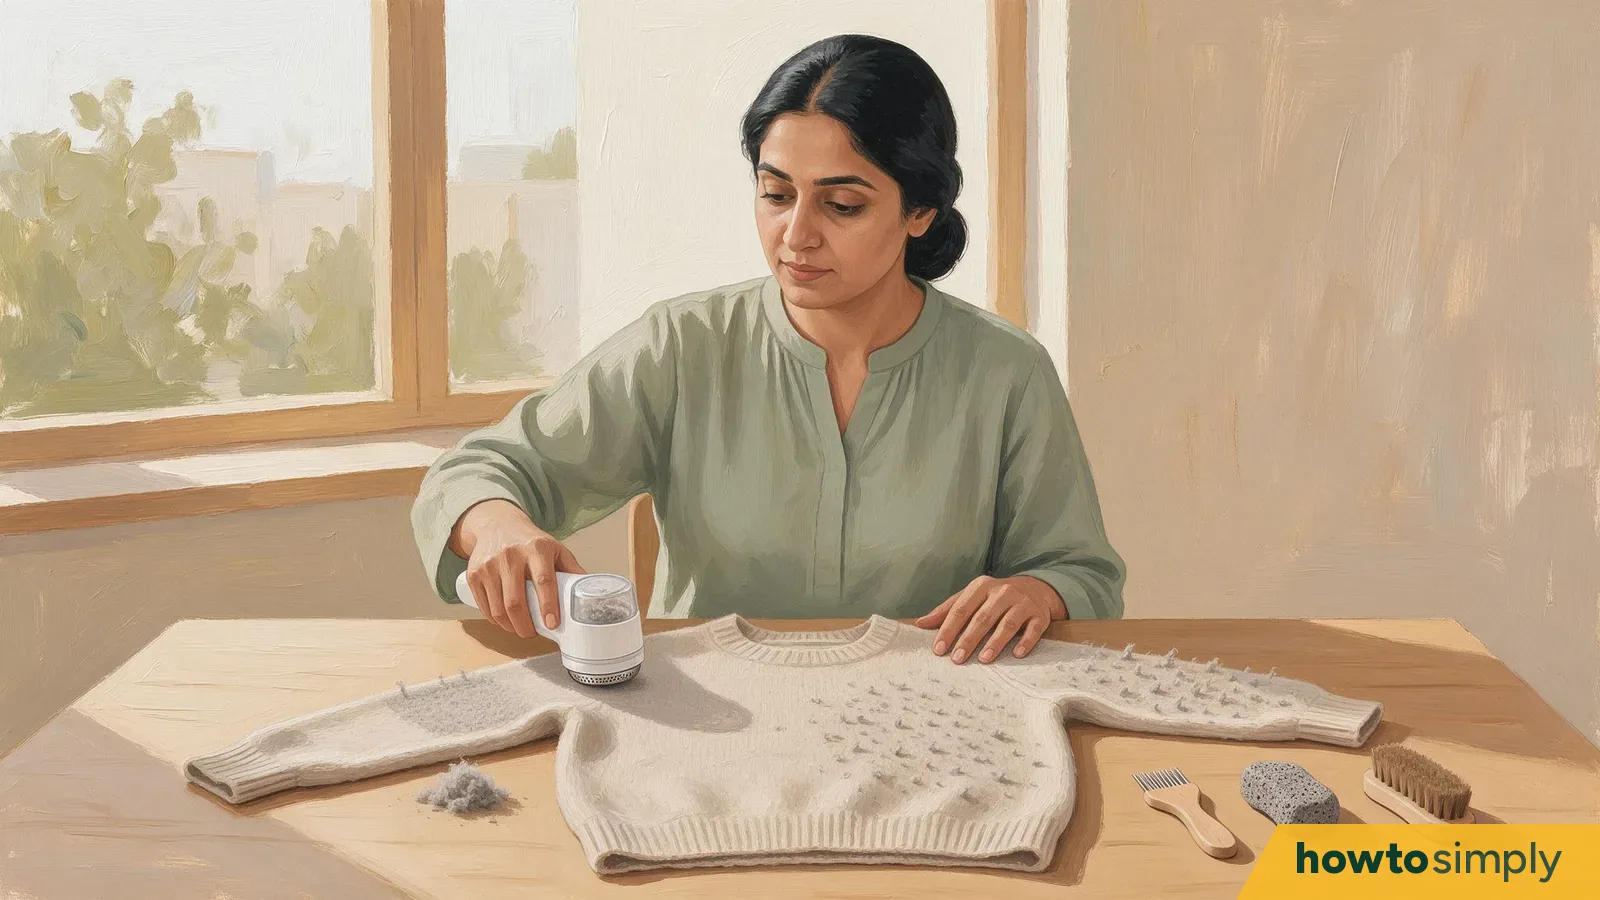
The first step in eliminating pilling is to lay the garment flat and gently remove the tiny fiber clumps (pill balls) that form with a suitable fabric shaver, knitwear comb, or sweater stone.
At a glance
The first step in eliminating pilling is to lay the garment flat and gently remove the tiny fiber clumps (pill balls) that form with a suitable fabric shaver, knitwear comb, or sweater stone. Apply gentle downward pressure, and periodically check the fabric to ensure the tool is having the desired effect.
When fibers rub together, they become entangled, forming small balls on the fabric's surface, known as "pills." Pilling typically occurs under the armpits, along the length of sleeves, between the legs, or in areas subject to constant friction from bags or purses. Eliminating pills improves the appearance of the garment. However, continued friction can cause additional pilling.
You'll require good lighting; a stable, flat surface (e.g., a table); a tool designed for removing pills; and a soft-bristled clothing brush for collecting loose fibers.
Examine the garment before attempting to eliminate pills.
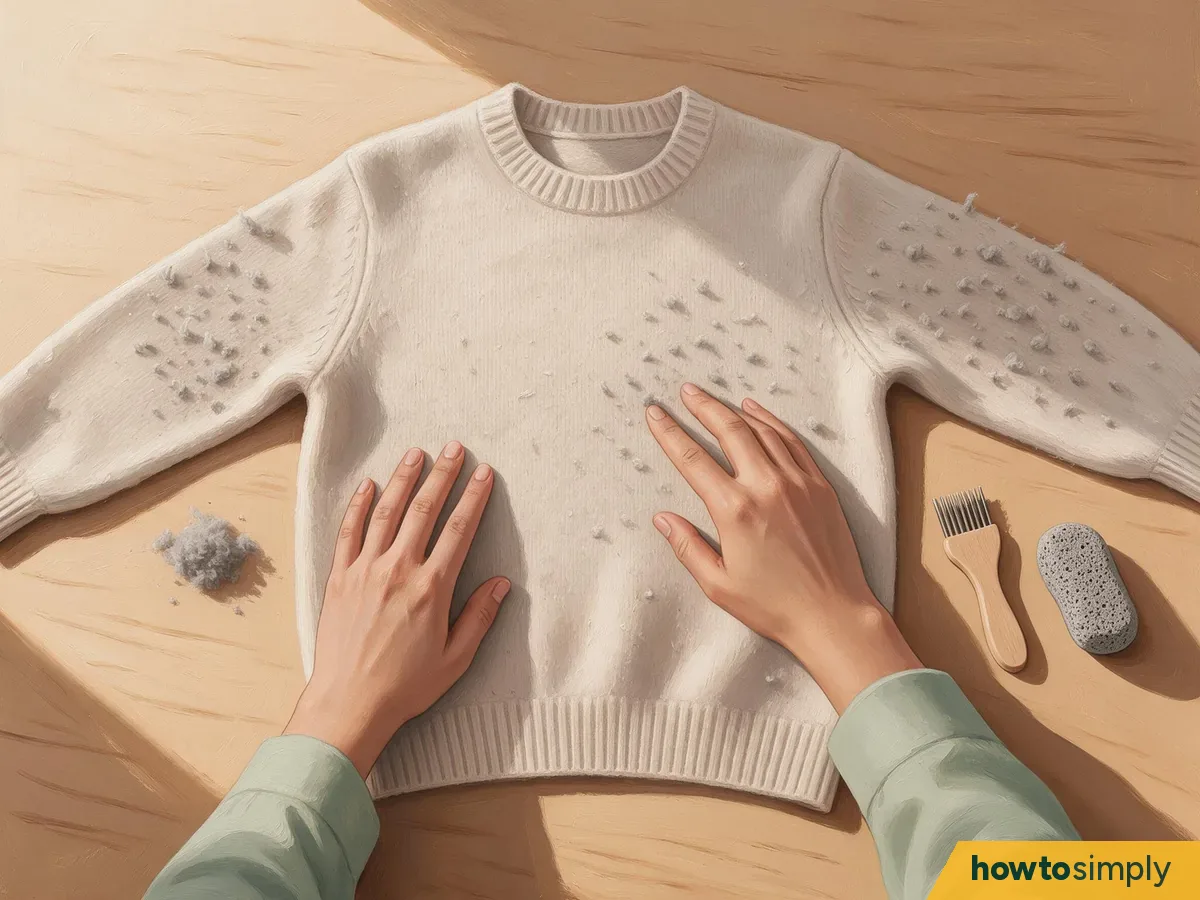
Illustration Lay the clothing flat on a stable surface and assess it thoroughly. Observe all of the areas where pilling occurred. Small, fuzzy balls attached to the surface are called "pills" and can be easily eliminated. Loose lint and pet hair may be easily eliminated with a soft-bristled clothing brush. Threads and loops longer than those found in standard sewing can be problematic since they could be part of the garment's stitching.
Examine each area for holes, thin areas, broken stitches, embroidered designs, or raised embellishments. Avoid using scissors anywhere near these locations. For particularly thick or heavy garments, compare the affected area to an area of the same type but with less wear so you can establish what the normal texture should look like.
Select a suitable tool for removing pills from the garment.
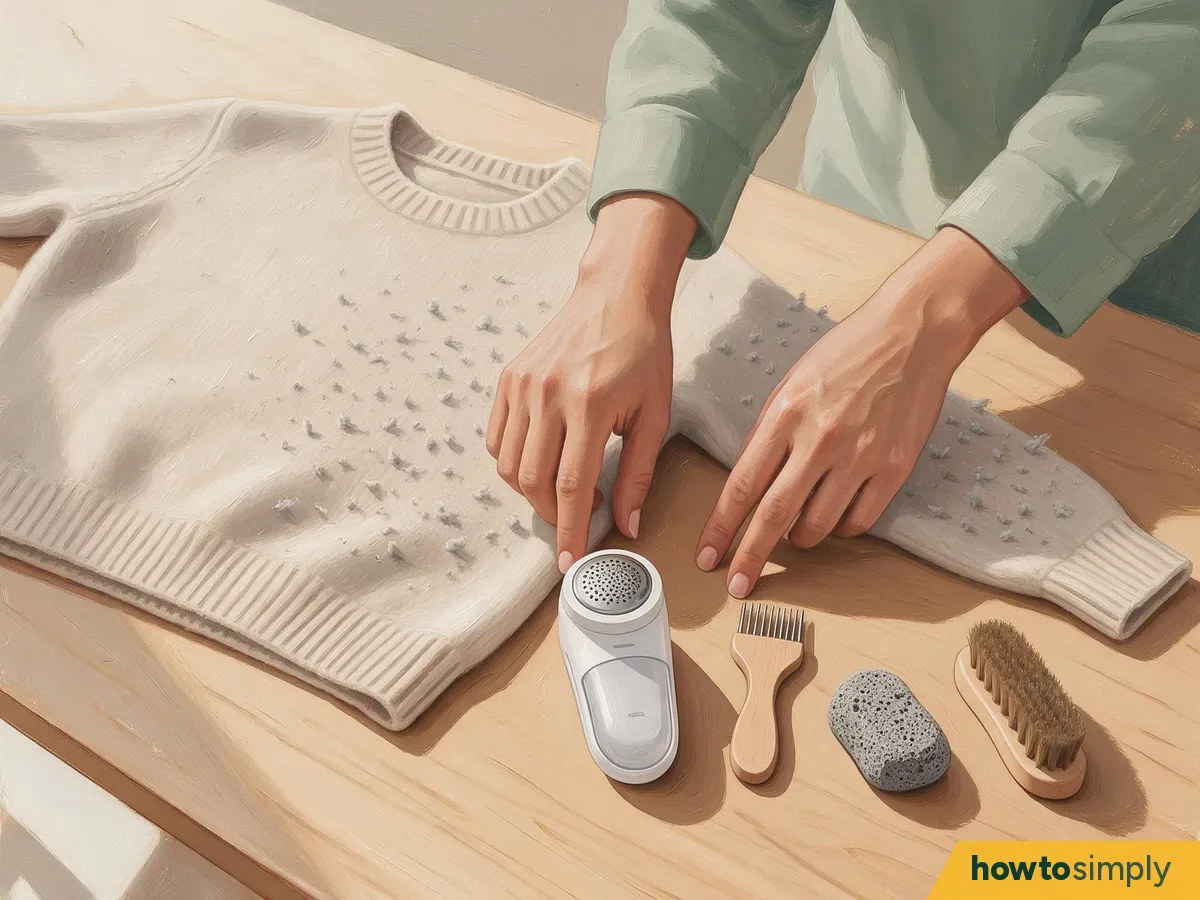
Illustration Read the garment's label, and read the manufacturer's guidelines for your selected tool. Fiber content provides a basic guideline; however, thickness, texture, and construction also play an important role in selecting a suitable tool.
Garment/surface Appropriate starting point Smooth/closely knitted sweatshirt/everyday knitwear Fabric shaver suitable for material Cashmere/wool knitwear Cashmere/wool comb recommended by garment maker Heavily constructed knitwear approved for abrasive treatment Purpose-made sweater stone Loose surface lint Soft clothing brush Open knits/decorative loops/large fluffy finishes/worn thin fabric Consult garment maker/knitware care professional on which method is best Begin with one method of removal. Test its effectiveness before applying it to a larger area. Some manufacturers suggest using a Cashmere comb for their Cashmere products, while others suggest using a fabric shaver (used carefully).
Position the garment flat on a solid, flat surface.
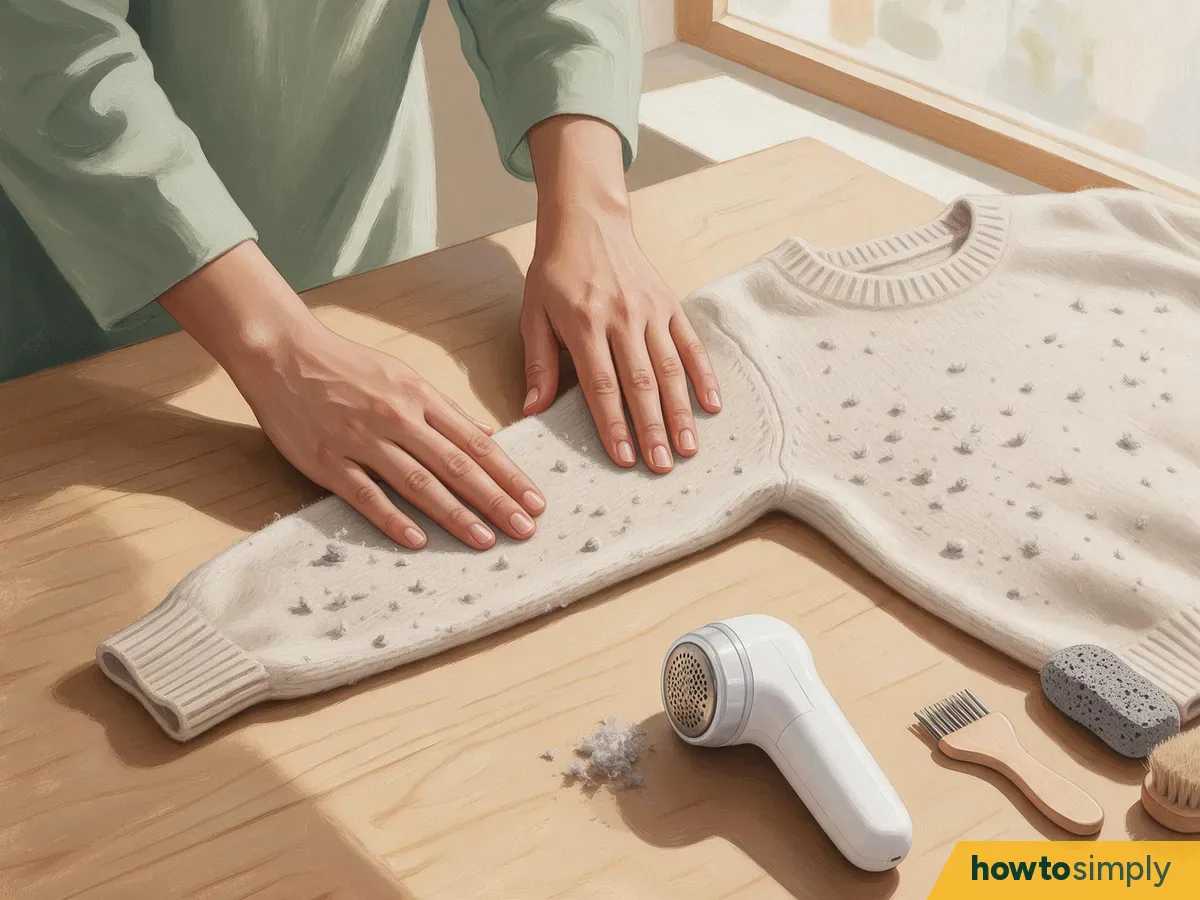
Illustration Remove the garment from your body and stretch it flat across a clean table. Do not wash it first unless indicated otherwise.
Pull one portion of the garment flat across your palm. Hold it flat and secure it in place with slight tension to prevent wrinkling. Applying excessive tension may pull the knit excessively, distorting the sewn-in stitches and reducing your ability to manage and control the surface as you de-pill.
For sleeves, uncurl a short segment and verify that the layer under has not gathered. Rotate the garment as you work to ensure that each portion receives adequate support. Fabric-shaver manufacturers suggest working flat and applying light pressure.
Use a soft clothing brush to remove loose lint so you can see the remaining pill balls attached to the surface.
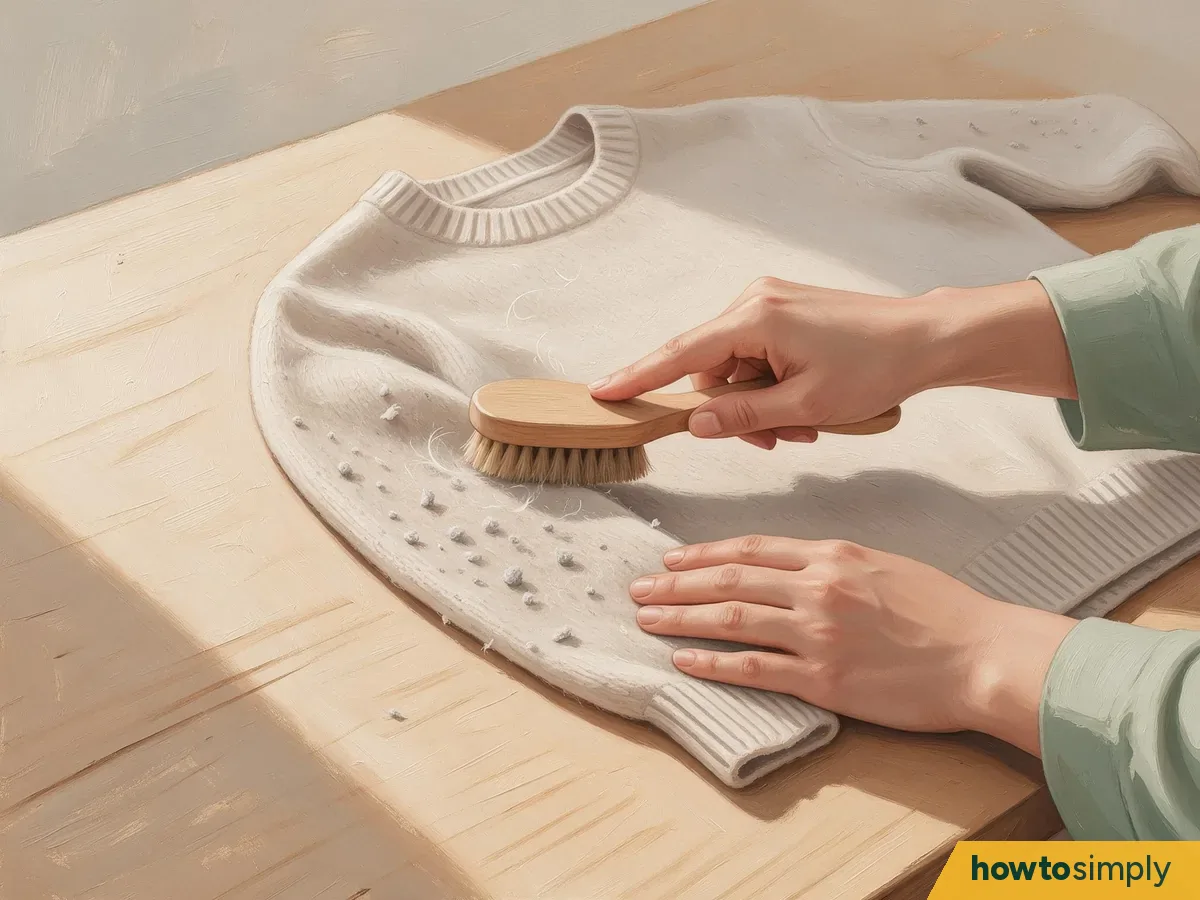
Illustration Use light strokes with a soft-bristled clothing brush to remove any stray fibers, including pet hair/dust/fluff.
On wool products, use extreme caution with adhesive rollers. Some makers recommend using a clothing brush instead because sticky rollers can draw fibers upward, causing additional pilling.
Leave all firmly attached ball formations for your chosen de-pilling tool. Continued pulling on these may draw additional fibers from the surface.
Test a small section of fabric in a location that's difficult to see.
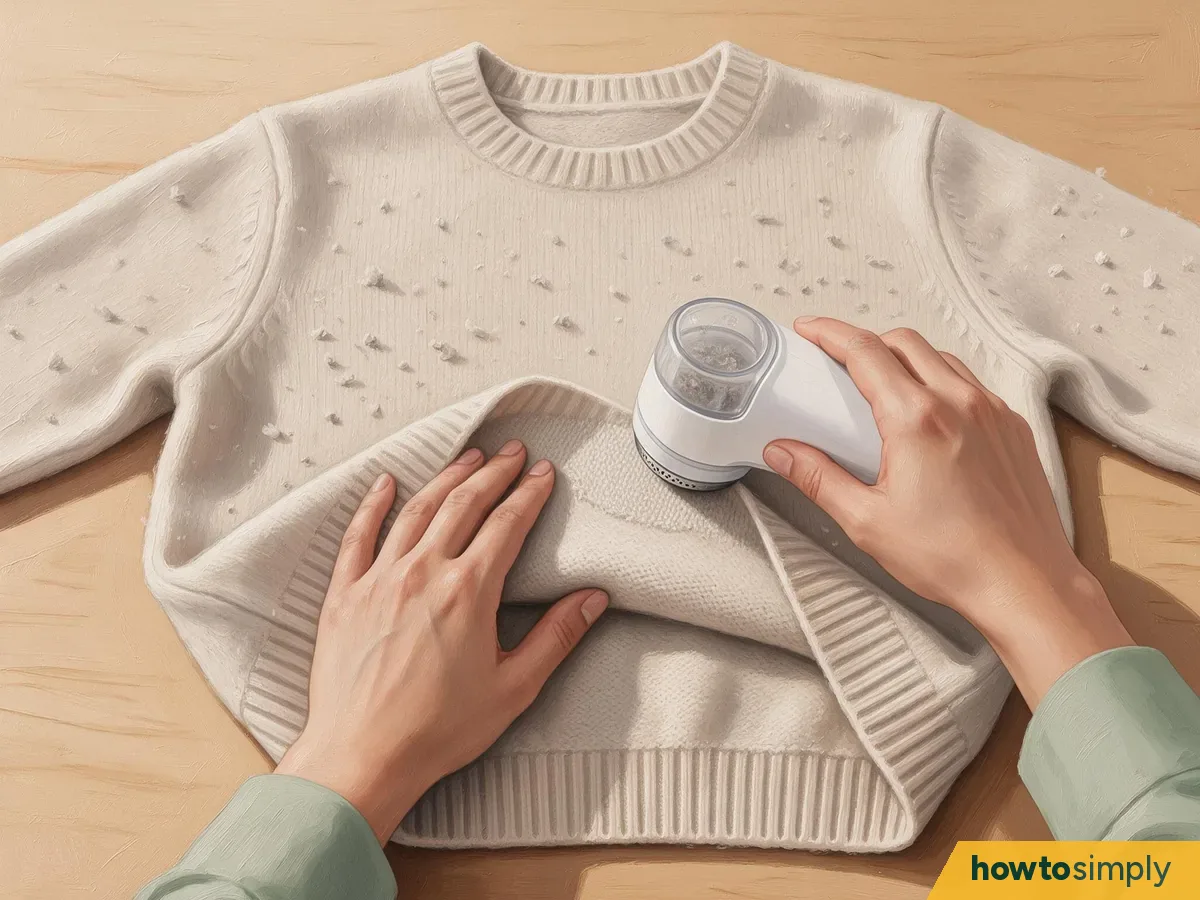
Illustration Find an inconspicuous section of fabric in an area visually comparable to where you plan to de-pill. A suitable location is generally near the bottom hem of an item. Be certain not to touch any seams.
Use one light pass over the selected area. Remove the loose fluff and evaluate the results in well-lit conditions. Determine whether the pilling has diminished and whether the stitch color and texture remain consistent with the surrounding fabric.
Stop immediately if your tool begins to catch, pull the loop upward, produce a visibly coarser surface, or remove excess fluff intended for this specific item. A successful test allows you to proceed with caution.
de-pill using your chosen method.
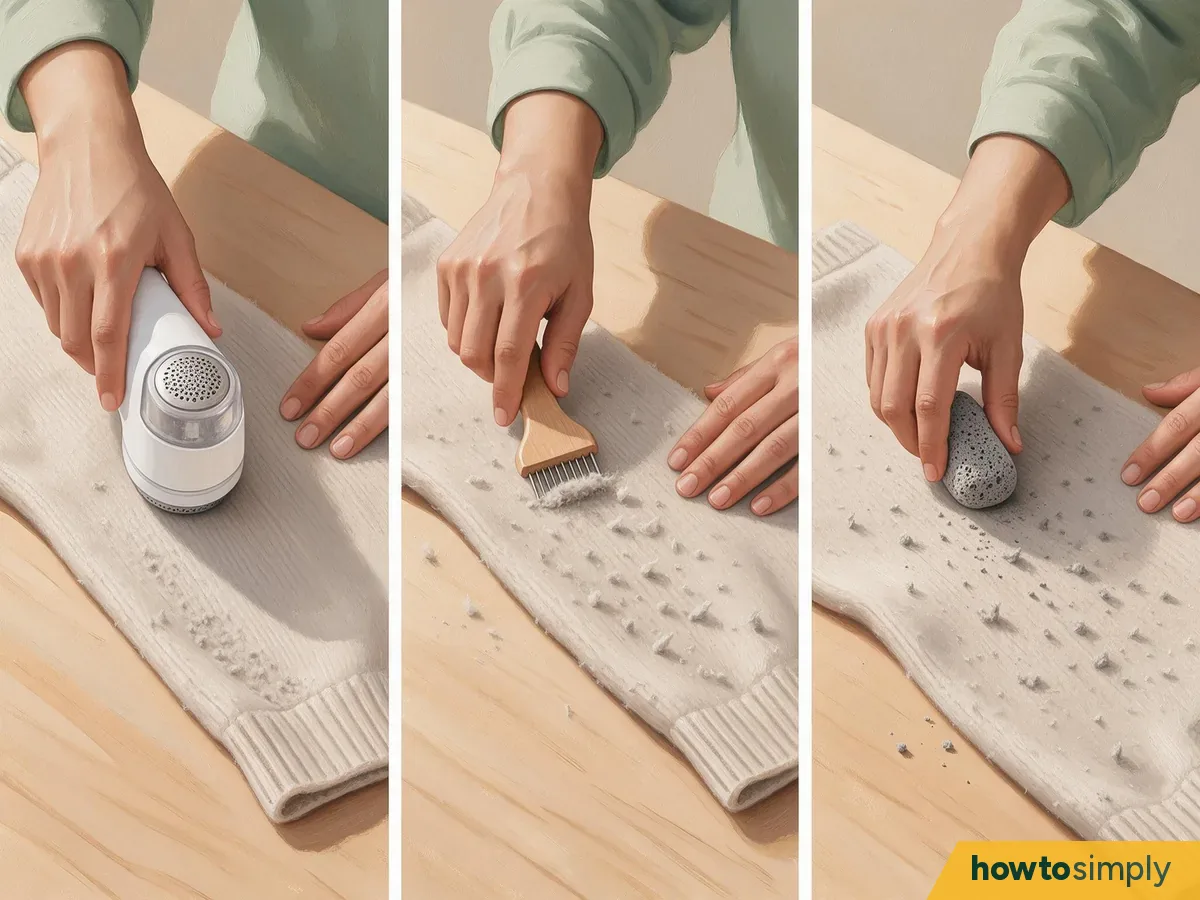
Illustration Using an electric fabric shaver, inspect the perforated steel mesh before turning it on. Always keep the protective mesh in place and use either the space attachment or the fabric setting suggested by the manufacturer for your selected garment. A damaged mesh or blade assembly requires service before use.
Gently set the shaver head against the pressed flat fabric. Use short, light passes as instructed by your shaver's manufacturer. Allow the blades to capture any raised pills without forcing the head into the garment. Raise the shaver between sections and press another section of flat fabric before continuing. Evaluate your progress after a few passes.
Using a knitwear comb, use one hand to stabilize the fabric while holding it in position with the other hand. Position the comb against the surface as instructed in its user manual, and apply a single, short, light stroke. Remove the comb before executing the next stroke.
Clean fibers from the comb regularly. If the comb drags along your stitches, adjust your pressure accordingly and reposition your fabric. Continue working progressively through the pilled area as you complete each stroke. Some makers suggest using combs gently, and others recommend using combs carefully for Cashmere pilling.
Using a sweater stone, first determine that it is suitable for your selected garment. Provide support for your fabric while brushing lightly in line with your knitting pattern. Remove the stone between each stroke rather than stroking back and forth continuously.
Remove any pills and crumbs the stone freed. Inspect the area before completing another stroke. This process is outlined in some makers' repair guides; nevertheless, applicability depends on your garment.
Apply caution when approaching seams, cuffs, and decorated areas.
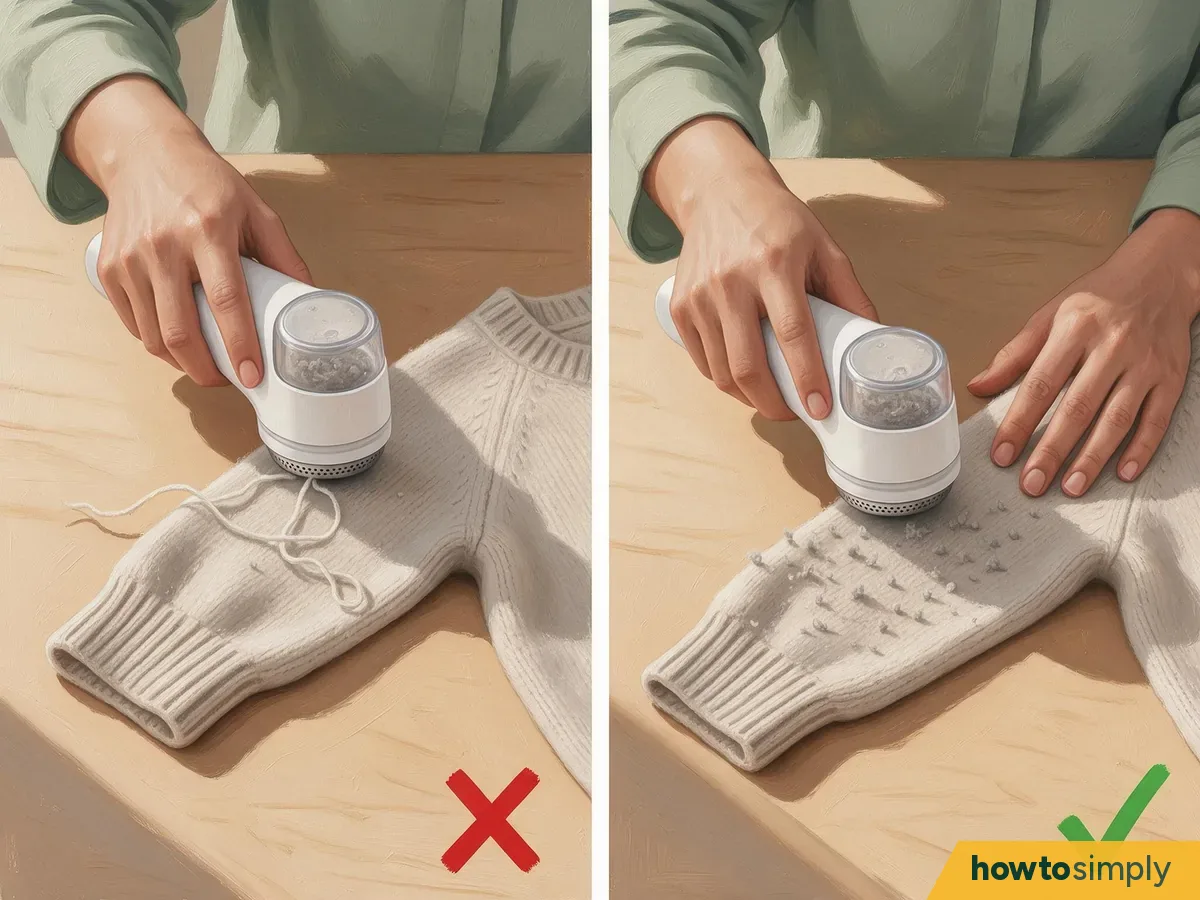
Illustration Seams and creases formed by folding may extend above an electric de-piller's operating surface. Gently flatten adjacent surfaces as necessary and address these areas in small segments.
Keep electric de-pillers far from zippers, buttons, embroidery, or loose strings. Exercise considerable caution when addressing ribbed cuffs due to their varied elevation levels.
If a pill forms adjacent to an exposed stitch or damaged area, wait until the garment has been inspected or repaired before proceeding.
Cease usage long enough to empty & clean your selected tool(s).
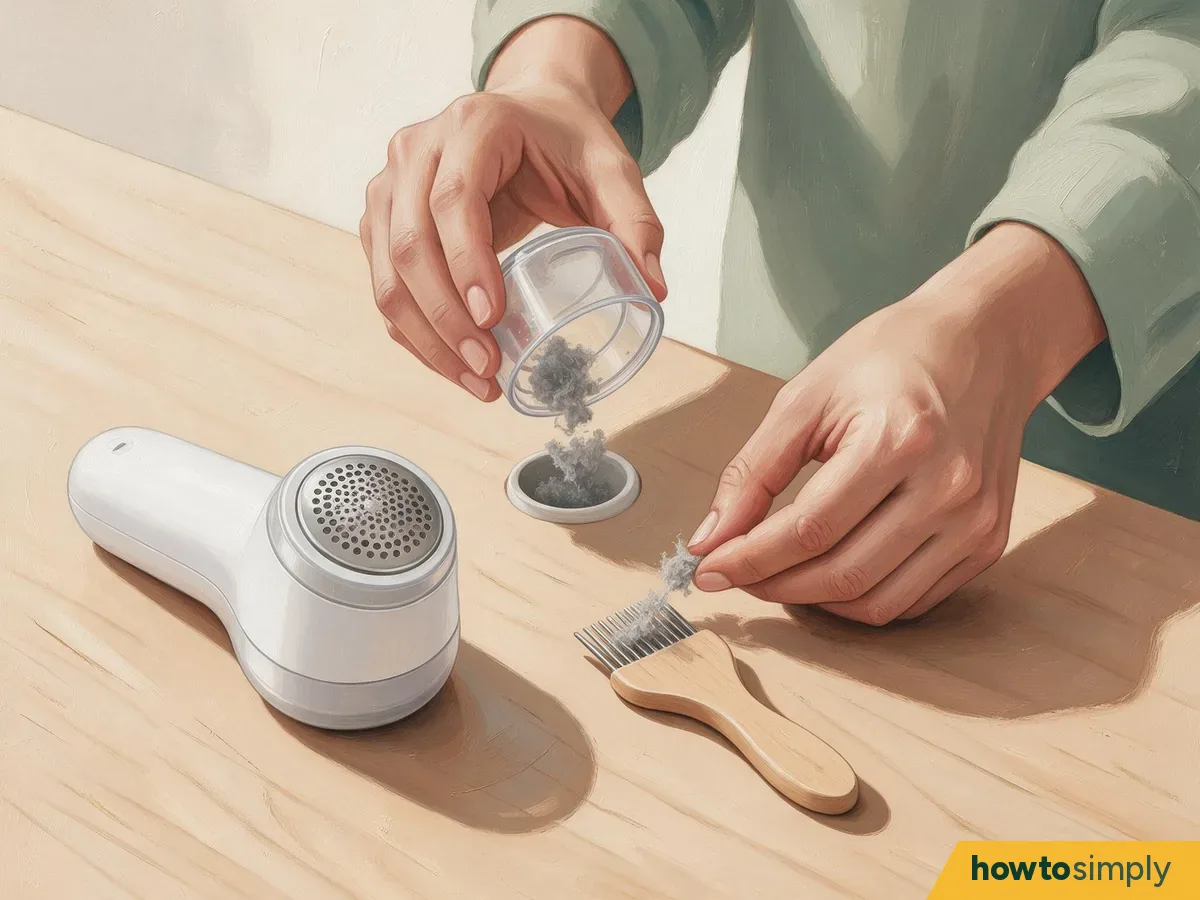
Illustration During use, inspect the debris accumulation in the tool(s) collection container. Inactive collections or captured fibers may compromise performance in an electric shaver, and an idle motor may indicate that the tool(s) need cleaning. Disengage power before accessing internal components of electrical devices or removing batteries according to the manufacturer's directions; empty debris collection containers as per the manufacturer's directions; and clean brushes according to the manufacturer's directions. Prioritize protecting yourself from sharp blades and, once cleaned/reassembled, replace all covers/batteries on applicable tools before resuming operation.
Manually operated combs or stones must also be emptied of accumulated fibers to allow continuous application with minimal resistance from fibers caught within these devices.
When no more visible pills exist, cease de-pilling activity.
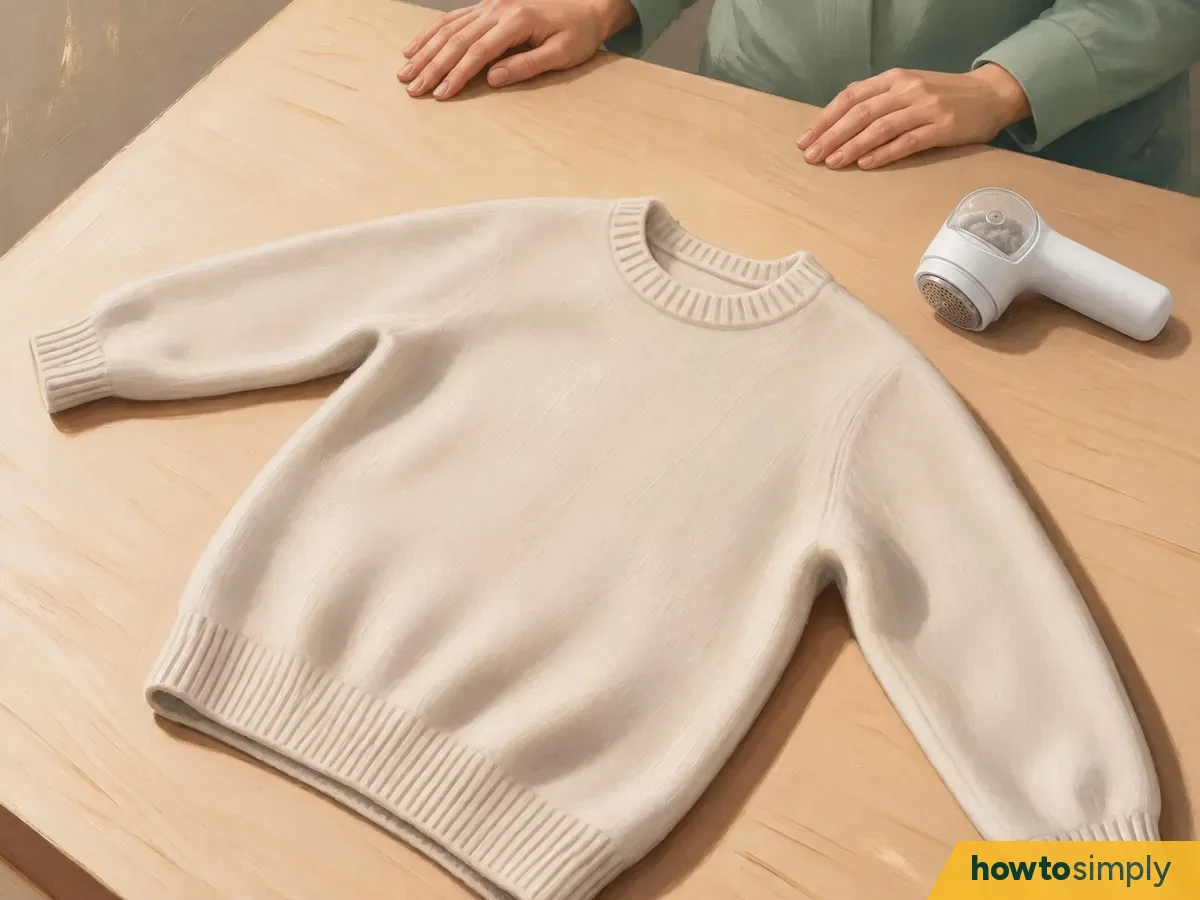
Illustration Brush away free fibers and observe, locally and remotely, how well de-pilled regions match their surrounding garments.
Preserve original textile surface characteristics. Over-application of repeated strokes, combined with increased force, can lead to excessive material loss or generate an exaggerated amount of surface fuzziness. If several gentle strokes yield minimal results, reassess your tool selection or seek expert assistance before continuing.
Complete cleaning activity and store your garment properly.
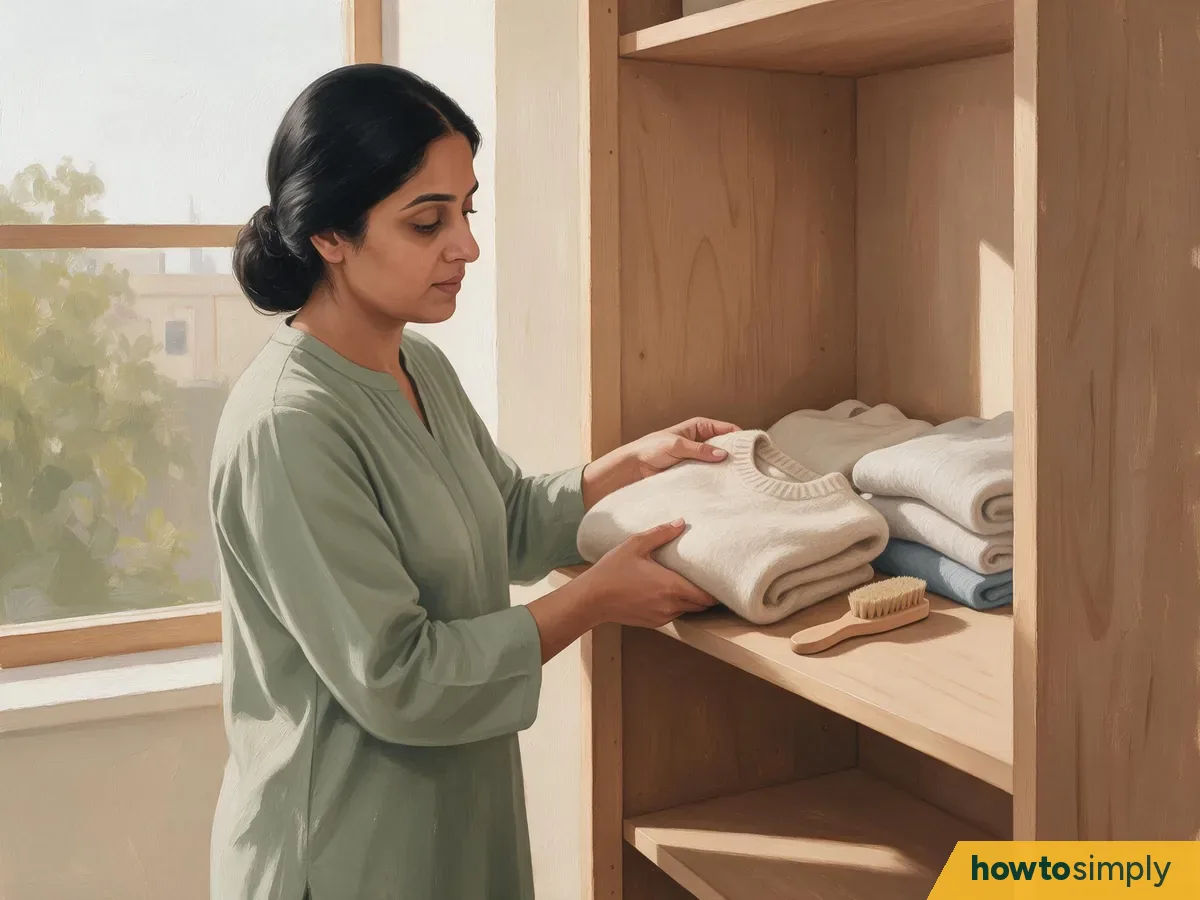
Illustration Collect detached fibers and lightly brush-clean your garment. Review seams and treated portions again.
Follow the washing instructions printed on care labels for garments requiring washing after the de-pilling activity. For wool products, take extra precautions related to washing/drying methods recommended by manufacturers (i.e., Cashmere).
Fold clean, dried Cashmere garments before storing them to maintain structure and preserve the product's appearance.
Prioritized service providers include cleaners capable of removing pills individually. Dry cleaning alone does not remove affixed pills, though many cleaners offer this service separately.
About this article
- Written by
- howtosimply staff
- Pictures
- 11 illustrations drawn for this article, each marked Illustration (drawings, not photos).
What to do next
Make your clothes last longer Step 4 of 7
Did this solve the problem?
What needs work?
What did you think?
Reaction counts are loading.