How to iron a shirt: the order that stops new creases
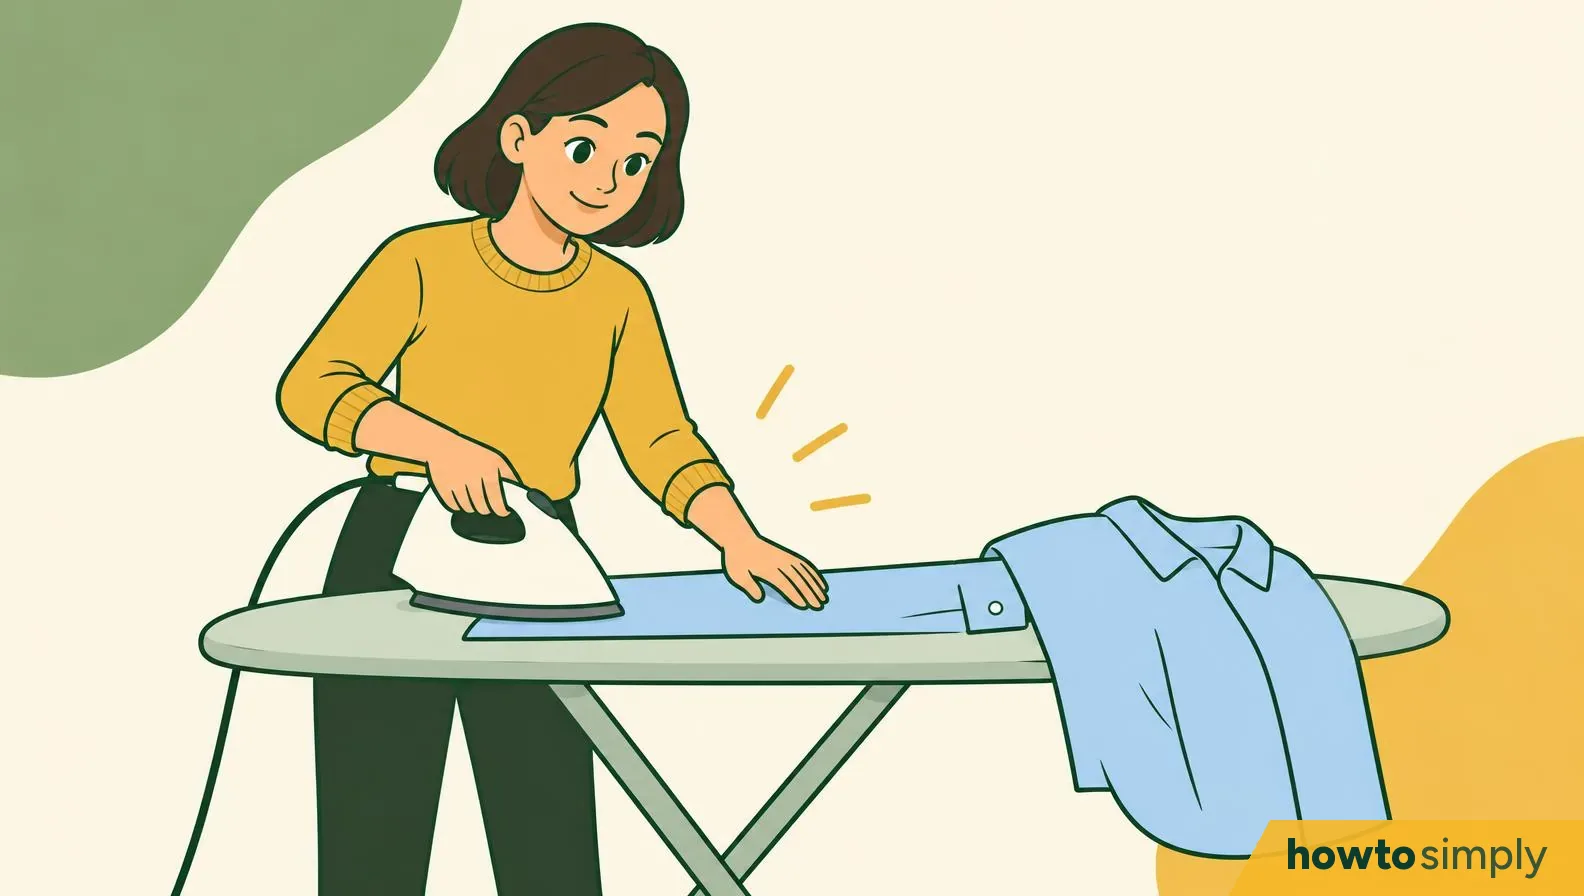
In short: Set the iron to the heat the label allows and iron a clean, slightly damp shirt. Do the small parts first: collar, cuffs, sleeves, then the shoulders, fronts and back. Hang it at once with the top button done up.
Co-authored by Moaz Abdullah✓, BS Textile Engineering Technology
By Abu Bakar Saadat5 min readPublisher: Saadat Rafiq
Last updated: 29 October 2026References
 Illustration
At a glance
- Order
- Collar, cuffs, sleeves, shoulders, fronts, back (Univ. of Arkansas Extension)
- Heat
- As the label allows; cotton hot, polyester blends cooler (Ariel)
- Shirt
- Clean and slightly damp
- Afterwards
- Hang it at once, top button and one more done up (Consumer Reports)
- Advice from
- University of Arkansas Extension, Consumer Reports, Ariel, GINETEX and Beko, read 28 October 2026
- Checked
- October 2026
The order matters more than the technique. Iron the small parts first, so you don't crease them again while you work on the big panels, and finish with the largest flat areas. Start on a clean shirt: Ariel warns that ironing over a stain can set it permanently.
How hot? Find your shirt's fabric
Cotton or linen
These take a hot iron (Ariel). Most dress shirts are cotton, so the cotton setting is usually right (University of Arkansas Extension).
Polyester blend or "easy iron"
Use a cooler setting (Ariel). Don't starch synthetics (University of Arkansas Extension).
Silk, or shiny fabric
Low heat. Iron inside out or under a press cloth (GINETEX), and skip starch (University of Arkansas Extension).
No label, or you're unsure
Start low and turn the heat up until the creases respond (Ariel). Try it first on the inside of the shirt tail.
How to iron a shirt
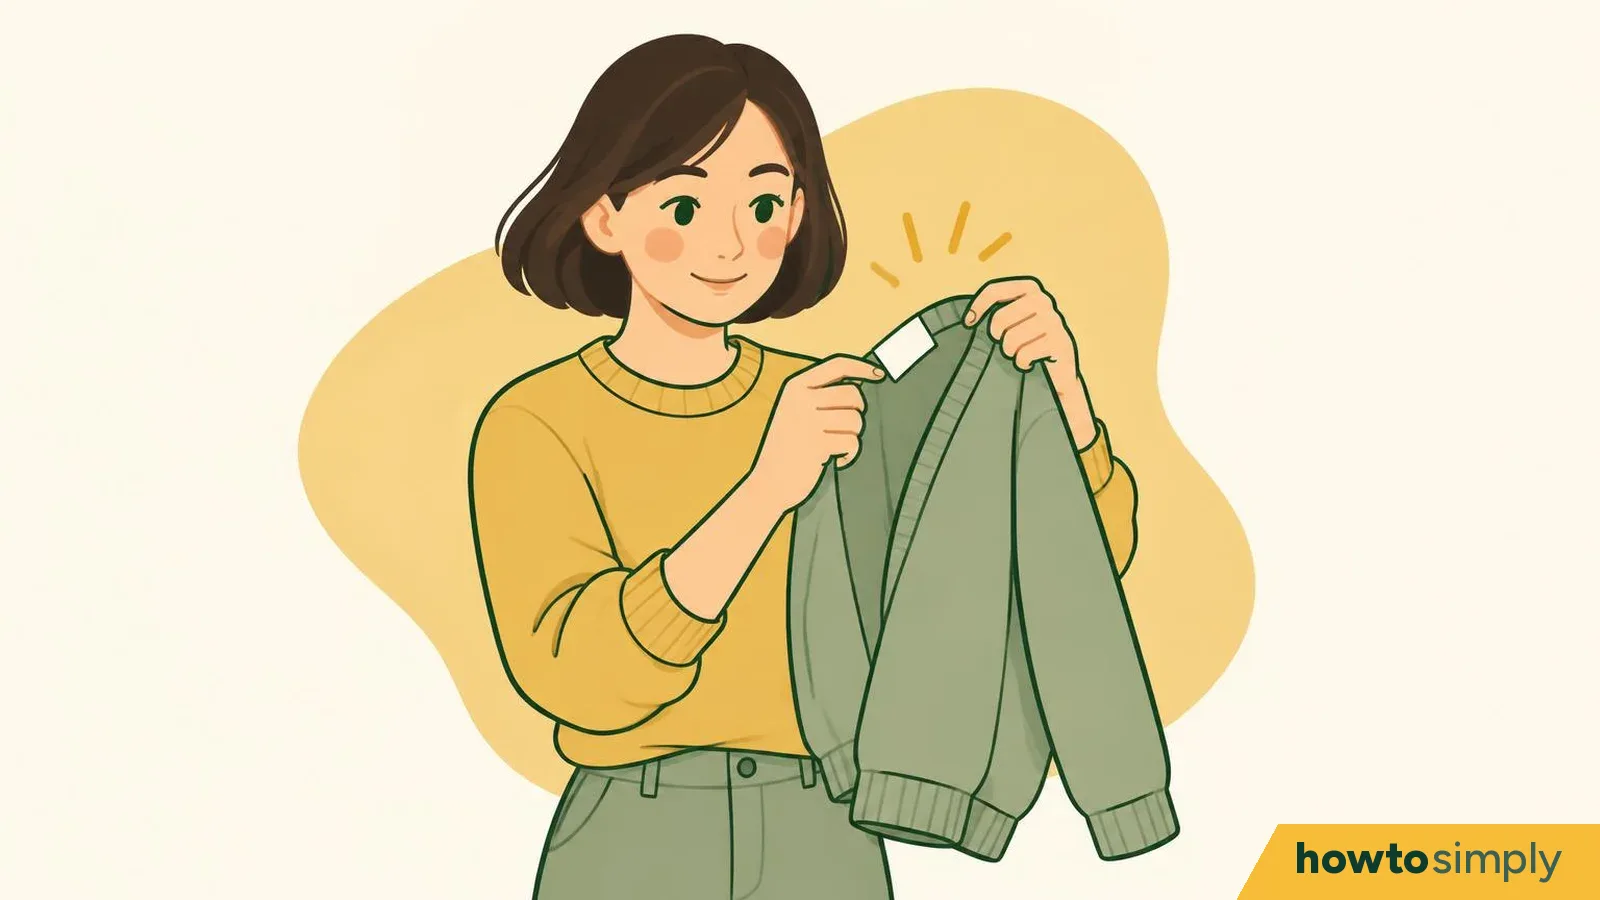
Check the label and set the iron's heat.
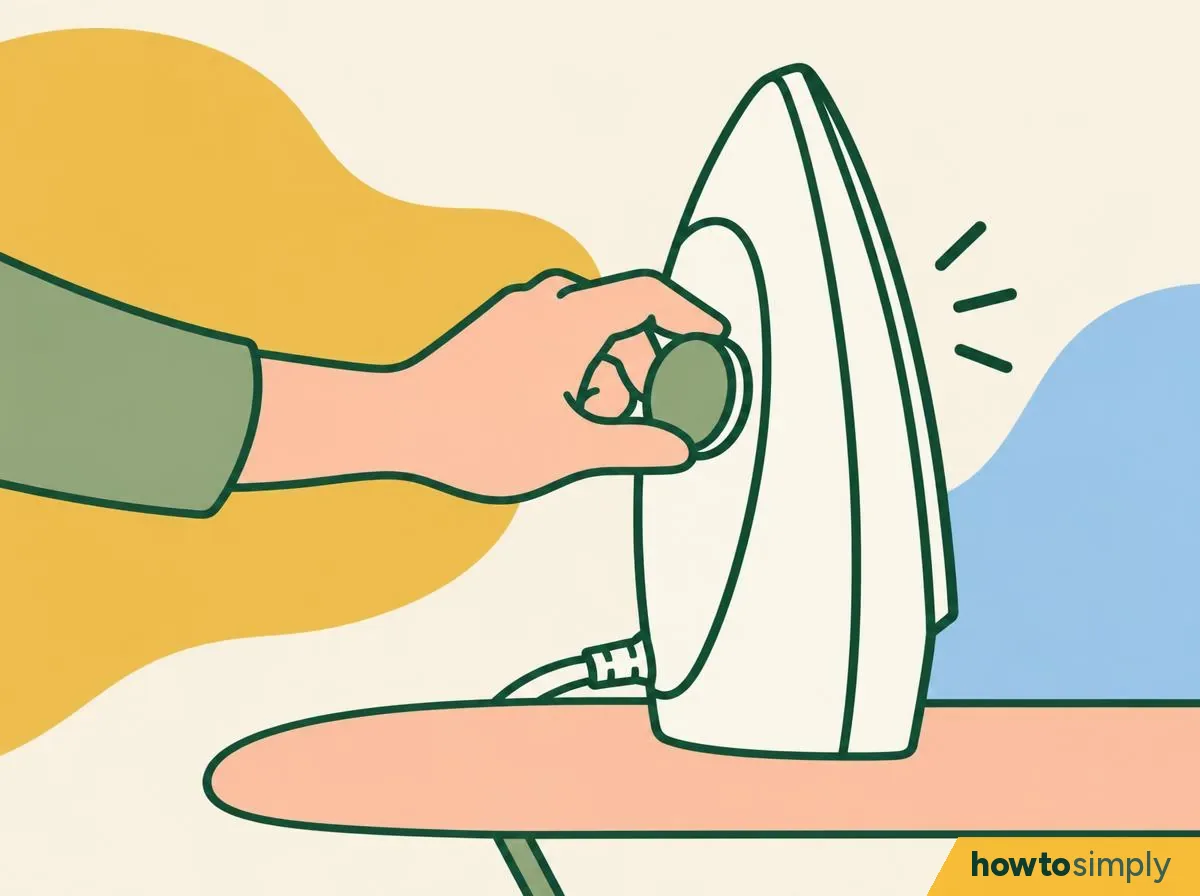
Illustration The dots in the iron symbol on the care label give the highest heat allowed: our guide to clothing care labels has the temperatures. A crossed-out iron means don't iron it. Let the iron heat up fully before you start (University of Arkansas Extension).
You should see: the iron's dial set no higher than the label allows, and its heat light gone off or steady, depending on the model.
Make sure the shirt is slightly damp.
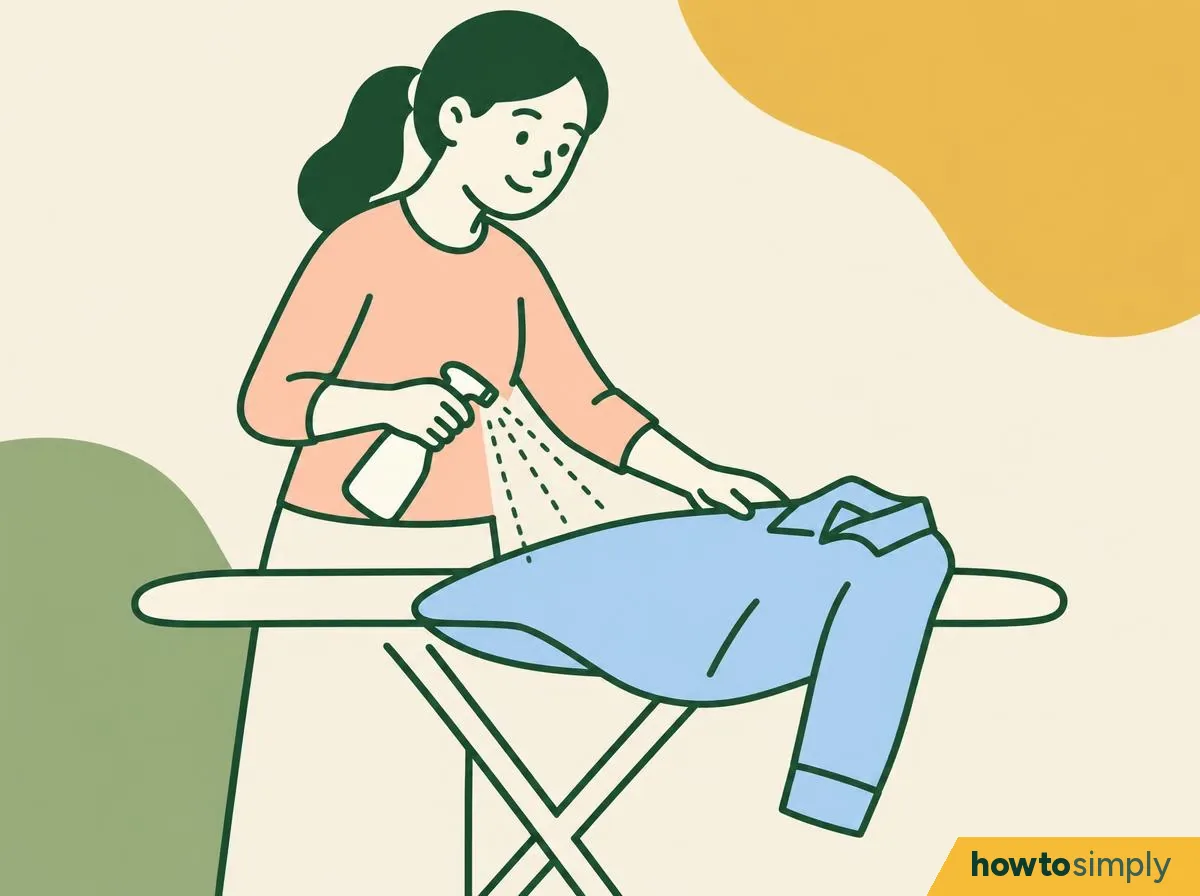
Illustration A clean, slightly damp shirt is easiest to iron. If it has dried, mist it lightly with water (University of Arkansas Extension). Consumer Reports suggests the highest steam setting for a cotton dress shirt.
You should see: fabric that feels cool and a little damp, not wet.
Iron the collar, underside first, from the points inwards.
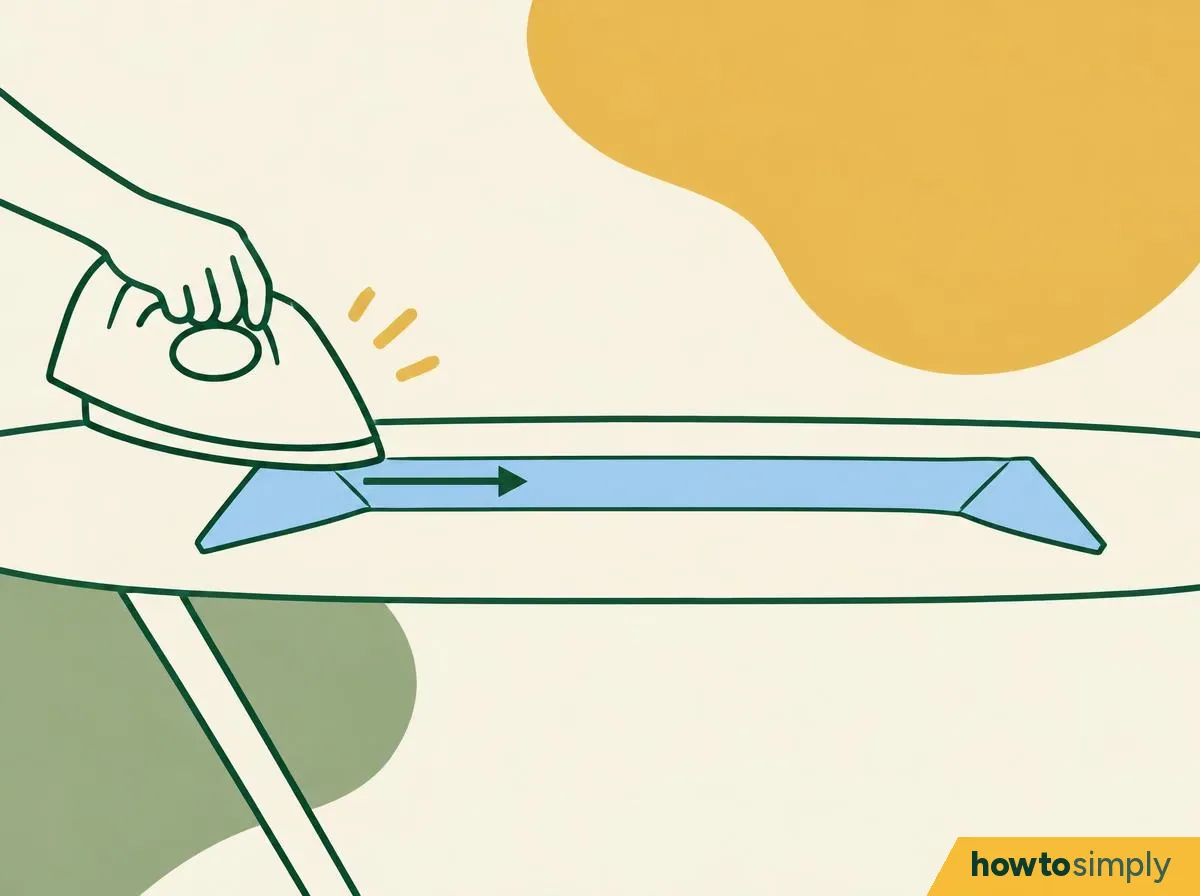
Illustration Open the collar flat. Iron the underside from the points towards the middle, then turn it over and do the outside (University of Arkansas Extension). Working inwards stops creases being pushed into the points.
You should see: a smooth collar with no small folds at the points.
Iron each cuff, inside then outside.
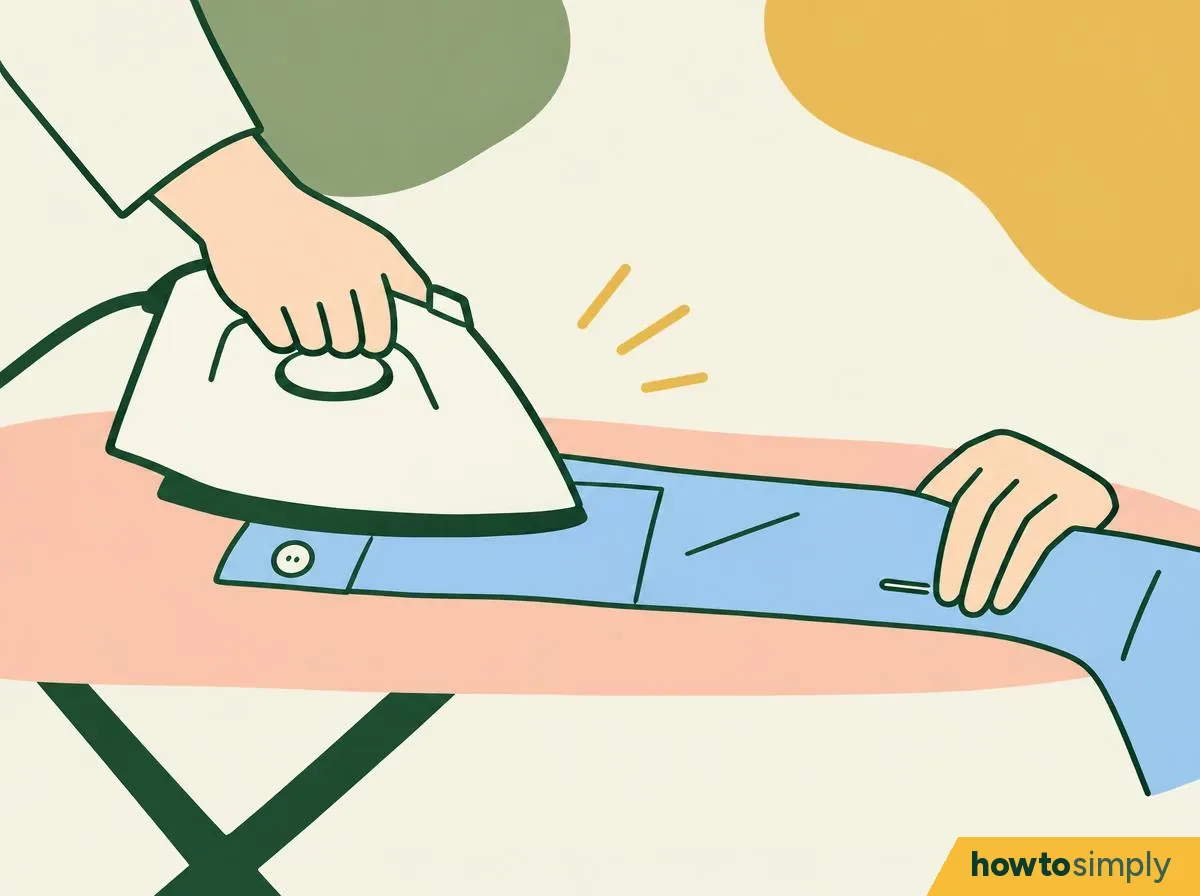
Illustration Unbutton the cuff and open it flat. Iron the inside, then the outside (University of Arkansas Extension, Ariel). Go round buttons with the tip of the iron, not over them. Don't press hard over the folded edges of the cuff: that can damage the stiff fusing inside it.
You should see: a flat, crisp cuff on both sleeves.
Iron the sleeves flat, seam to seam.
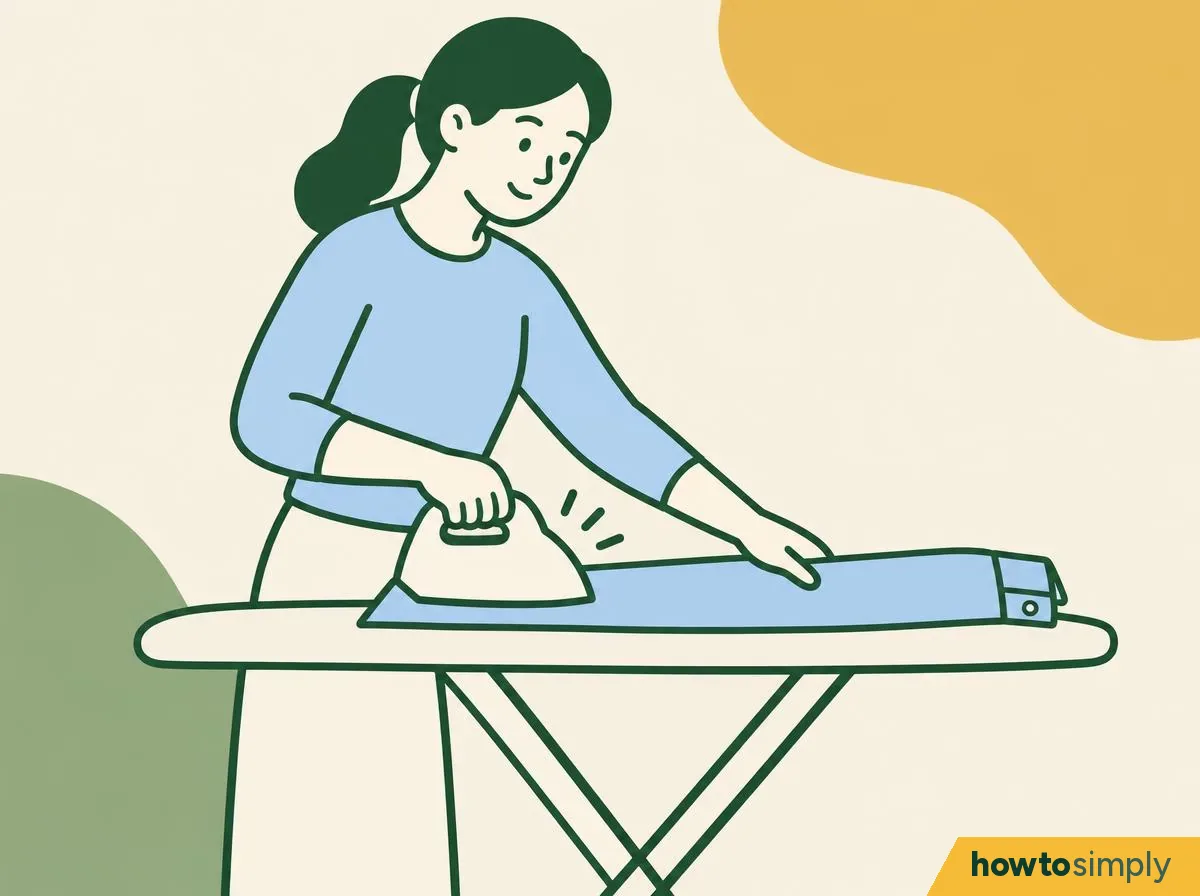
Illustration Lay one sleeve flat with its seam along the edge of the board. Smooth it with your hand, then iron from the shoulder to the cuff. Turn it over and do the other side (University of Arkansas Extension). A crease along the top of the sleeve is optional.
Let the iron glide. Consumer Reports says jerky, forceful strokes add creases.
You should see: a flat sleeve with one clean edge, or a single sharp crease if you want one.
Iron the shoulders over the narrow end of the board.
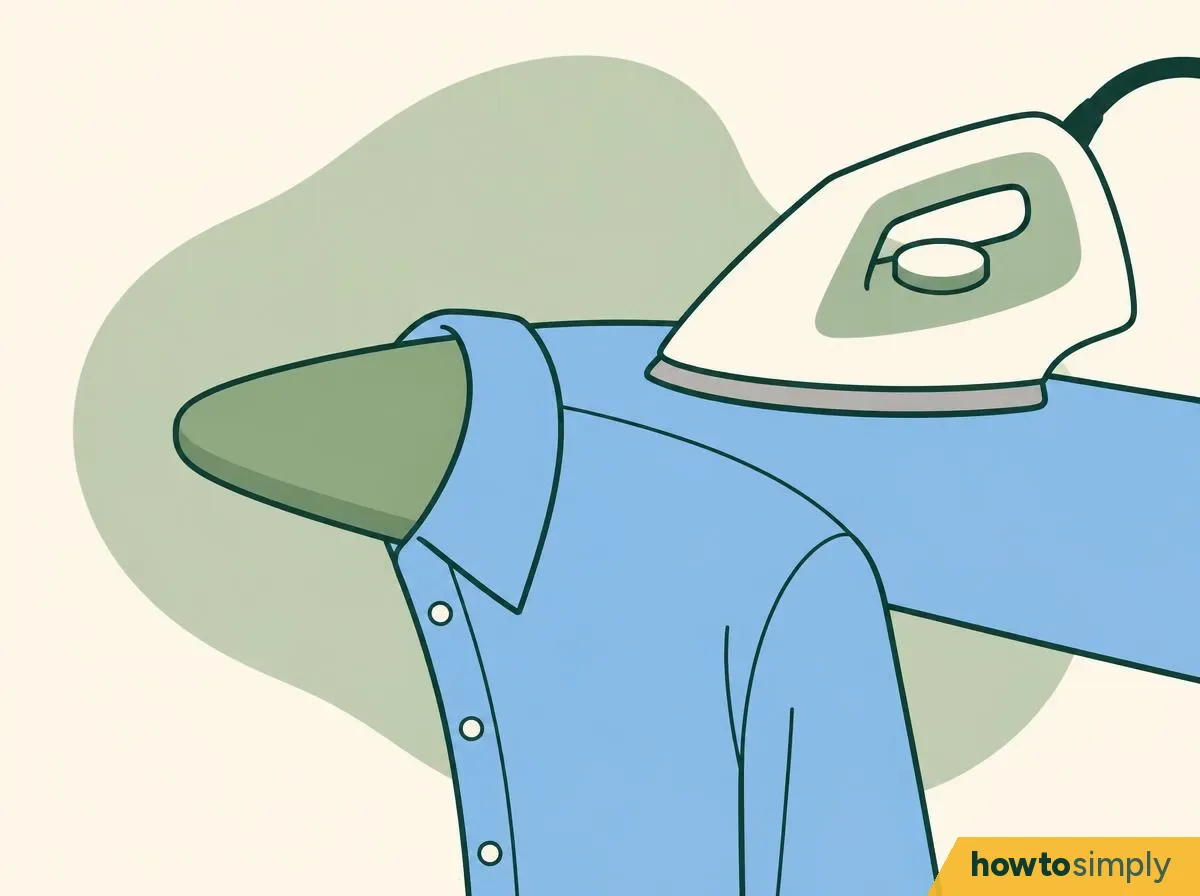
Illustration The yoke is the panel across the shoulders. Pull one shoulder over the narrow end of the board and iron from the middle outwards, then do the other side (University of Arkansas Extension).
You should see: smooth shoulders with no fold across the top of the back.
Iron the two front panels, working round the buttons.
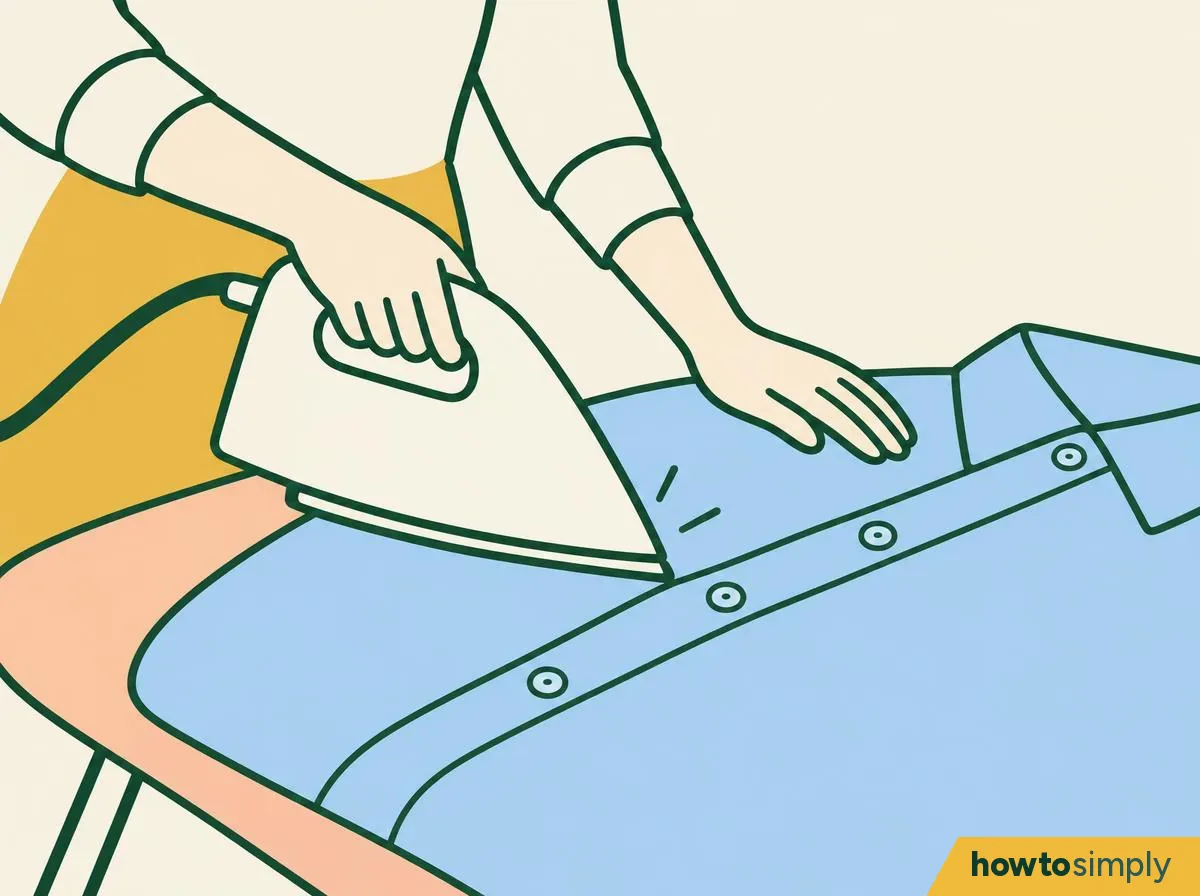
Illustration Start with the button side and use the tip of the iron between the buttons, then do the buttonhole side (University of Arkansas Extension). Iron from the shoulder down. Consumer Reports suggests a gentle pull on the buttonhole strip as you iron it.
You should see: flat front panels and a straight button strip.
Iron the back, then hang the shirt straight away.
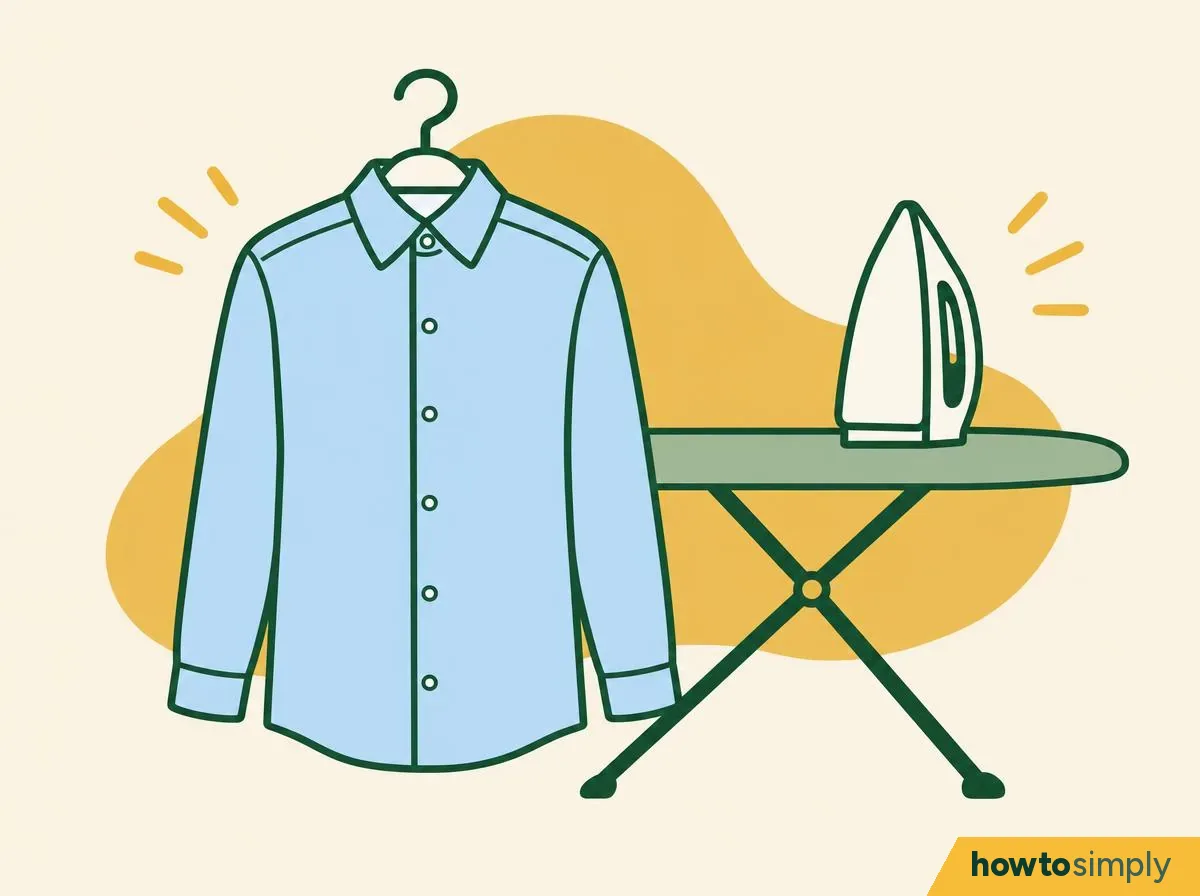
Illustration Lay the back flat and iron it with as little movement as you can (Consumer Reports). Put it on a hanger at once and do up the top button and one more (Consumer Reports, Ariel). If you used starch, let the shirt cool and dry before you fold it (University of Arkansas Extension). Switch off and unplug the iron (Ariel).
You should see: a shirt hanging straight, with no new creases across the back.
How to tell it worked
- The collar points and cuffs are flat, with no small folds.
- The sleeves have no double crease.
- The front and back are smooth when the shirt hangs.
- The fabric feels dry. Consumer Reports says a damp shirt can pucker as it dries.
- There are no shiny patches. If there are, iron that fabric inside out or under a press cloth next time (GINETEX).
If something goes wrong
| What happens | What it means | What to do |
|---|---|---|
| Creases won't go | The fabric is too dry | Use short bursts of steam, or mist it with water (Consumer Reports) |
| The shirt puckers after you hang it | It was still damp | Go over it again with steam off until it is dry (Consumer Reports) |
| New creases appear in parts you've done | You're moving the shirt too much | Keep to the order above, and move the back as little as you can (Consumer Reports) |
| Shiny marks on dark or synthetic fabric | Too much heat or pressure on the outside | Turn the heat down; iron inside out or under a press cloth (GINETEX), or fit a Teflon iron shoe, a non-stick cover that clips onto the soleplate, so the direct heat doesn't reach the fabric |
| Sticky or flaky marks on the soleplate | Starch build-up | Clean the iron (University of Arkansas Extension) and spray starch one section at a time (Consumer Reports) |
| A stain shows after ironing | Heat can set stains (Ariel) | Wash it again before ironing more; check the label for a stain treatment |
Questions readers ask
Which water should I put in my iron?
Check your iron's manual. Sources disagree: University of Arkansas Extension suggests distilled water to reduce mineral build-up, while Consumer Reports says distilled water can harm many newer irons and suggests fresh tap water.
Can I get creases out of a shirt without an iron?
For light creases, yes. Beko suggests hanging the shirt in a bathroom while a hot shower runs, or tumbling it for about five minutes with a damp towel and hanging it straight away. Neither gives a crisp collar or cuffs.
Should I iron a dark or shiny shirt inside out?
For shiny or pressure-sensitive fabrics, GINETEX suggests ironing inside out or using a press cloth, a thin cotton cloth laid between the iron and the shirt. That helps avoid shiny marks on the outside.
Do I need starch?
No. Starch gives a stiffer finish. If you use it, Consumer Reports says to spray one section at a time and let it soak in, so it doesn't build up on the soleplate. Avoid it on silk and synthetics (University of Arkansas Extension).
What did you think?
Reaction counts are loading.
Spotted a mistake? Menus change with updates, and we want every step to match your screen. Email us about this page or use the contact form. We read every report, and fixes are listed on What changed.
Liked this article?
Follow us for new articles and short how-to videos.
Sources
We use primary, official and specialist sources appropriate to the topic.
- University of Arkansas System Division of Agriculture, Cooperative Extension: Look sharp: how to properly iron a button down shirt, FSFCS243 (PDF)
- Consumer Reports (Daniel DiClerico): How to iron a dress shirt (17 June 2016)
- Ariel (Procter & Gamble): How to iron a shirt
- GINETEX: Care symbols (older detailed version with ironing notes)
- Beko: How to prevent wrinkles and creases during washing and drying