 Illustration
In short
Clean your hairbrush to remove hair entangled inside, remove oils and residue left behind by styling products, and completely dry the brush.
At a glance
Clean your hairbrush to remove hair entangled inside, remove oils and residue left behind by styling products, and completely dry the brush. First, check the materials used in the brush (wooden, cushioned base, hollow handle), since these require special handling during cleaning.
Materials needed:
- A comb or specialized hairbrush-cleaning tool,
- Soft toothbrush,
- Mild soap/shampoo,
- Lukewarm water,
- Small bowl,
- Towel
Allow 10-15 minutes for cleaning, and additional time for the brush to dry.
Review the brush before it gets wet
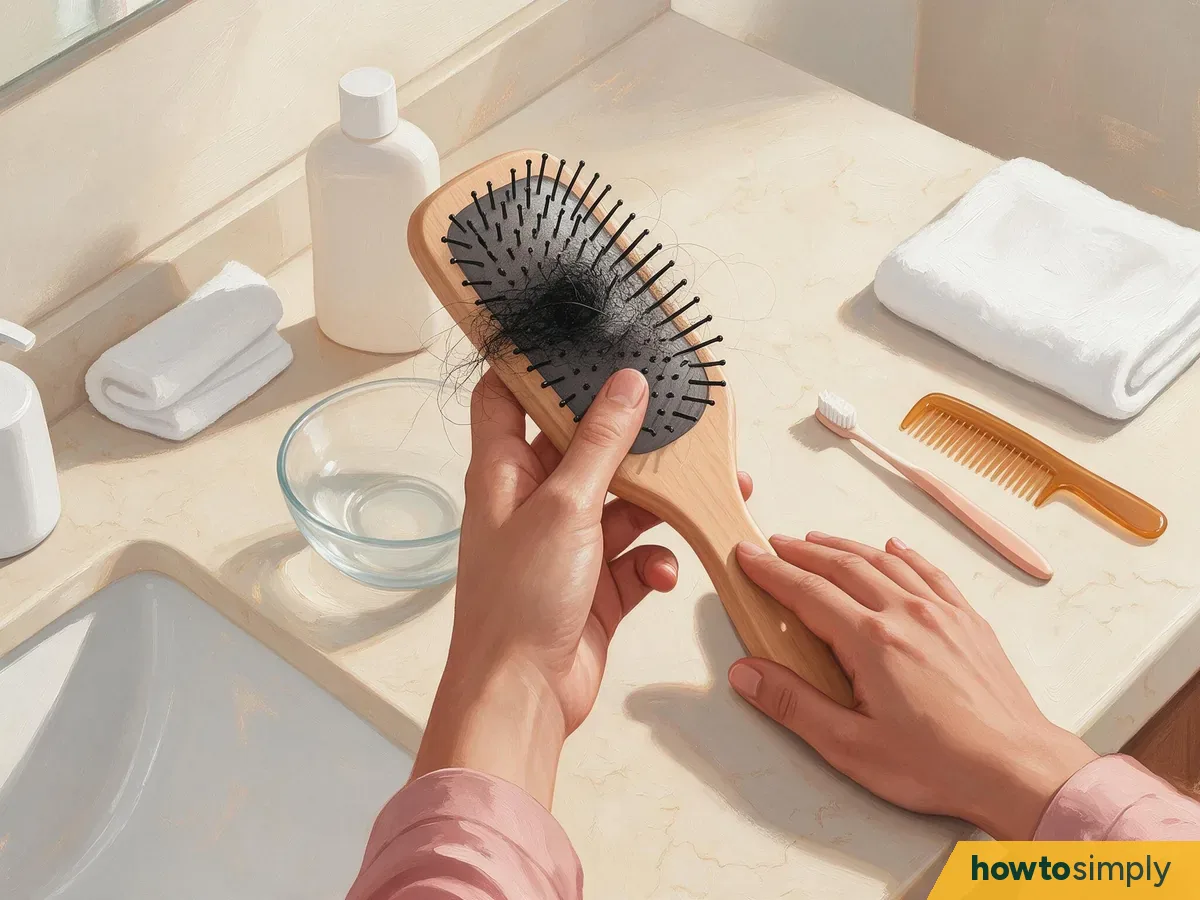
Illustration Look at the bristles, handle, and base that holds the bristles in place. If possible, look up the manufacturer's recommendations for cleaning the hairbrush.
Brush Type Construction Method Solid plastic with synthetic bristles Wash the bristles and base. Only soak if the manufacturer has permitted. Hollow plastic body Clean the outside surface with great caution. Do not get water in holes/joints. Cushion/foam-based (paddle) Use a lightly damp cleaning brush/cloth. Be sure not to get water underneath the foam. Wood (handle/body/pins) Use very little water, and dry the wood quickly. Natural Bristles (including boar bristles) Wash gently with dilute mild soap/shampoo. Be sure to protect the handle/base. Electric Hot-Air/Heated Brush Follow the instructions provided by the manufacturer after completing the steps listed below. Even though a brush may be made of plastic, it may have glue, closed areas, or a cushion, which may make excessive soaking inappropriate.
Remove tangles/hair before you start brushing the hair.
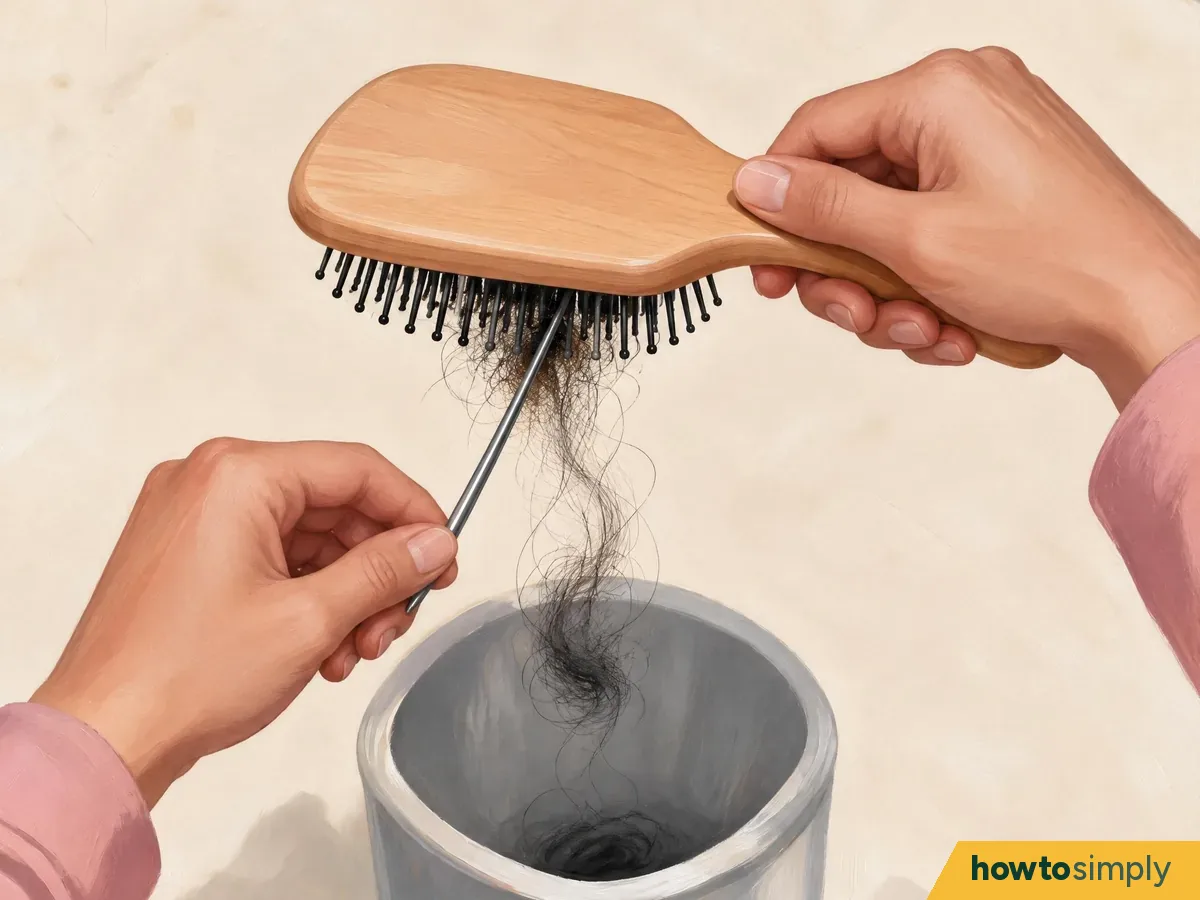
Illustration Hold the brush upside down over a trash can/bin or towel. Insert a fine-tooth comb or hairbrush cleaning tool under the tangled hairs. Make certain the point of the comb/tool does not touch the cushion.
Gently pull up a portion of hair. Continue pulling until most of the hair comes loose. Rotate the brush until all the hair that was entangled is removed from the other sides as well.
Be gentle when working around flexible pins and ball-shaped bristle ends. When tangles are difficult to remove, try pulling out a little bit at a time. Applying too much force with a pointed tool on a rubber base will likely ruin it.
Release hair that is wrapped tightly around a round brush.
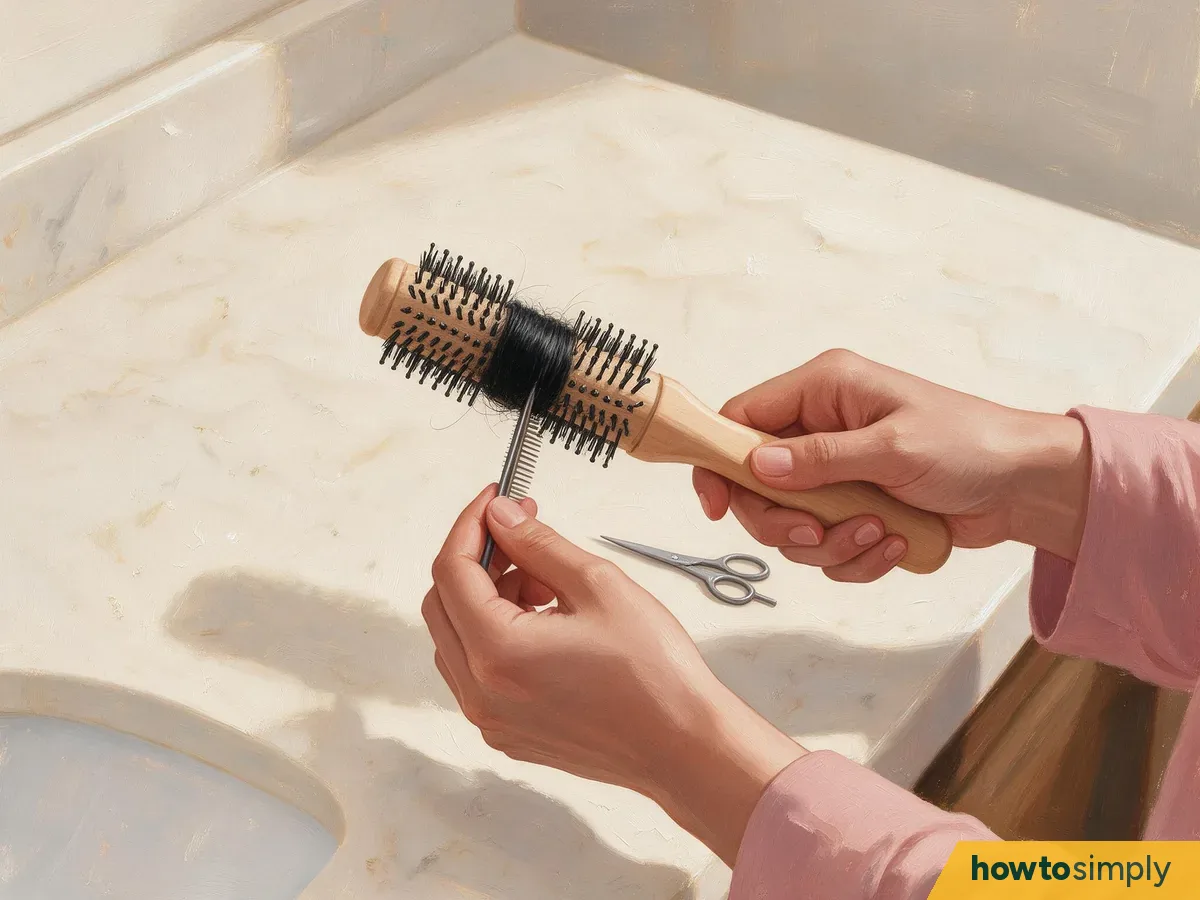
Illustration On many round brushes, hair forms bands around the center. To release this band, insert the end of a fine-tooth comb into the gap between the band and the bristles. Gently pry the band away from the bristles in several spots.
If the band is still tight, you may be able to snip off some of the released hair with a pair of small scissors. Be careful not to cut any bristles. Cut only where you can clearly see what is between the band and the brush barrel.
Continue pulling out sections of released hair and turn the brush until you can clear the entire barrel. Dispose of the collected hair in the trash.
Create a small cleaning solution for your hairbrush.
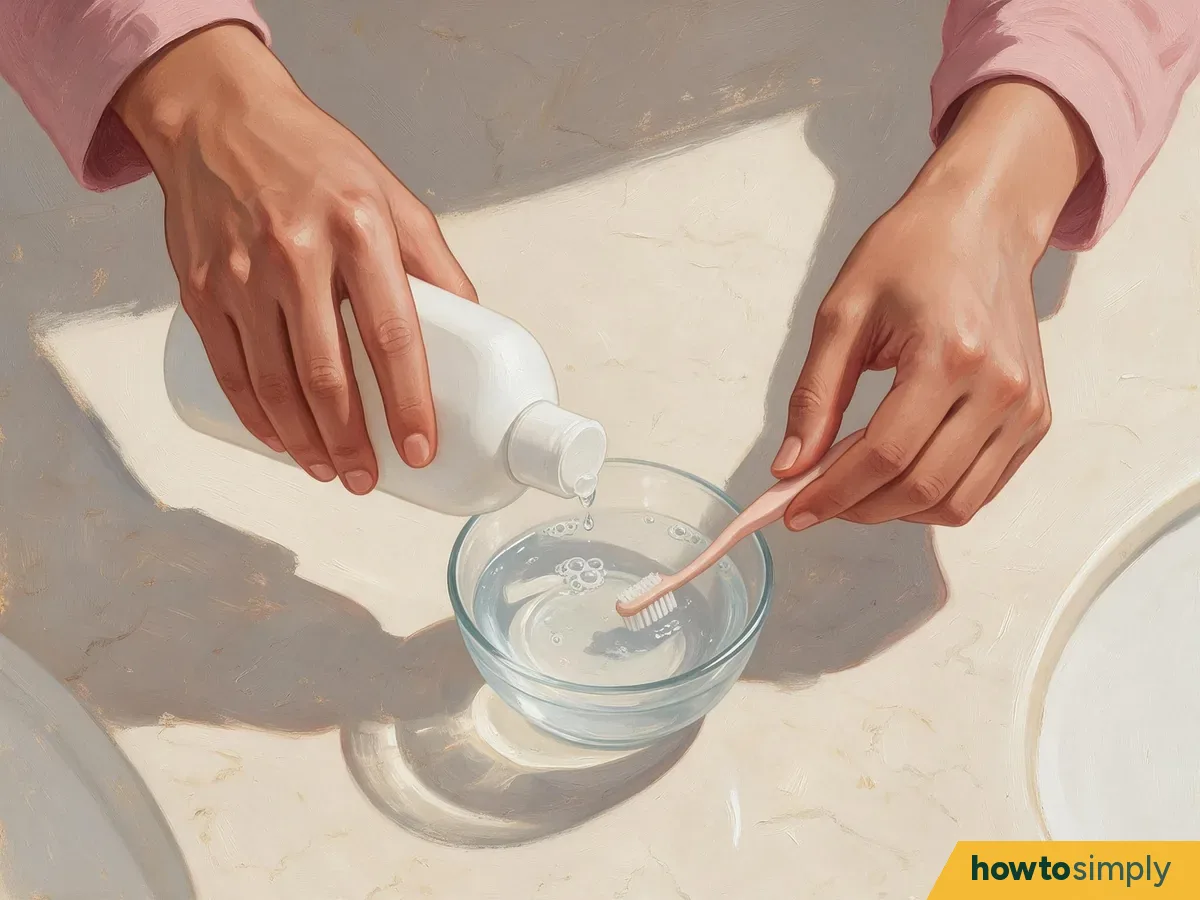
Illustration Add a few drops of mild soap/shampoo to a bowl of lukewarm water. Stir gently. Choose a water temperature that feels comfortable in your hands.
Dip your soft-bristled toothbrush into the solution. If your brush has a wooden handle or a cushion, shake off excess water so your toothbrush is damp, not dripping.
If your brush needs specific cleaners, please follow those cleaners' directions for application/removal. Some makers suggest using a small amount of mild shampoo/detergent for their acceptable brushes as long as you avoid exposing any wood to water.
Dislodge dirt/residue around the base of the bristles.
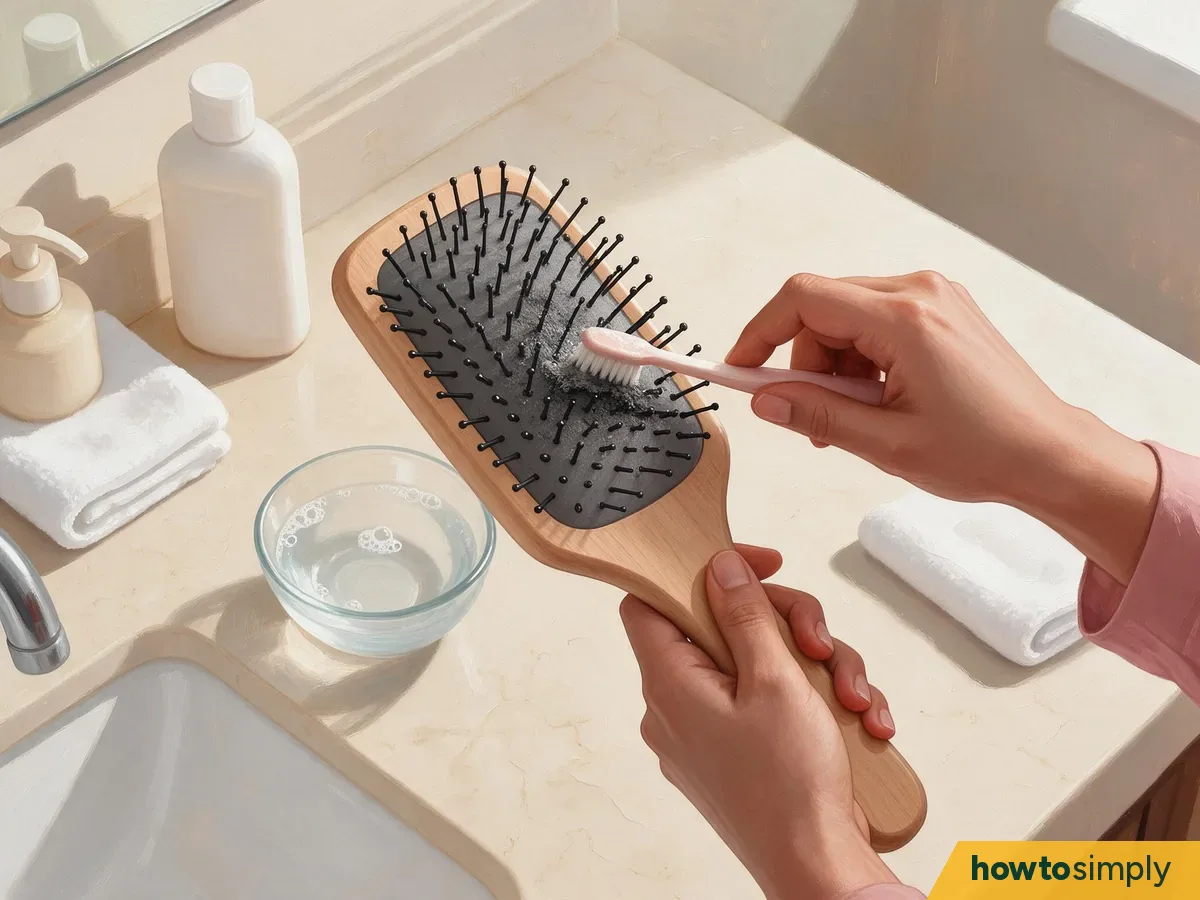
Illustration Examine the base in good lighting. Dirt, skin flakes, oils, and styling product residue could be embedded in the gray coating around the bristles.
Apply a little cleaning solution to the area with your toothbrush. Work on one area at a time; clean with short, gentle strokes around the root area.
For a cushion brush, make sure only the top surface of the exposed area gets moistened, with no water leaking into any holes. On a wooden brush, use a barely damp cloth or cleaning tool on the pins to prevent moisture from reaching them.
Clean between rows of bristles and along individual bristles.
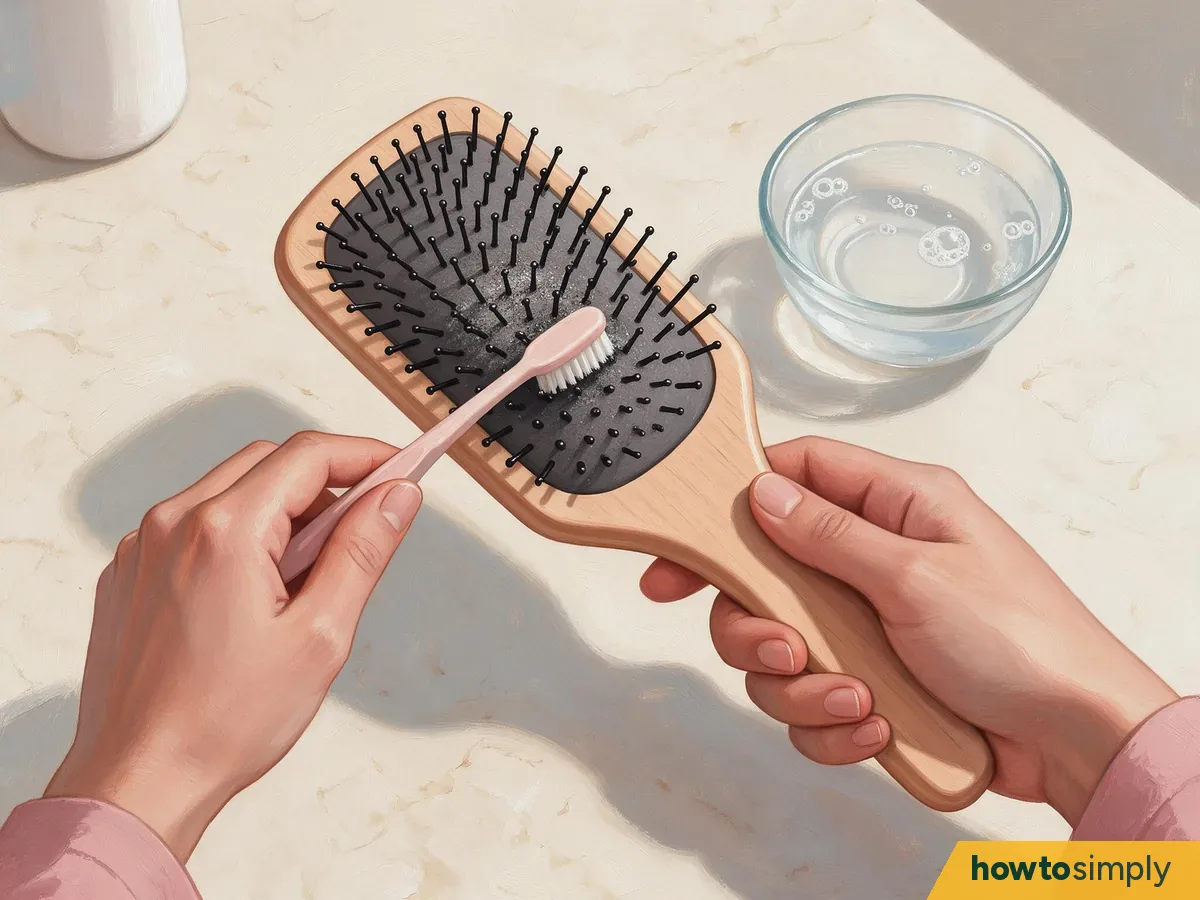
Illustration Use your toothbrush to work between rows of bristles. Periodically rotate your hairbrush to access all sides.
Be aware of where individual bristles attach to the base; pay close attention to where they enter the head (the space between two bristles). Rinse your toothbrush as you fill it with dirt; then load it up again with cleaning solution.
Do not press too hard on your bristles, as you do not want to bend or distort them. When working with densely packed natural bristle tufts, consider cleaning in small sections and gently sweeping your damp toothbrush through gaps you can easily access. Some makers suggest using a soft cleaning brush to dislodge debris accumulated between teeth and on the base of washable brushes.
Perform an additional gentle sweep on tough stains/deposits.
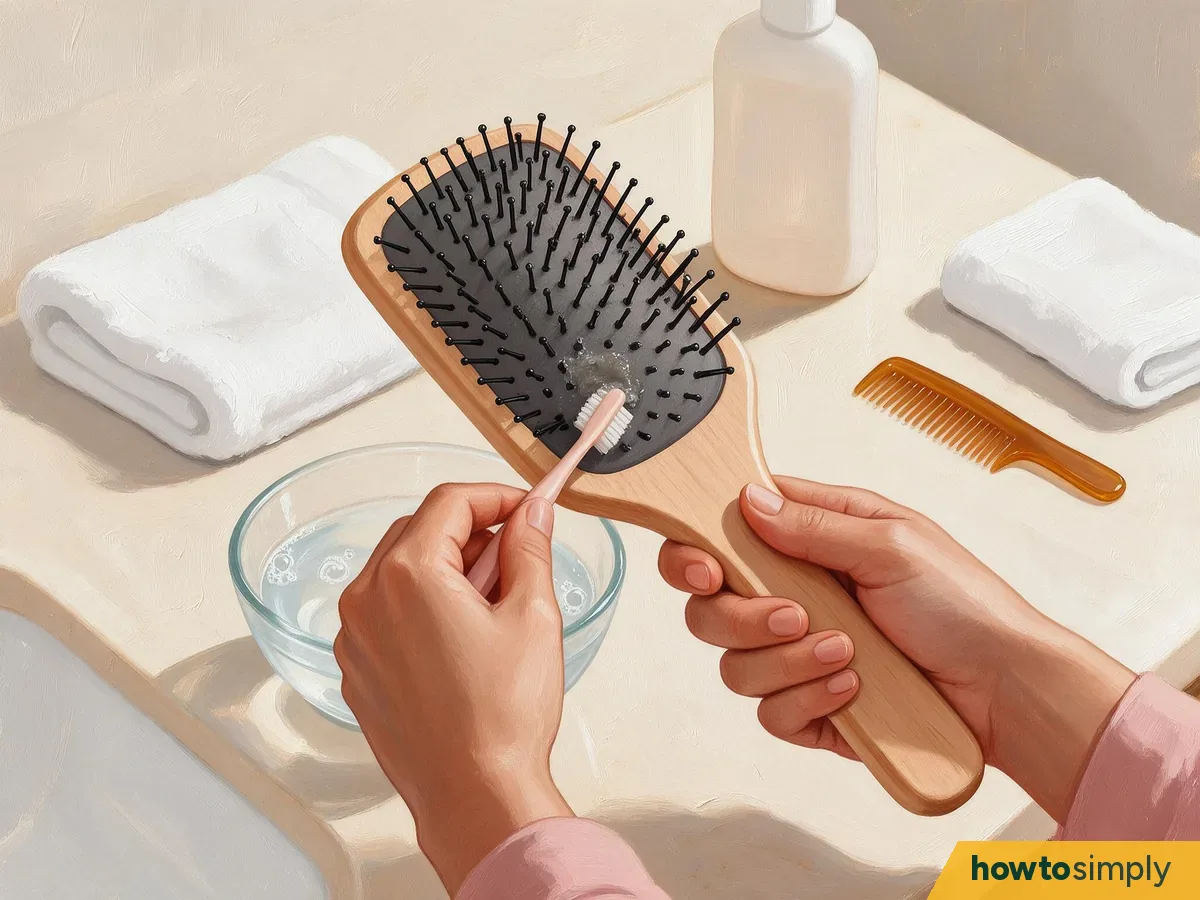
Illustration If there is sticky residue, or it appears coated in residue in one spot, add some new cleaning solution and gently rub it once more. Remove any loosened lint as it detaches.
Wet washable brushes may benefit from a short soaking period if allowed by their manufacturer. One maker indicates approximately three minutes would suffice for most suitable plastic/plastic-metal brushes.
Keep wooden elements and water-sensitive padding above the water level for these types of brushes. Continue controlled surface cleaning as needed.
Thoroughly rinse out all soap residue.
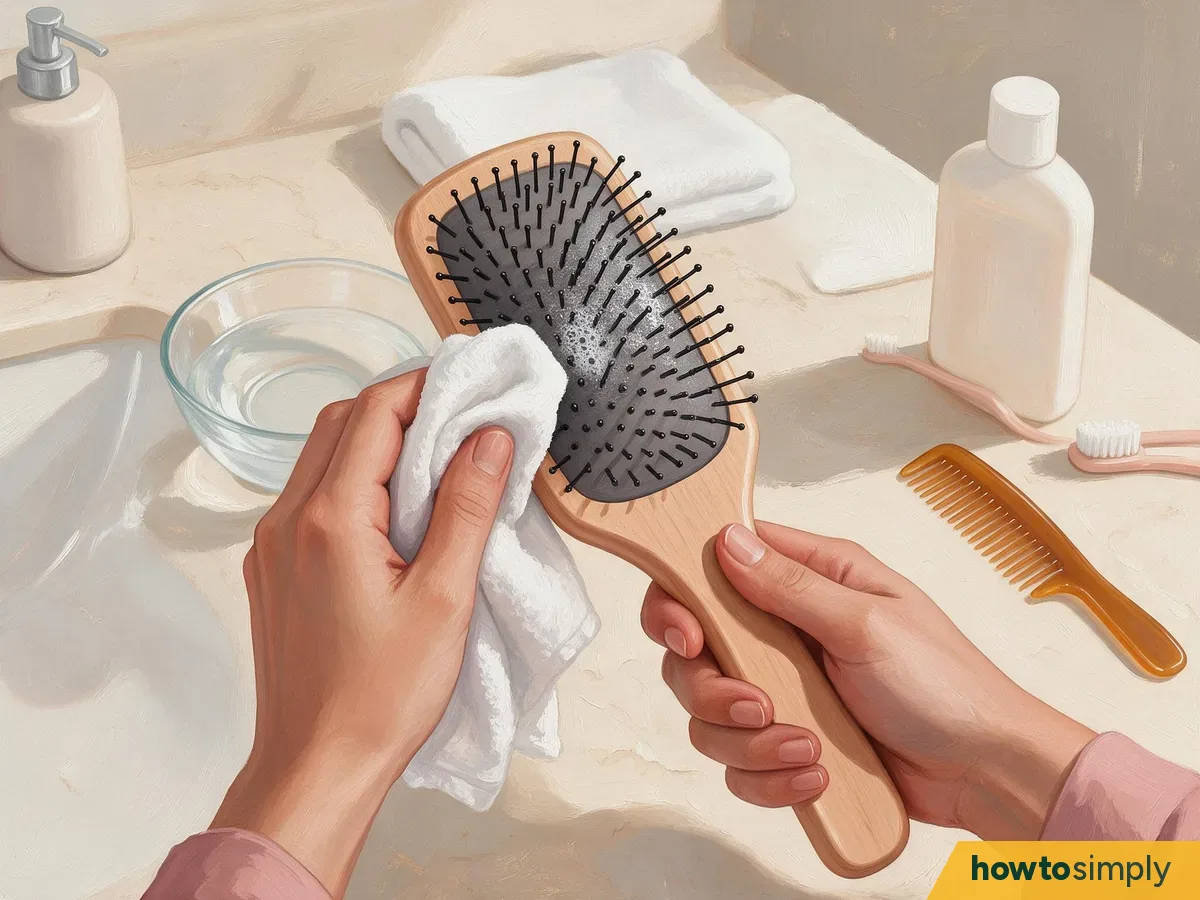
Illustration For a brush designated for washing/rinsing, use a gentle flow of lukewarm water over all cleanable portions of the brush. Regularly turn and move it to reach gaps, and continue until all sudsy residue has been washed away.
For wood, cushions, etc., use a clean soft-bristled toothbrush or cloth dampened with pure water. Wipe repeatedly until all shampoo residue disappears.
Check around the roots of the bristles, where water and cleansers tend to accumulate.
Wipe clean the handle/back of the brush.
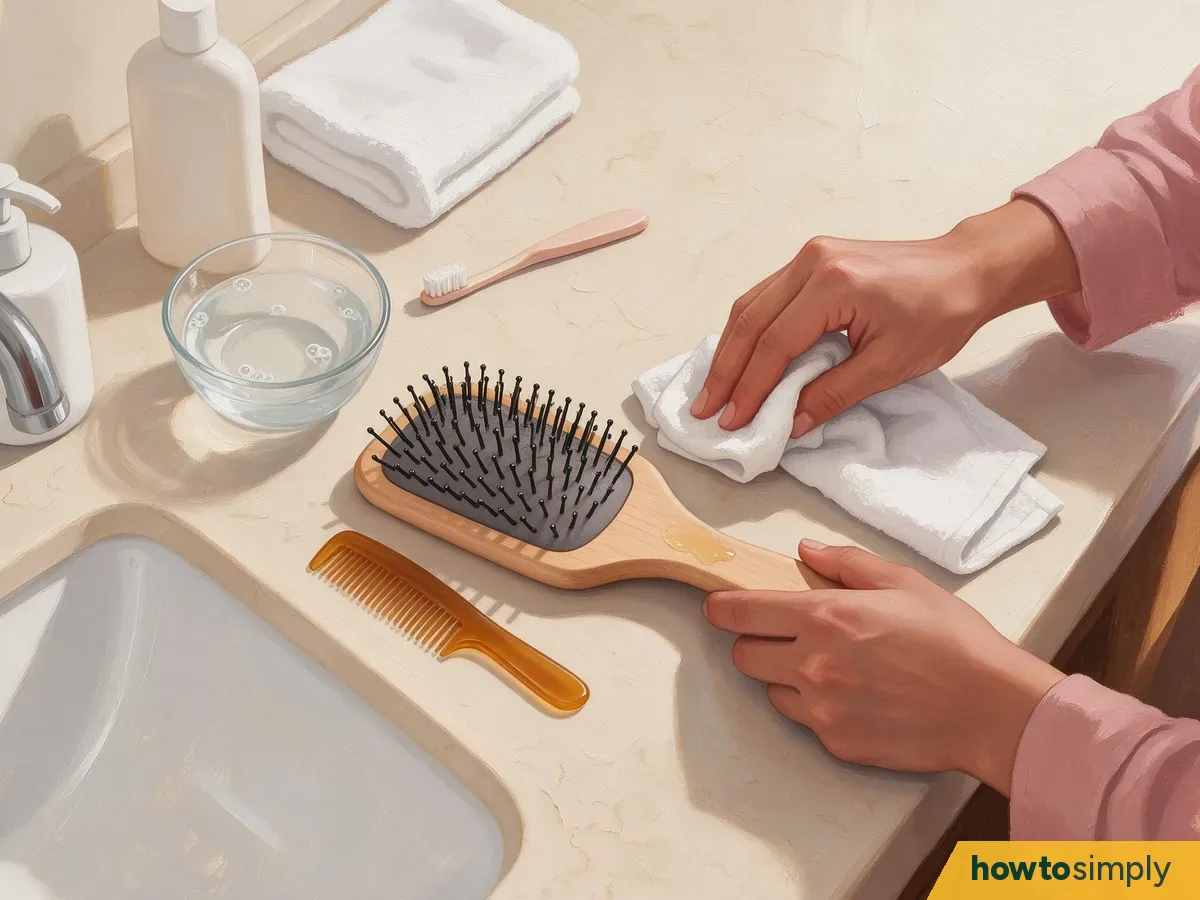
Illustration Using a lightly damp cloth, remove oil/oil residue/product marks from the handle/back/sides of your hairbrush—follow up with a dry cloth, especially for wood.
If your design/model has detachable components, only disassemble it according to manufacturer guidelines. Some designs permit deconstruction, whereas other makers advise against dismantling their self-contained brushes.
Blot/remove excess water; allow brush to air dry
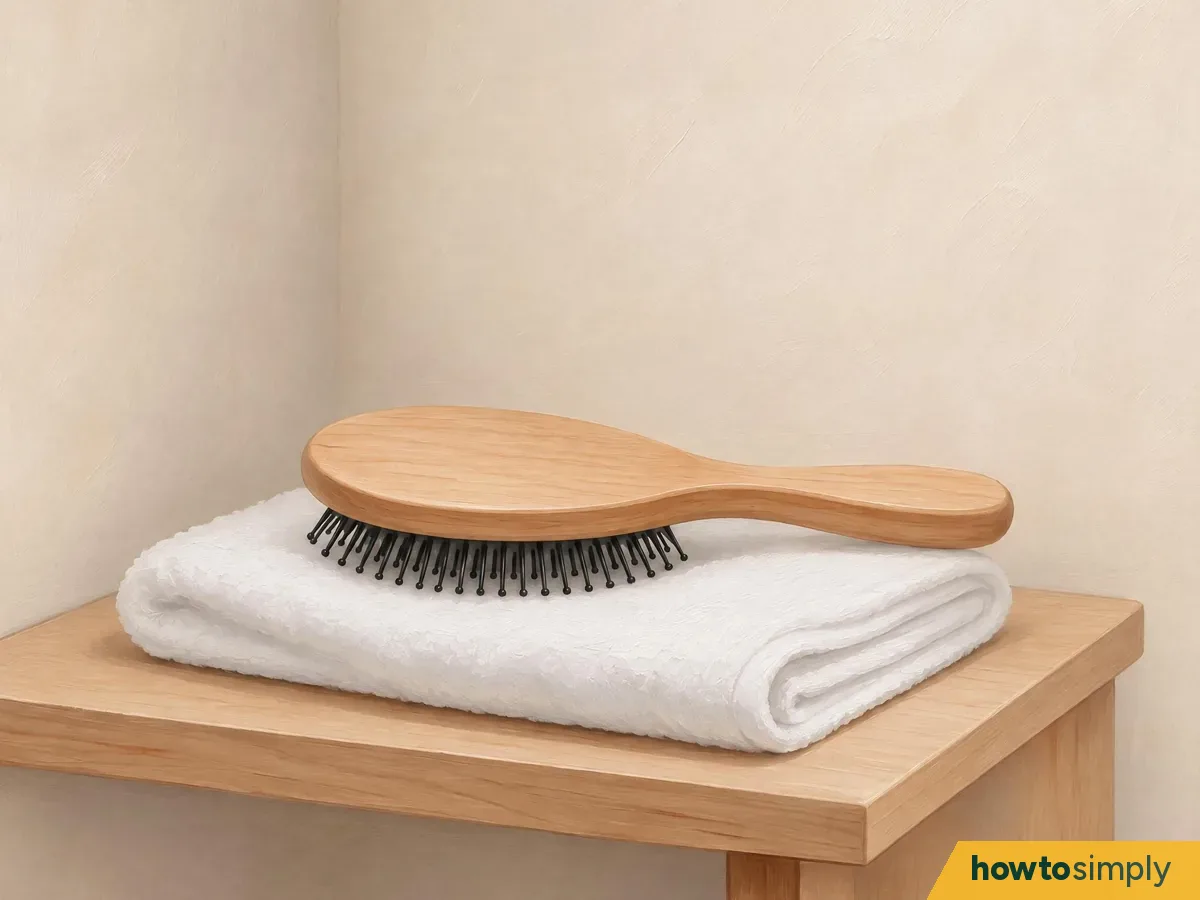
Illustration Carefully remove excess water from your hairbrush wherever possible; then blot excess moisture from accessible handles/surfaces with a towel.
Place it somewhere with adequate ventilation, in the manufacturer's recommended orientation for drying. Some makers state that their applicable bristle brushes should be dried with bristles facing downwards, while others recommend teeth upwards for some of their brushes.
Wait until it dries completely without touching it with your hands or placing it near heat sources/radiators or direct sunlight. Store it safely in a drawer/bag/container until it is completely dry (depending on humidity and density of bristles). It may take overnight, or even longer depending on humidity levels, to dry completely.
About this article
- Written by
- howtosimply staff
- Pictures
- 11 illustrations drawn for this article, each marked Illustration (drawings, not photos).
Did this solve the problem?
What needs work?
What did you think?
Reaction counts are loading.