How to organise kitchen drawers
Empty and clean one drawer at a time, get rid of duplicates and broken tools, then give each drawer one job based on the zone it sits in (cooking, cleaning, food storage), with knives in a knife tray and a non-slip mat underneath.
Researched by Abu Bakar SaadatPublished 21 November 2026Last changed 21 November 2026Verified 17 November 2026Version 1See all changes
On this page 10 sections
Step by step
Every kitchen has that one drawer. You know the one. The key to organising your kitchen drawers is not how beautiful they look, but where you keep things based on what you do there.
Before you start
- You'll need: a cleared worktop or table, a damp cloth, a donation box, a rubbish bag, and later a knife tray, a cutlery insert and a non-slip drawer mat if you don't have them.
- Time: our sources don't give one, and we haven't timed it. Doing one drawer at a time lets you stop between drawers.
- This guide is for: any kitchen with two or more drawers. One or two drawers only: see Other ways and adjustments.
- Do one drawer at a time. This way the rest of the kitchen stays usable while you organise.
- Have a box for donations and a rubbish bag ready.
- Don't buy organisers until you've sorted through all your items. Once you know what you have, you can measure the drawer to make sure the organiser fits.
Empty the first drawer completely
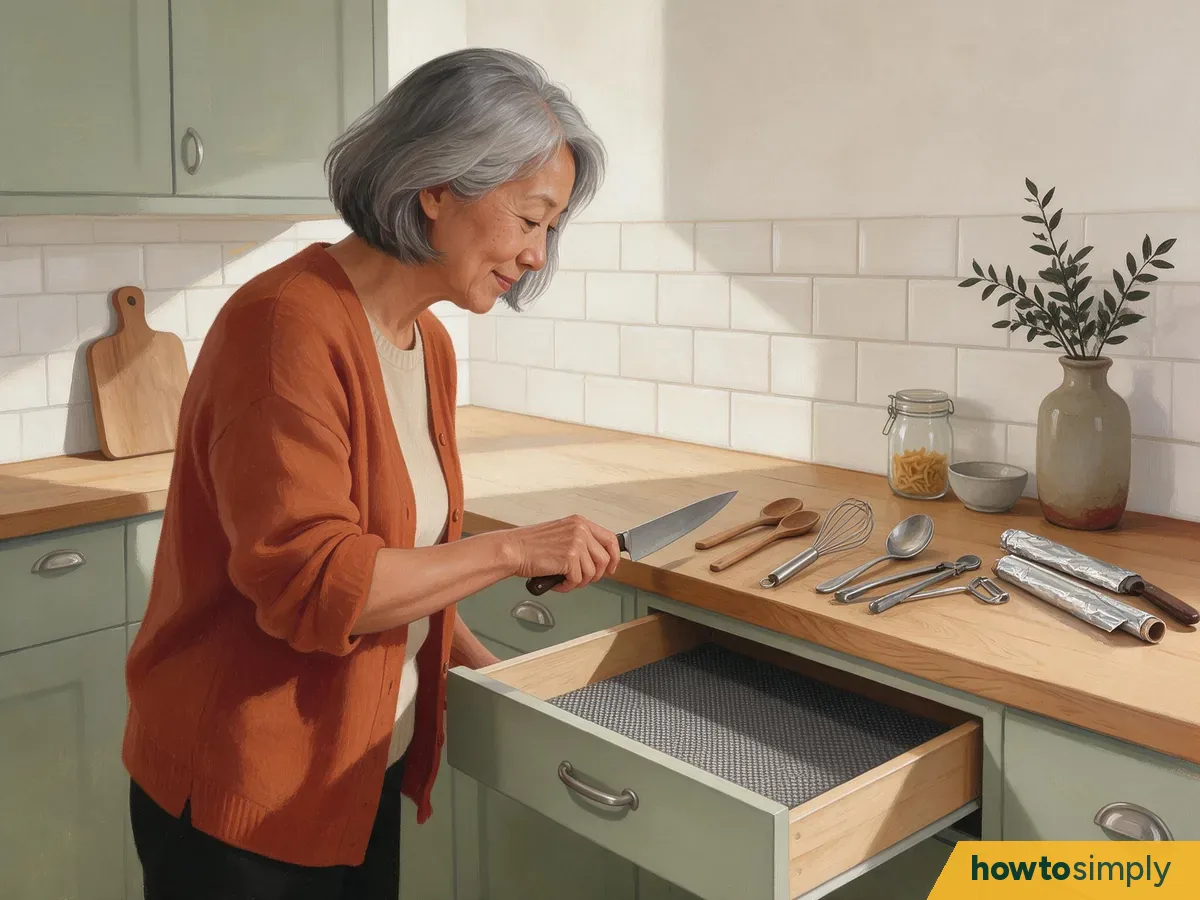
Illustration Empty the contents of the drawer onto a cleared area on your worktop or table. Carefully lift out any knives when taking the contents out of the drawer.
Check: the drawer is empty and every knife is lying flat on the worktop, where nobody will grab it by mistake.
Clean the drawer
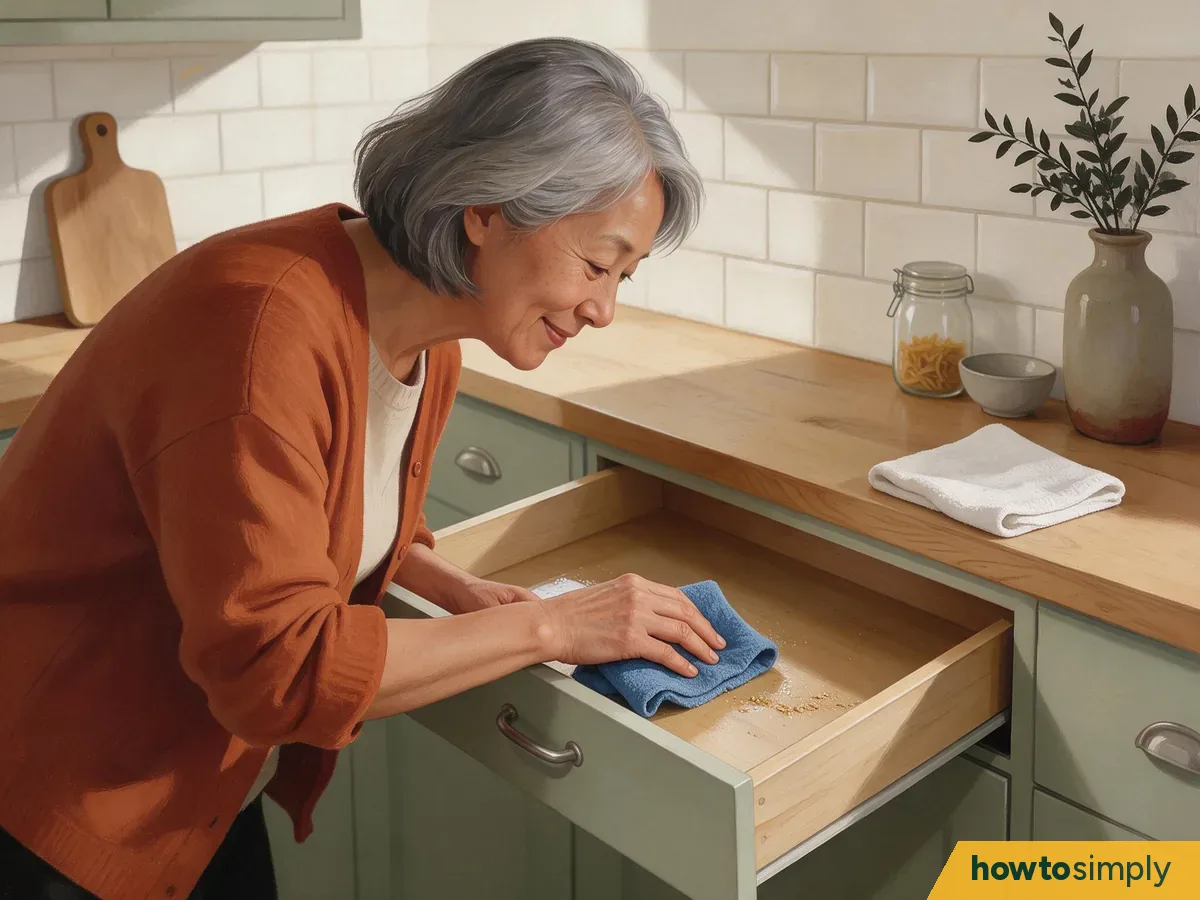
Illustration Using a damp cloth, wipe out the inside of the drawer, removing any crumbs and spills. After cleaning the inside, dry the drawer thoroughly before putting anything back in it.
Check: no crumbs, no sticky patches, and the drawer is dry to the touch.
Remove duplicates and get rid of broken or unused items
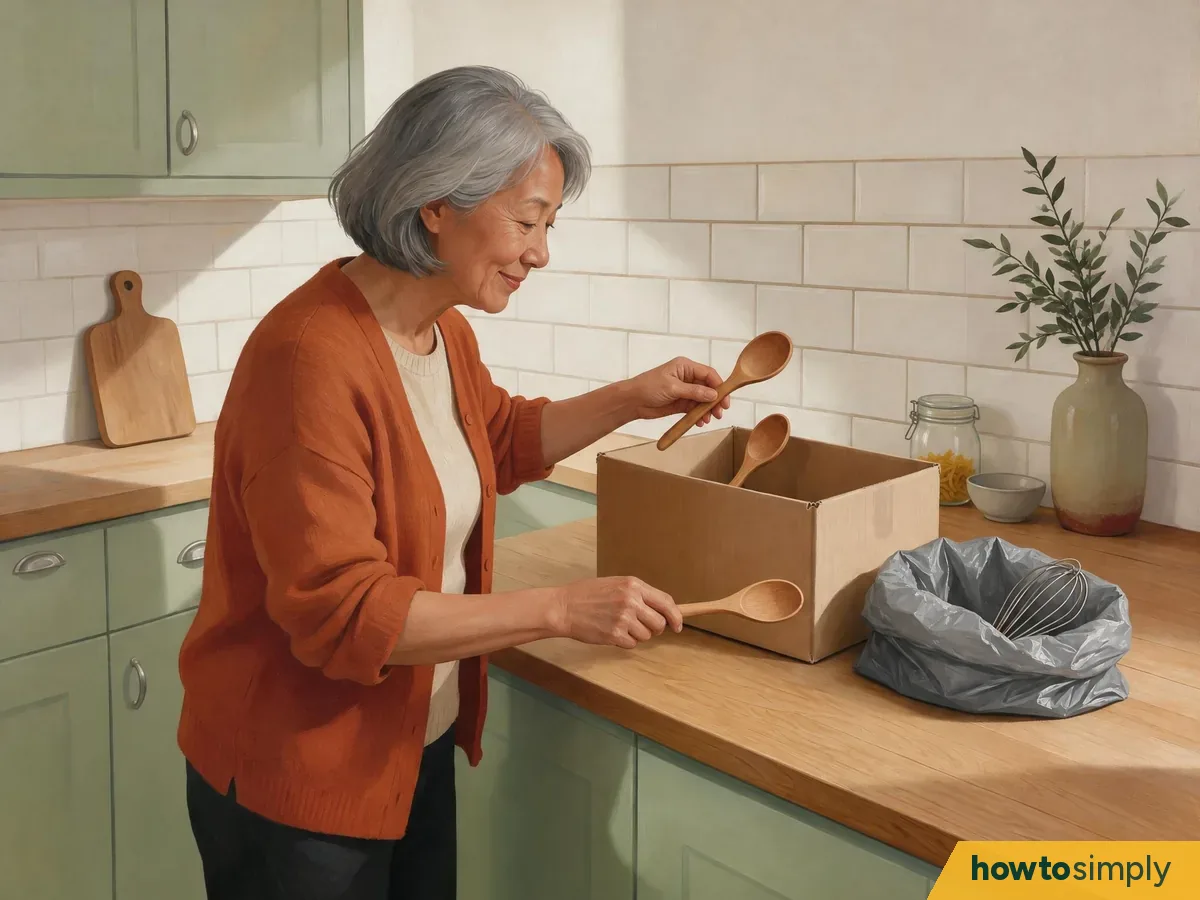
Illustration If you have several similar items (for example, three wooden spoons), put them side by side and get rid of the ones you don't regularly use. Put broken tools in the rubbish bag and the extra tools you don't need in the donation box.
Check: you have no more of any one tool than you actually use.
Identify what you do at each spot in your kitchen
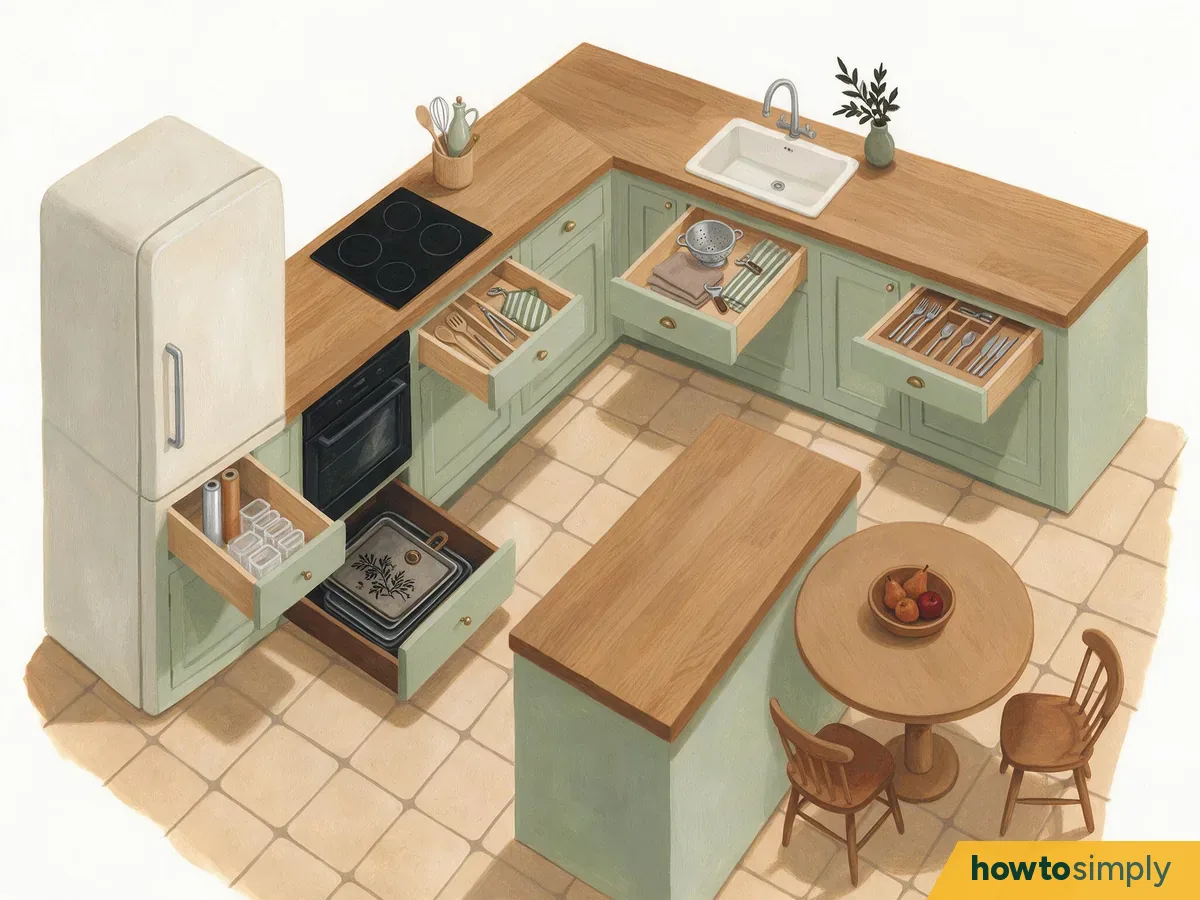
Illustration Think in terms of zones. For example, near the hob is where you typically cook, near the sink and dishwasher is where you typically clean, and near the fridge is where you typically store and prepare food. Give each zone the drawer closest to it, with the items you need for those tasks.
Give each drawer a single job
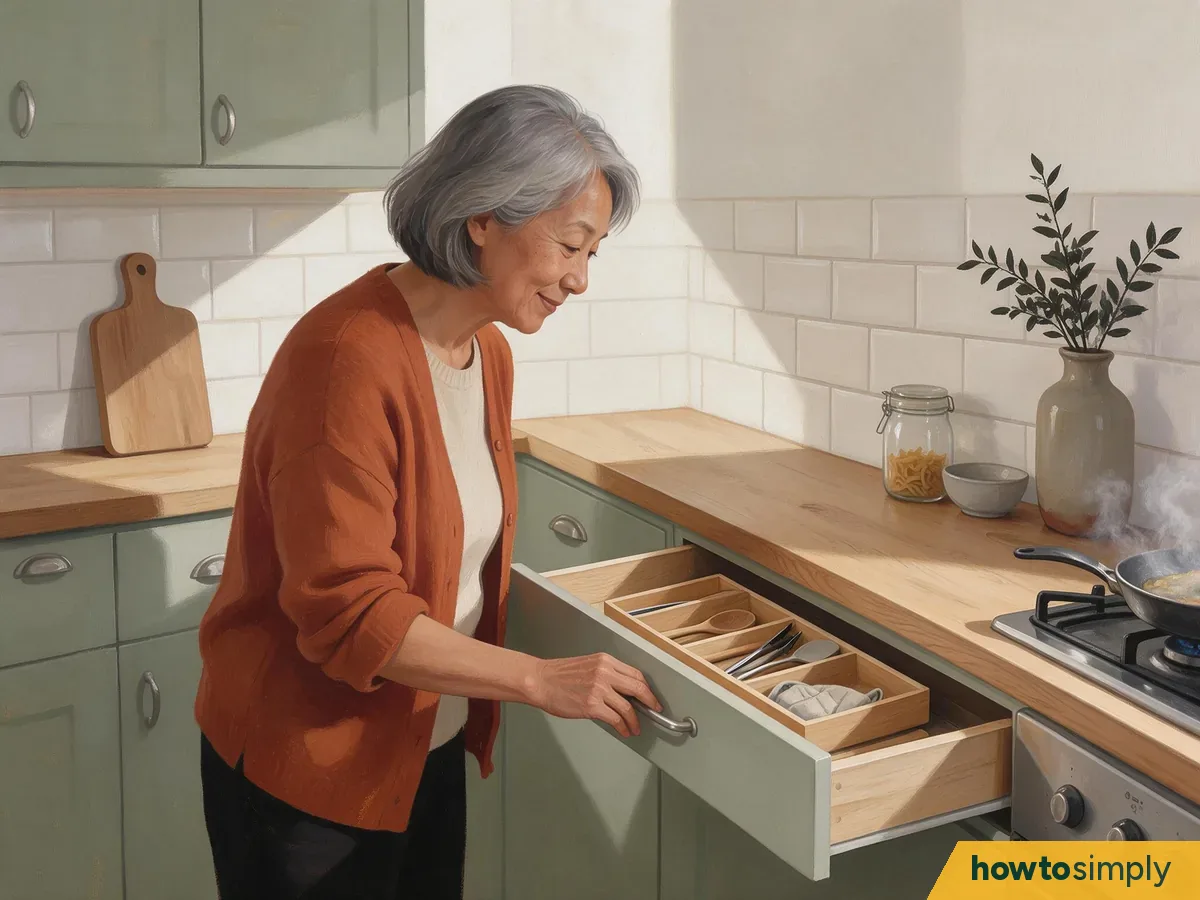
Illustration Some possible jobs include:
- Drawer nearest the hob: cooking tools (spatulas, wooden spoons, tongs, oven gloves).
- Drawer nearest the sink: cleaning things (tea towels, cloths, a colander, a vegetable peeler).
- Drawer nearest the fridge: storage items (foil, cling film, baking paper, food storage containers).
- Drawer nearest the table or dishwasher: everyday cutlery.
Put knives in a knife tray
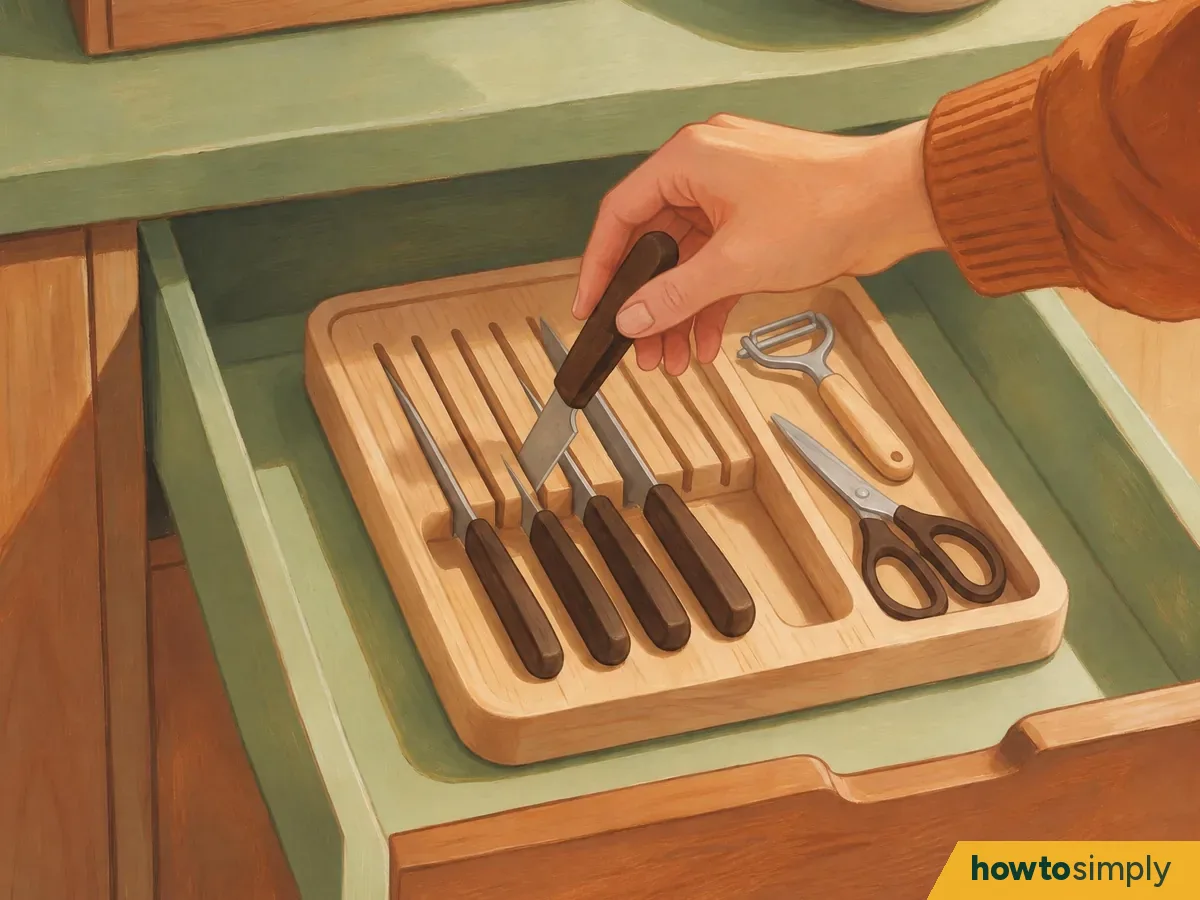
Illustration Keep sharp knives in a knife tray or slotted insert, so the blades stay put and your fingers stay safe whenever you reach in.
Check: reach into the drawer without looking. Your hand meets handles, not blades.
Add inserts and a non-slip mat
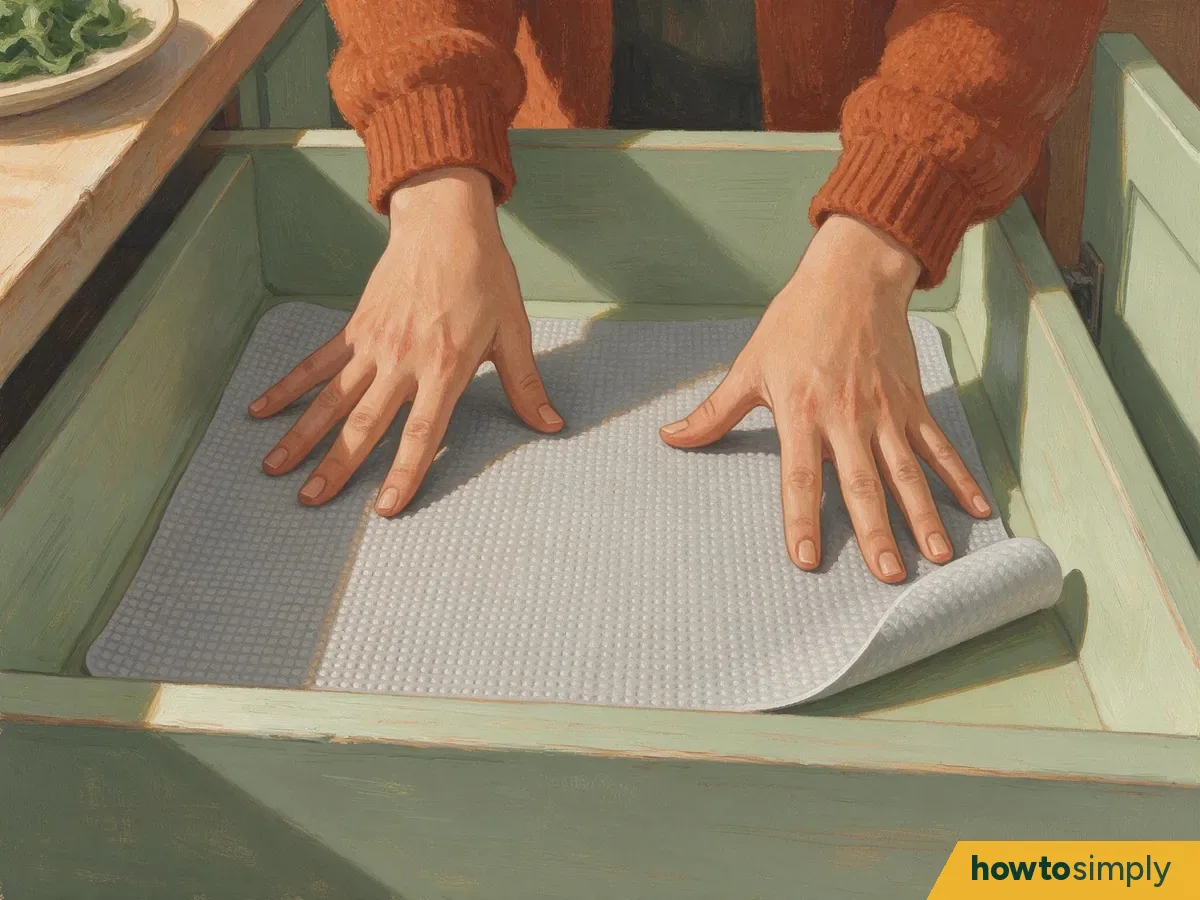
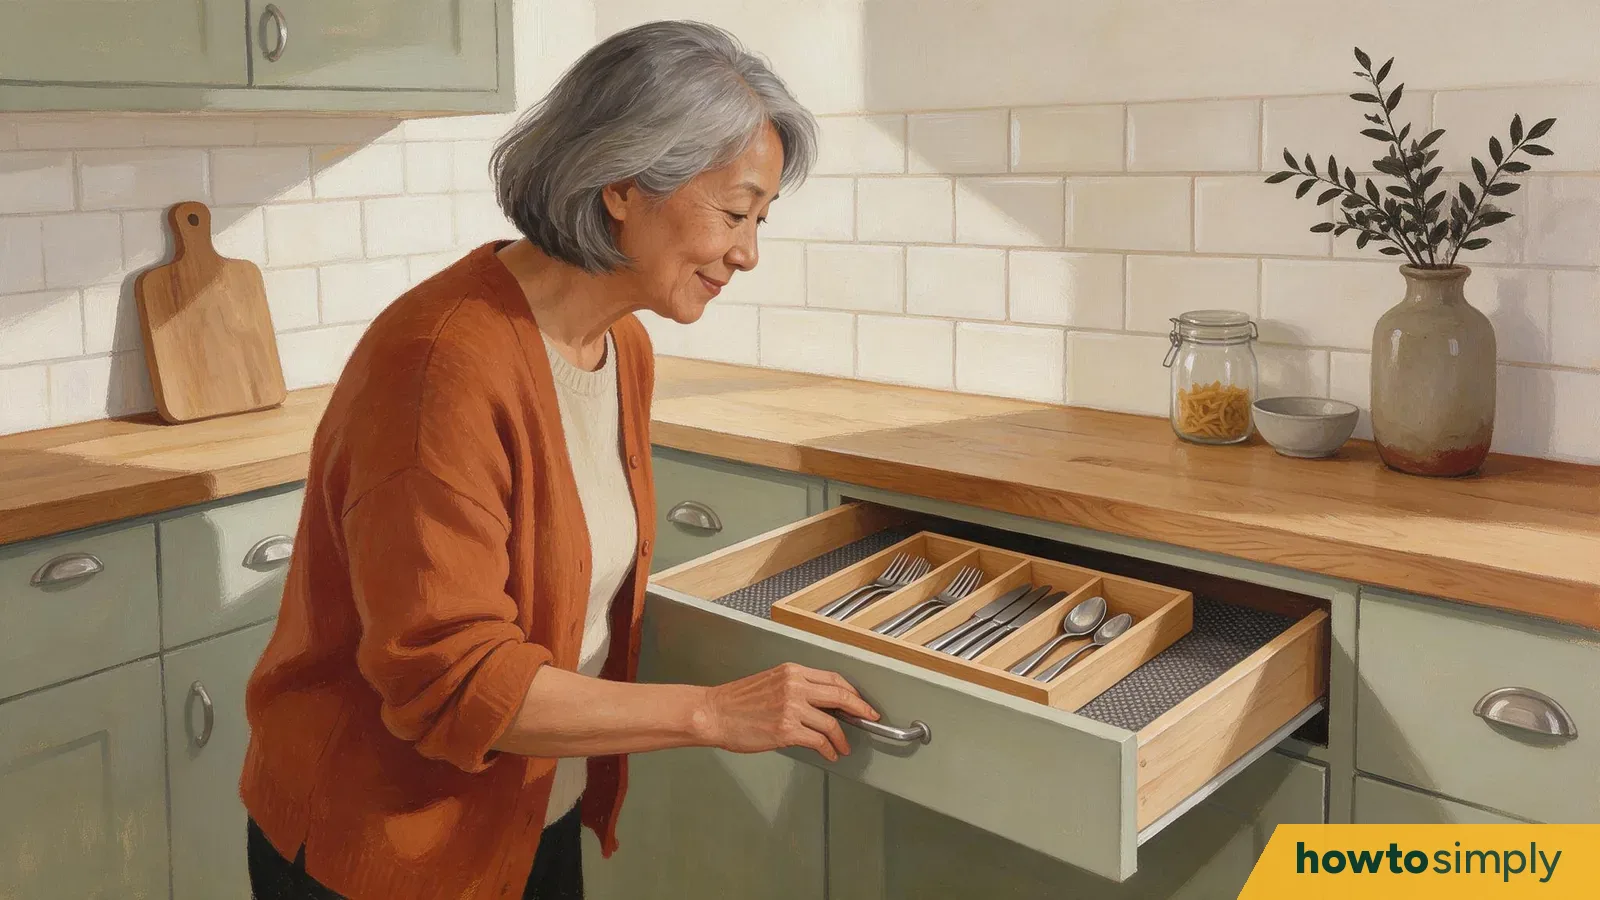
Illustration Lay a non-slip mat flat in the bottom of the drawer to stop items sliding around. Use a cutlery insert to separate forks, knives and spoons, and an adjustable insert to create sections for holding rolls of foil, cling film and baking paper.
Keep flat items in a deep drawer
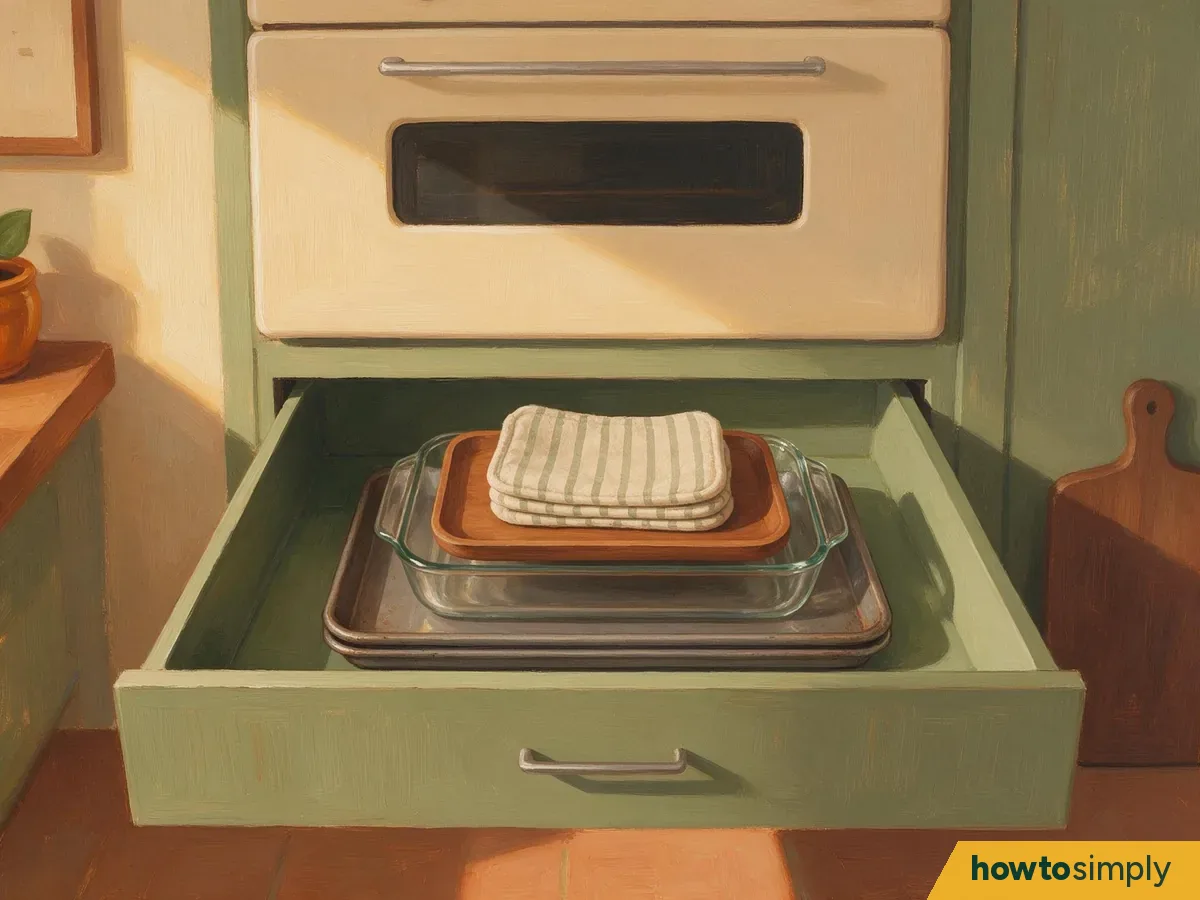
Illustration If you have a deep drawer, such as the one under the oven, give it the flat, bulky things: oven trays, baking dishes, placemats and serving trays stack neatly there.
Return items to the same spot each time
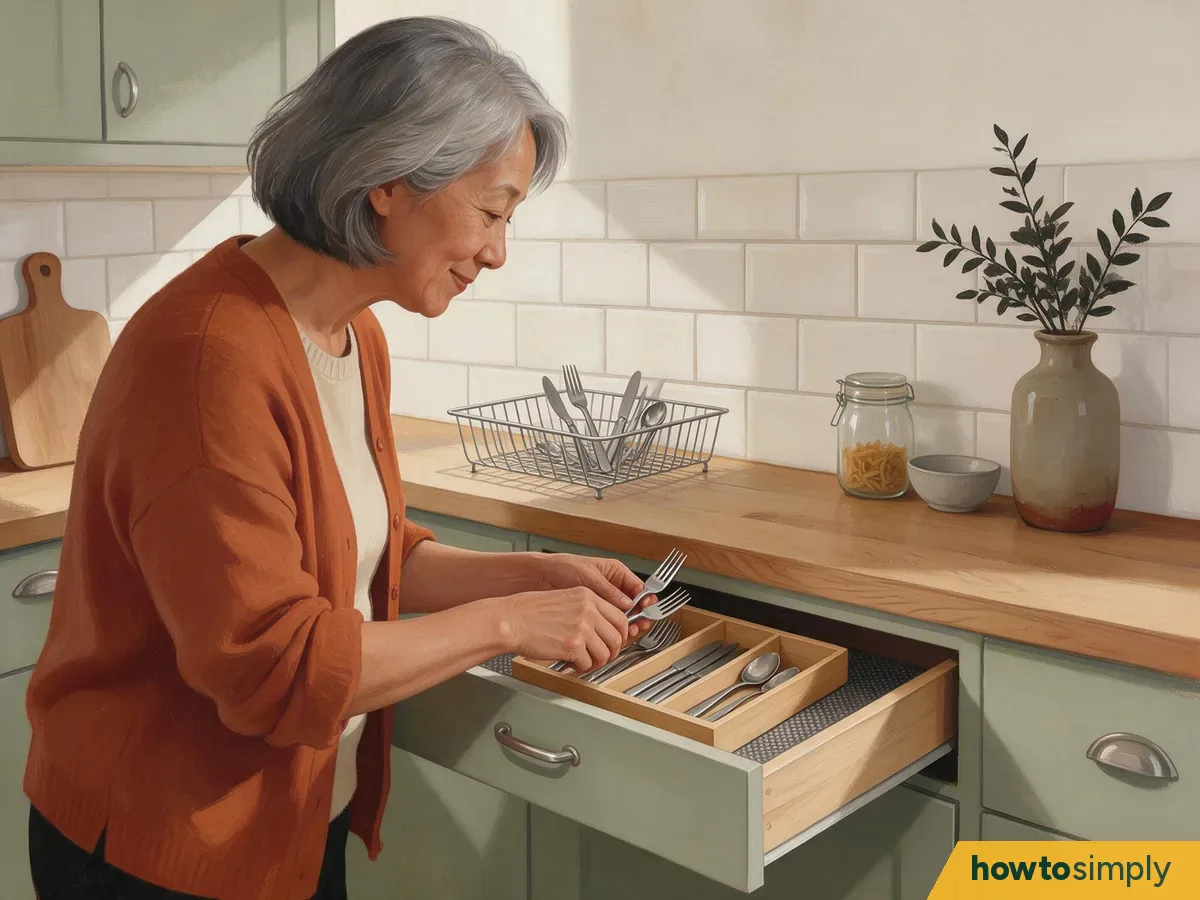
Illustration Once each drawer has a job, return items to their spots straight after washing them. If items keep ending up in another drawer, simply move their "home" to where they keep landing.
How to tell it worked
Cook one ordinary meal. You should be able to reach each tool from where you are standing for that task, without crossing the kitchen or digging under other things, and nothing should slide when a drawer opens. Anything you had to fetch from the wrong zone is a sign to move it.
Quick checklist
- Empty one drawer; lift knives out carefully
- Wipe it out and dry it
- Cut duplicates; bin the broken; donate the extras
- Name your zones: hob, sink, fridge, table
- Give each drawer one job
- Knives in a knife tray
- Mat and inserts so nothing slides
- Flat, bulky things in the deep drawer
- Put things back in the same spot
Suggested layout
This is a suggested layout, not a rule. Move things to fit how you cook.
| Where the drawer is | What goes in it |
|---|---|
| Next to the hob | Spatulas, wooden spoons, tongs, ladle, oven gloves |
| Next to the sink | Tea towels, cloths, colander, vegetable peeler |
| Next to the fridge | Foil, cling film, baking paper, food storage containers |
| Next to the table or dishwasher | Everyday cutlery in an insert |
| Deep drawer or under the oven | Baking dishes, oven trays, serving trays, placemats |
| Any drawer with knives | Knife tray or slotted insert only |
Kitchen zones and what belongs there
| Item | What it says |
|---|---|
| Near the fridge: food storage and prep | Foil, wrap, containers [1] |
| Near the hob: cooking and serving | Pots, pans, spatulas, potholders [1]; cooking tools near the cooktop [2] |
| By the sink or dishwasher: clean-up | Tea towels, cloths, detergents, colander, peeler [1] |
| Under the oven | Baking dishes, oven trays, serving trays, placemats [2] |
| Desk drawer | A few of each everyday supply; spares in a supply cupboard [3] |
If something goes wrong
Common mistakes
- Storing items where they fit rather than where you use them. A drawer may look organised, but if it's in the wrong place, it slows you down just as much as a messy one.
- Keeping every duplicate. Four of the same utensil take up space when you only ever use one or two.
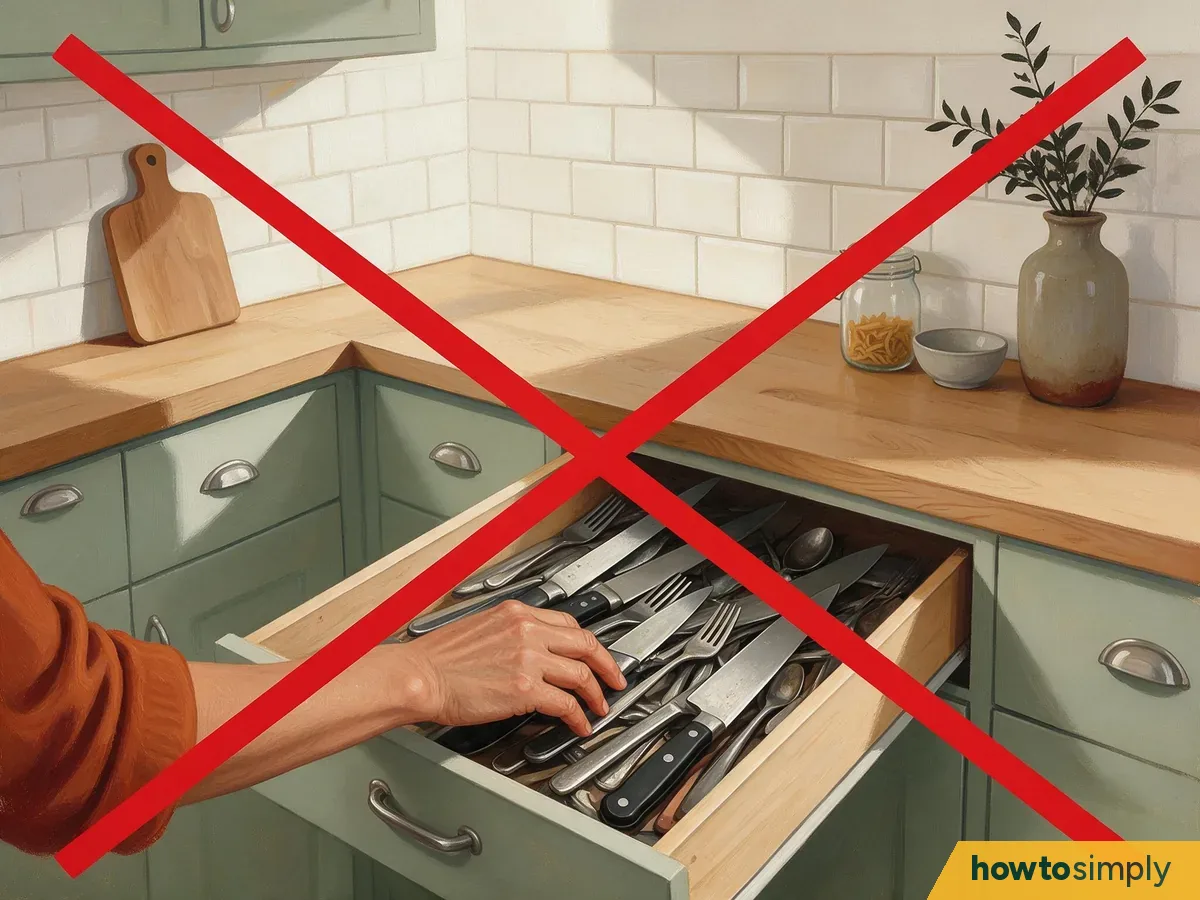
- Leaving knives loose in a drawer. Sharp blades can cut you when you reach into a crowded drawer. A knife tray protects your fingers and keeps the drawer in order.
- Buying organisers before sorting through your kitchen items. If you buy inserts before measuring your drawers, they may not fit.
- Organising your kitchen drawers once and never adjusting them. As your household changes, your system should change too.
- Things still slide around. Add a non-slip mat or a smaller insert so each group has its own section.
- One drawer is overflowing. Move the least-used items to a higher cupboard or a less handy drawer.
- Other people keep putting things back wrong. Show everyone in the house where things now live. Keeping a kitchen tidy works better when everyone helps.
Other ways and adjustments
No spare drawers. IKEA suggests boxes when a kitchen has no drawers.
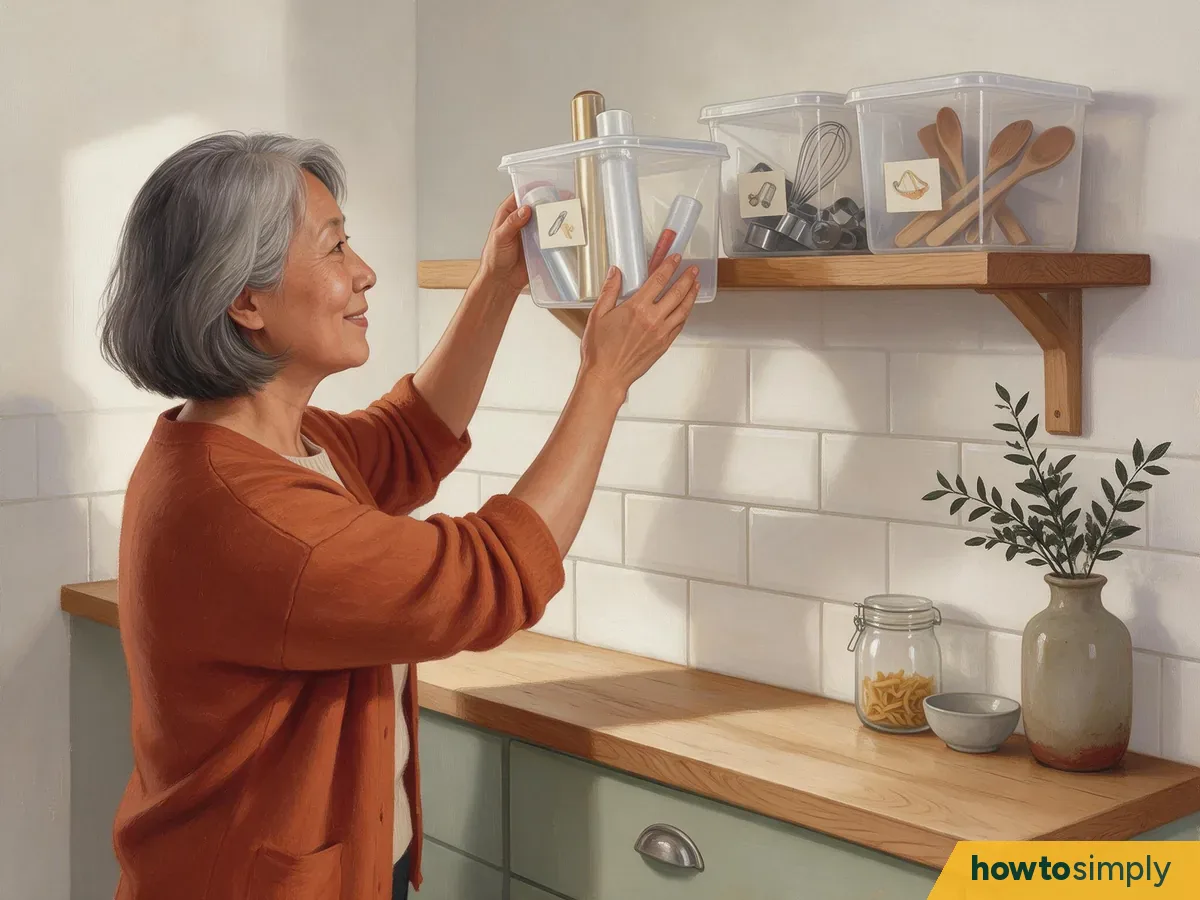
If your kitchen only has one or two drawers, use them for cutlery and knives and move the rest of your items into containers or tubs labelled by category (baking supplies, wraps and foil, cooking tools). Keep these containers on shelves near where you do each job.
- Lots of bakers in the house: keep baking supplies together in one place (IKEA).
- Food you keep forgetting: see-through storage shows what you already have, which IKEA says helps avoid buying duplicates.
- A household that changes: look at the set-up again when your needs change, and get everyone who cooks involved (NDSU Extension).
Desk drawers too
The same method works for the drawers in a desk. Group like with like, cut down, then give each group its own place. A few things are different:
- Decide first what the drawer is for. Usually that means everyday supplies such as pens, sticky notes, clips and chargers; a stack of files or a printer won't fit a shallow drawer.[3]
- With the drawer empty, you can see its real size. Wipe it out, and fix a sticking runner or a loose handle while you're there.[3]
- Ask of each thing: does it still work, have I used it in the last year, and is it needed at this desk? Anything you haven't touched in a year can move somewhere out of the way.[3]
- Keep only a few of each supply in the drawer and put the spares in a supply cupboard. Personal things that have piled up can go home.[3]
- If the drawer has built-in wells or dividers, give each one a group before adding anything. If it hasn't, use trays you already own, or reuse shallow boxes and tins.[3]
- Upkeep is quick: The Order Expert says five minutes is enough to tidy a drawer. Put things back as soon as you've finished with them, and don't let the drawer become a dumping ground.[3]
Questions
What if my kitchen has no spare drawers?
IKEA suggests boxes organised by function.[2]
Where should foil and cling film go?
NDSU puts them in the food storage zone near the fridge; IKEA suggests an adjustable insert for the rolls.[1][2]
How often should I redo the set-up?
NDSU says revisit it as your needs change, and get household members to help.[1]
Related guides
I hope your drawers open without a fight now. If this helped, please give us a like or follow us on our social platforms. Your support gives our authors real encouragement.
The pictures on this page are illustrations, not photos.
How we know this: sources, checks and every change
Current advice
Store things where you use them, not where they fit: one job per drawer, knives in a tray, mats and inserts so nothing slides.
Latest update
17 November 2026. We re-opened the sources; the advice on this page matches them.
What changed in this version
- First version of this article: numbered sources, key facts, what the sources agree on and where they differ, and this record history.
Key facts
- Store items near where you will use them, not where they happen to fit.[1]
- Get rid of duplicates to streamline drawers.[1]
- Think in zones: food storage and prep near the fridge, cooking near the hob, clean-up by the sink or dishwasher.[1]
- Knife trays keep blades secure and protect fingers when reaching in.[2]
- A drawer tidy-up is quick: The Order Expert says five minutes' work is enough to tidy one.[3]
- Drawer mats stop items sliding; cutlery inserts keep forks, knives and spoons apart.[2]
- A drawer under the oven suits flat, stackable items like baking dishes, oven trays and placemats.[2]
What the sources agree on
Where the sources differ, or nothing is confirmed
- No source disagreement on the method. The drawer-by-drawer layout table and measuring before buying organisers are our own suggestions and labelled as such.
Record history
- Version 1. First published.
No source has changed its advice since we first read it, so there is no "advice that changed" list yet.
Sources
- NDSU Extension (Julie Garden-Robinson): Conquering kitchen clutter takes self-discipline. Read 14 November 2026 and again on 17 November 2026.
- IKEA: How to organize kitchen cabinets and drawers. Read 14 November 2026 and again on 17 November 2026.
- The Order Expert: How to organize an office drawer (general drawer method). Read 14 November 2026 and again on 17 November 2026.
Sources and method
- Researched by
- Abu Bakar Saadat
- What we checked
- We read NDSU Extension's kitchen clutter column, IKEA's kitchen drawer guide and The Order Expert's drawer method on 14 November 2026 and opened them again on 17 November 2026. The zones idea and the duplicates advice come from NDSU, the mats, knife trays, inserts and under-oven drawer from IKEA, and the desk drawer tips and the five-minute upkeep from The Order Expert. The drawer-by-drawer layout table and the advice to measure before buying organisers are our own suggestions.
- Pictures
- 12 illustrations drawn for this article, each marked Illustration (drawings, not photos). The table under "Kitchen zones and what belongs there" is ours, drawn from the sources.
Did this solve the problem?
Where did you get stuck?
Get new guides by email
Our newest guides, sent to your inbox. Free, and you can unsubscribe in one click.
We'll email you to confirm. How we use your email
Follow howtosimply on Facebook
We share every new article on our Facebook page, so the next fix turns up in your feed.
Follow on FacebookWhat did you think?
Reaction counts are loading.