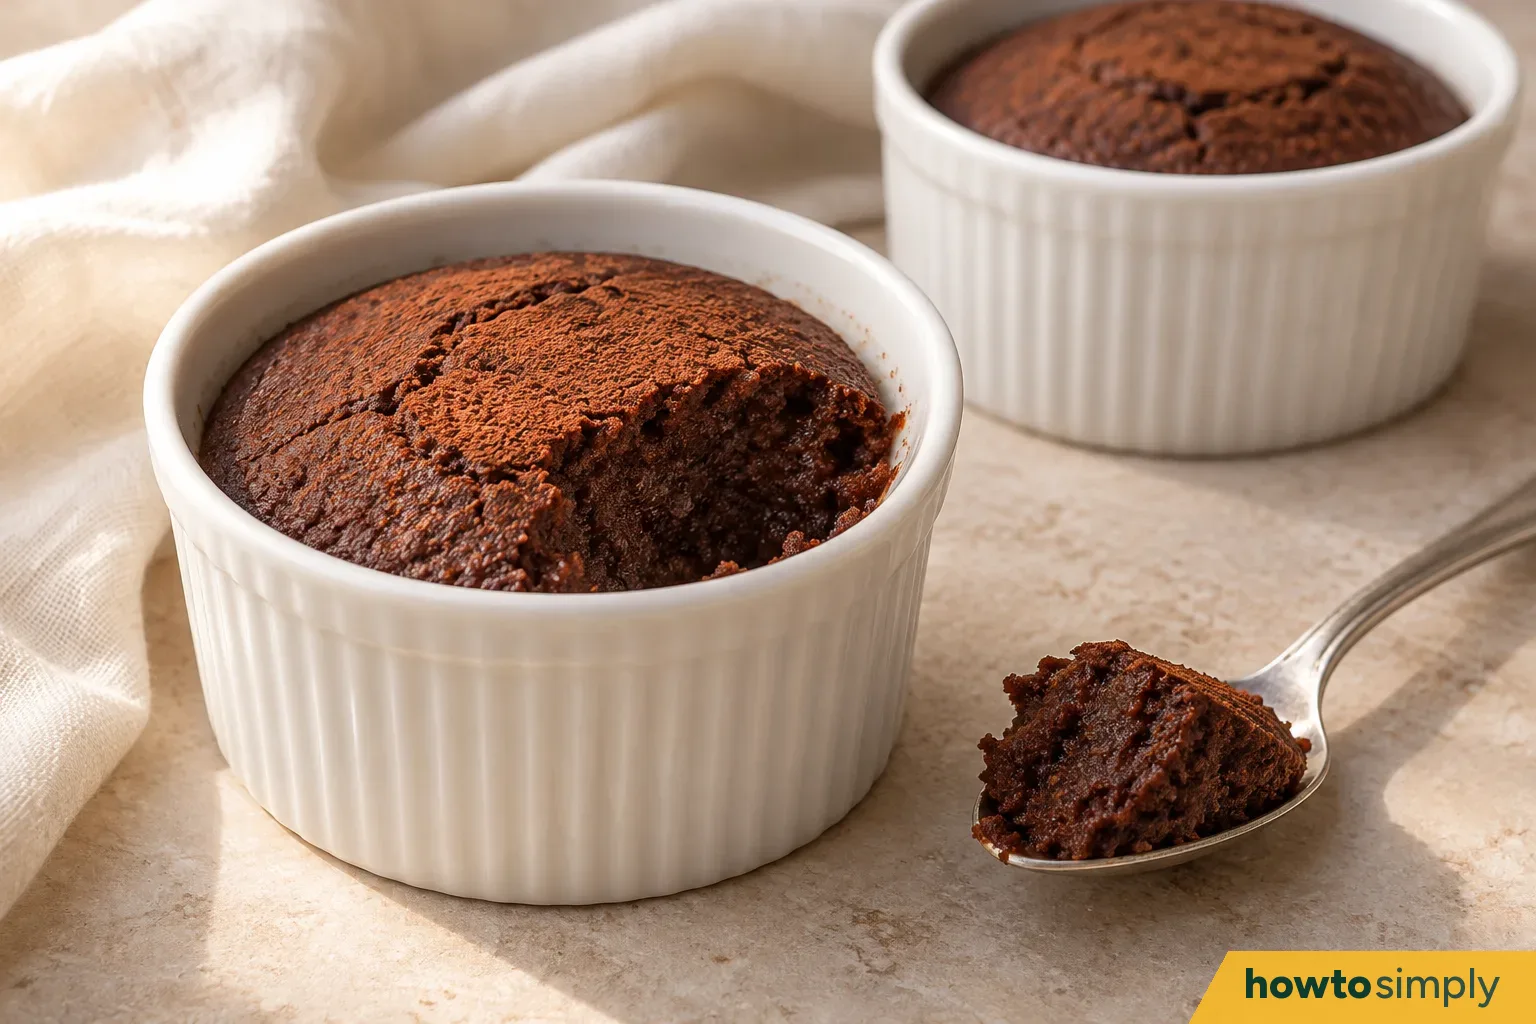
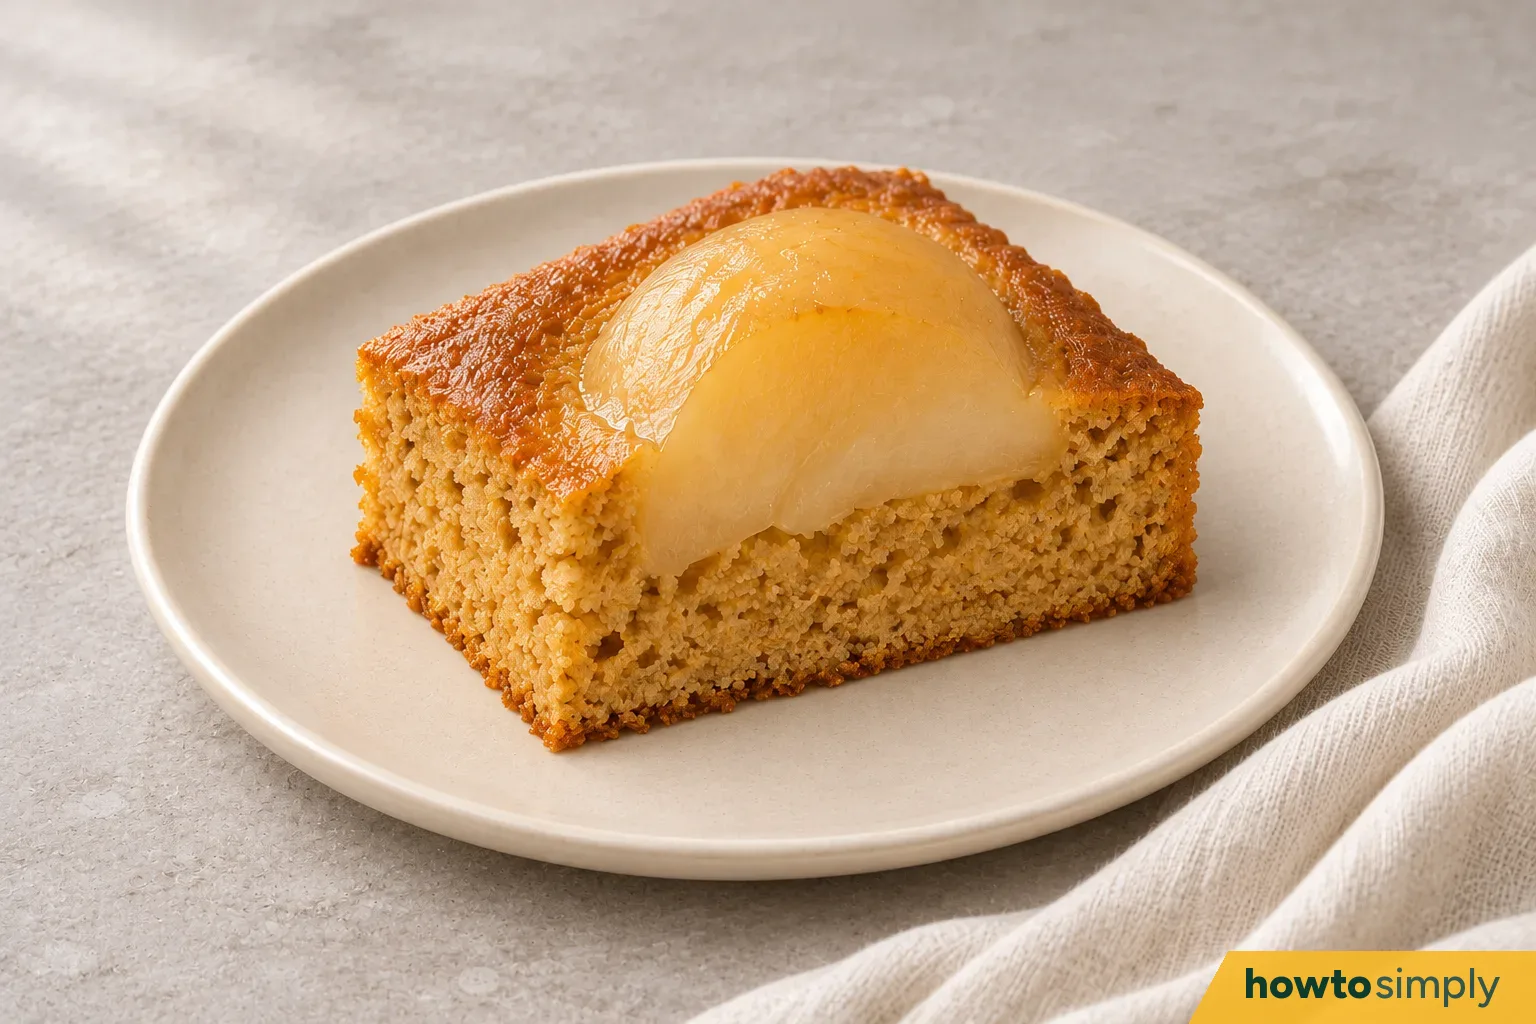
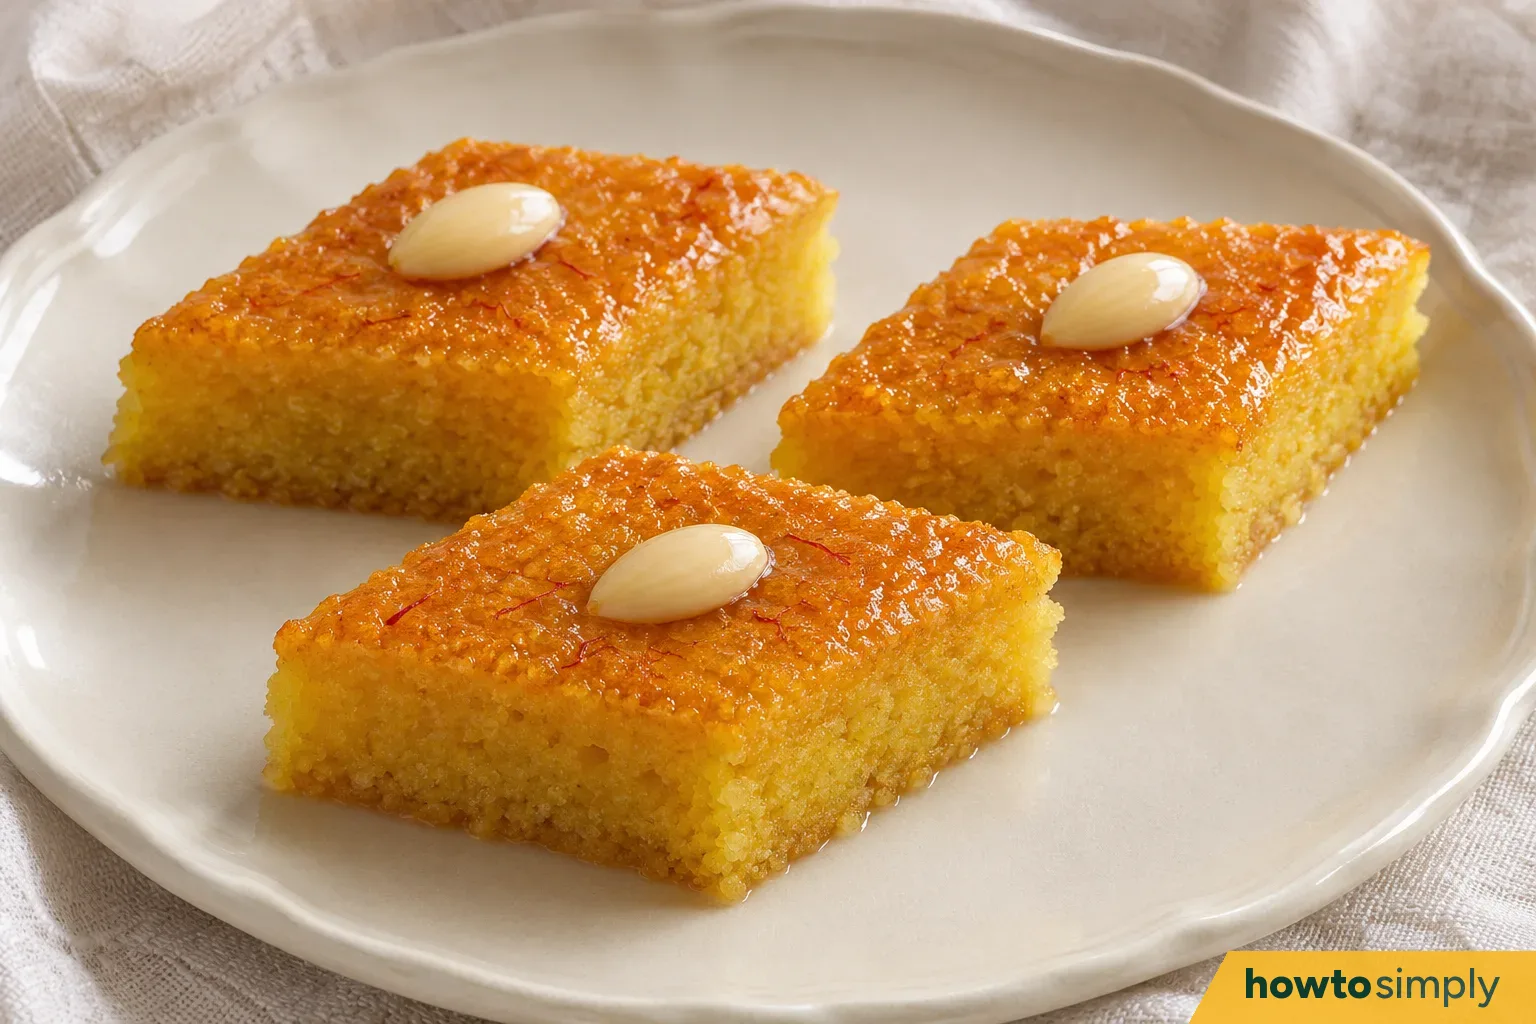
How to make Breton butter cake with clementine and buckwheat
Researched by Abu Bakar Saadat5 min read
Last updated: 21 November 2026References
 Illustration
On this page 7 sections
In short
Rub clementine zest into sugar, beat in salted butter and four egg yolks, fold in plain and buckwheat flour, spread in a 20 cm tin, glaze with yolk, mark with a fork and bake at 170°C (150°C fan) for 35–45 minutes.
Overview
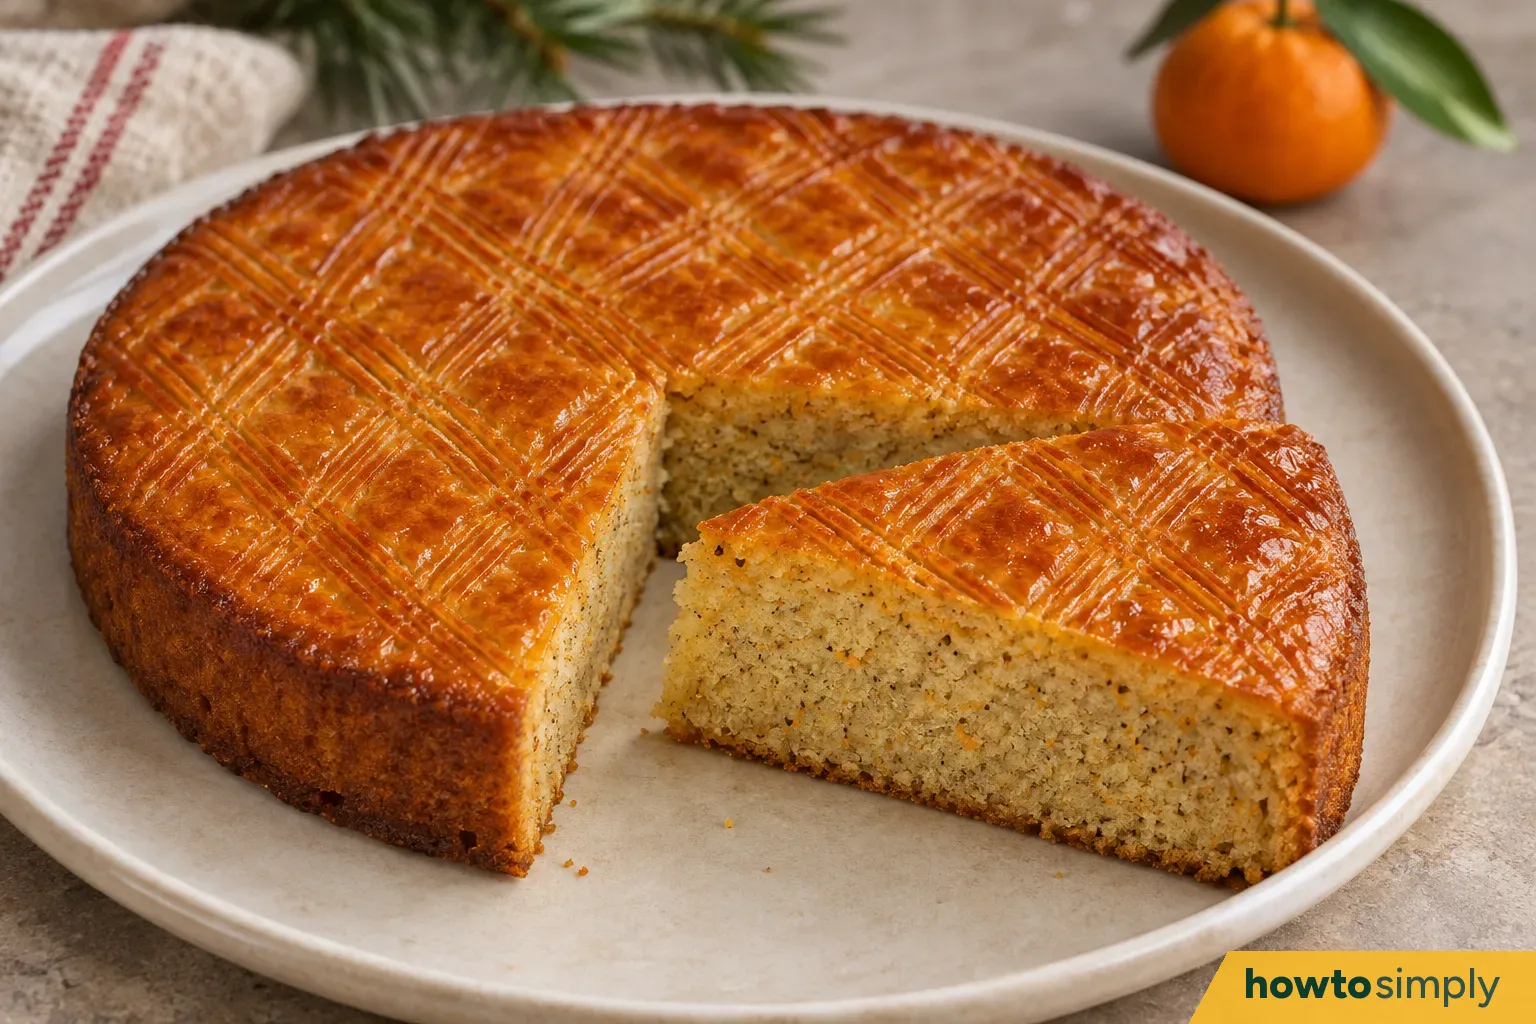
A dense, buttery Breton-style cake for Christmas, flavoured with clementine zest and a little buckwheat flour for a toasted, nutty note. There's no baking powder and no milk: just butter, sugar, egg yolks and flour, spread into a tin, brushed with yolk and marked with a fork into glossy diamonds. It cuts into 10 slim wedges.
| What | This recipe |
|---|---|
| Makes | One 20 cm (8 inch) cake, 10 wedges |
| Oven | 170°C conventional, 150°C fan (about 340°F), middle shelf |
| Prep | 25 minutes, with the butter already soft |
| Baking | 35–45 minutes |
| Cooling | 1 hour, 20 minutes of it in the tin |
| Total | 2 hours to 2 hours 10 minutes |
| Allergens | Contains egg, milk (butter) and wheat (gluten). Buckwheat flour has no wheat, but the plain flour does. |
Before you start
- You'll need: a 20 cm (8 inch) round loose-bottomed metal cake tin at least 4 cm (1½ inches) deep, baking paper, kitchen scales, a fine grater, a large and a small mixing bowl, a cup, a silicone spatula, a whisk, a fork, a pastry brush, a wooden skewer, a cooling rack, a small knife and a sturdy jar narrower than the tin's base.
- Take the butter out early. It should dent easily when you press it. Melted or very soft butter makes a dough too loose to hold the fork pattern.
- Use unwaxed clementines, because you're eating the zest. Wash and dry them first.
- You'll use five egg yolks: four in the dough and one for the glaze. Keep the whites for something else, such as macaroons.
- Each step picture below shows four moments of its step. Read it from top left to bottom right.
Ingredients
- 185 g softened salted butter, split into 5 g for the tin and 180 g for the cake
- 160 g (about ¾ cup plus 1 tablespoon) caster sugar or fine granulated sugar
- 2 small unwaxed clementines, for about 2 teaspoons finely grated zest
- 5 medium egg yolks, split into 4 for the dough and 1 for the glaze
- 175 g (about 1½ cups) plain flour (all-purpose flour)
- 65 g buckwheat flour
- 5 ml (1 teaspoon) water, for the glaze
Steps
Make the clementine butter
Heat the oven to 170°C conventional or 150°C fan (about 340°F), with a shelf in the middle. Rub the 5 g of butter over the base and sides of the tin. Cut a circle of baking paper to fit the base and press it flat inside.
Put the sugar in the large bowl and grate the orange skin of both clementines straight over it. Turn each fruit as soon as white pith shows through. Rub the zest into the sugar with your fingertips for 30 seconds, until it smells strongly of clementine and feels slightly damp. Add the other 180 g of butter and beat with the spatula for 2–3 minutes, until creamy and easy to spread.
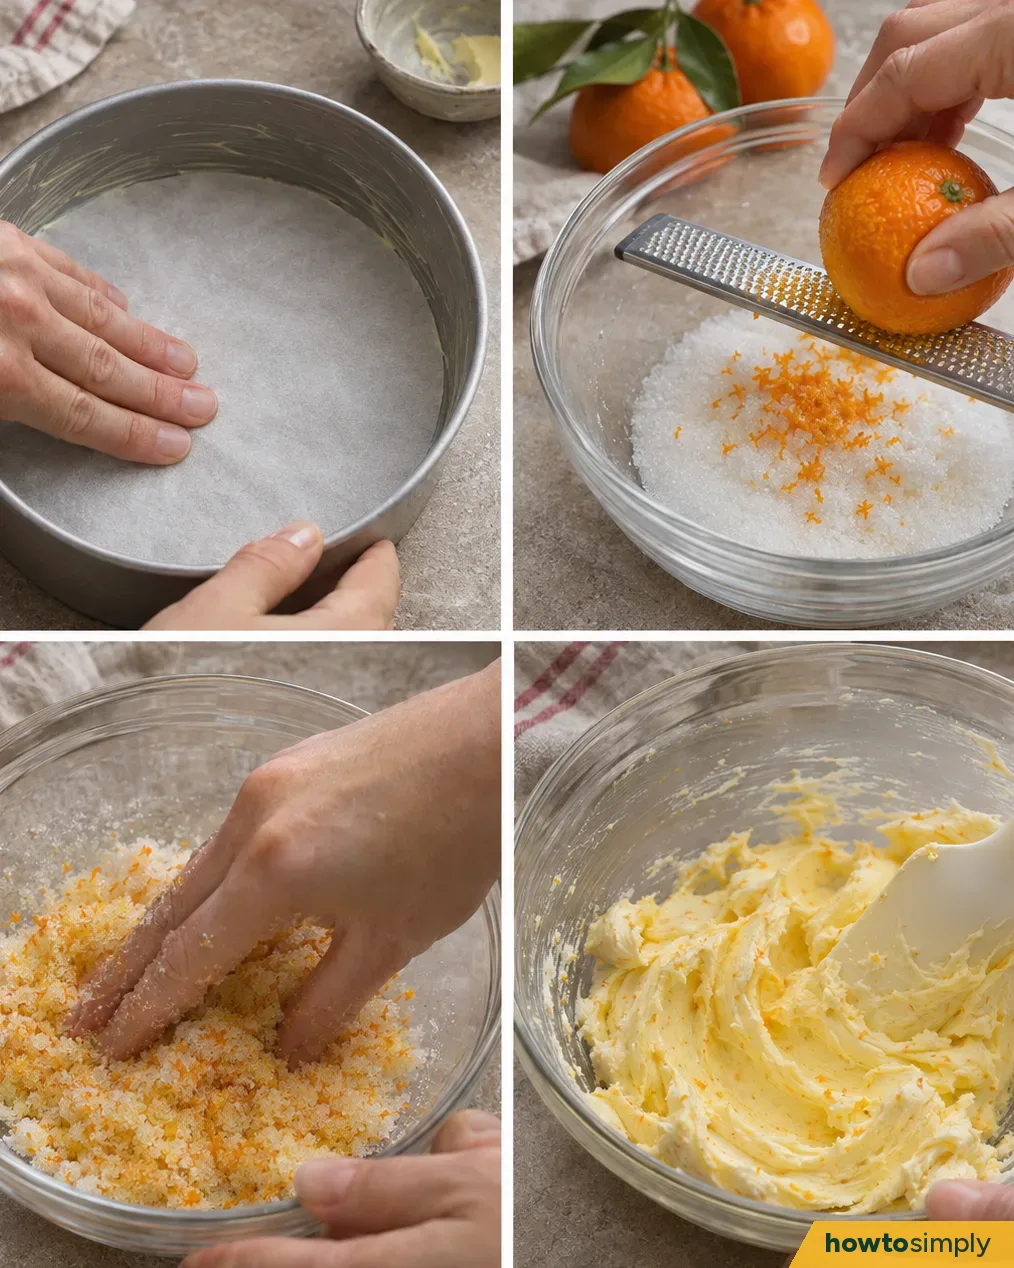
Mix and spread the dough
Stir in 4 of the yolks one at a time, waiting until each yellow streak has gone before adding the next. In the small bowl, whisk the plain flour and buckwheat flour together for 20 seconds.
Tip the flours into the butter mixture. Scrape the spatula along the bottom of the bowl and fold the mixture up and over the flour, again and again, for about 1 minute. Stop as soon as the last dry patches disappear. The dough should be soft enough to spread but thick enough to hold a ridge. Press it out to the edges of the tin and smooth the top.
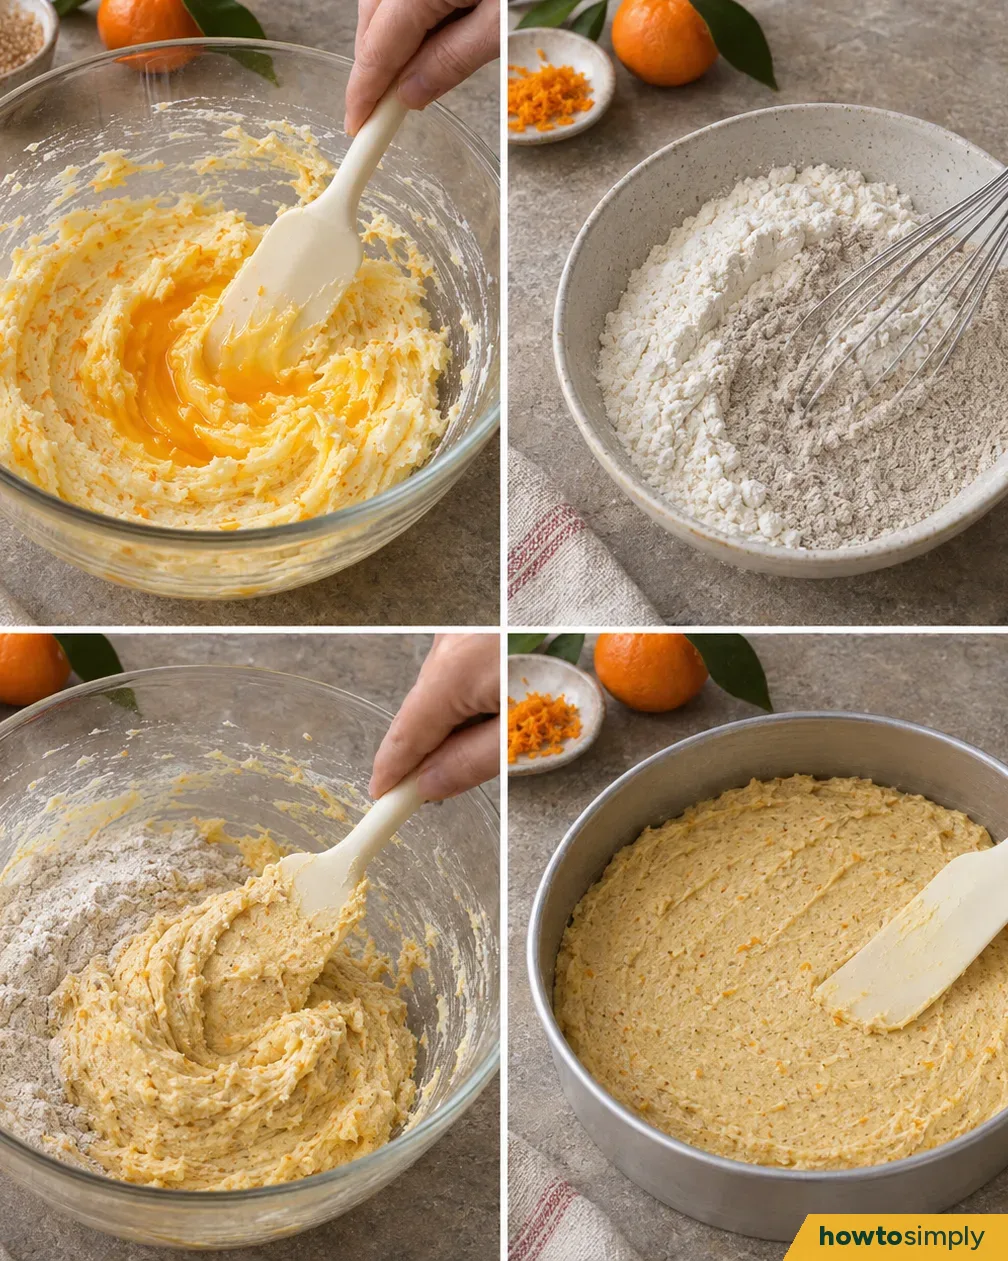
Glaze, mark and bake
Beat the last yolk with the water in the cup. Brush a thin coat over the top of the dough and leave any extra in the cup. Drag the tips of a fork lightly across the surface in parallel rows about 2 cm (¾ inch) apart. Turn the tin a little and draw a second set of rows across the first to make diamonds.
Bake for 35–45 minutes, checking from 35 minutes. It's ready when the top is deep golden, the centre feels firm when you press it lightly, and a skewer in the middle comes out clean or with a few crumbs.
Leave it in the tin on the rack for 20 minutes. Run the knife around the edge, stand the tin on the jar and ease the outer ring down. Slide the cake off the base onto the rack, peel off the paper and leave it for another 40 minutes before cutting.
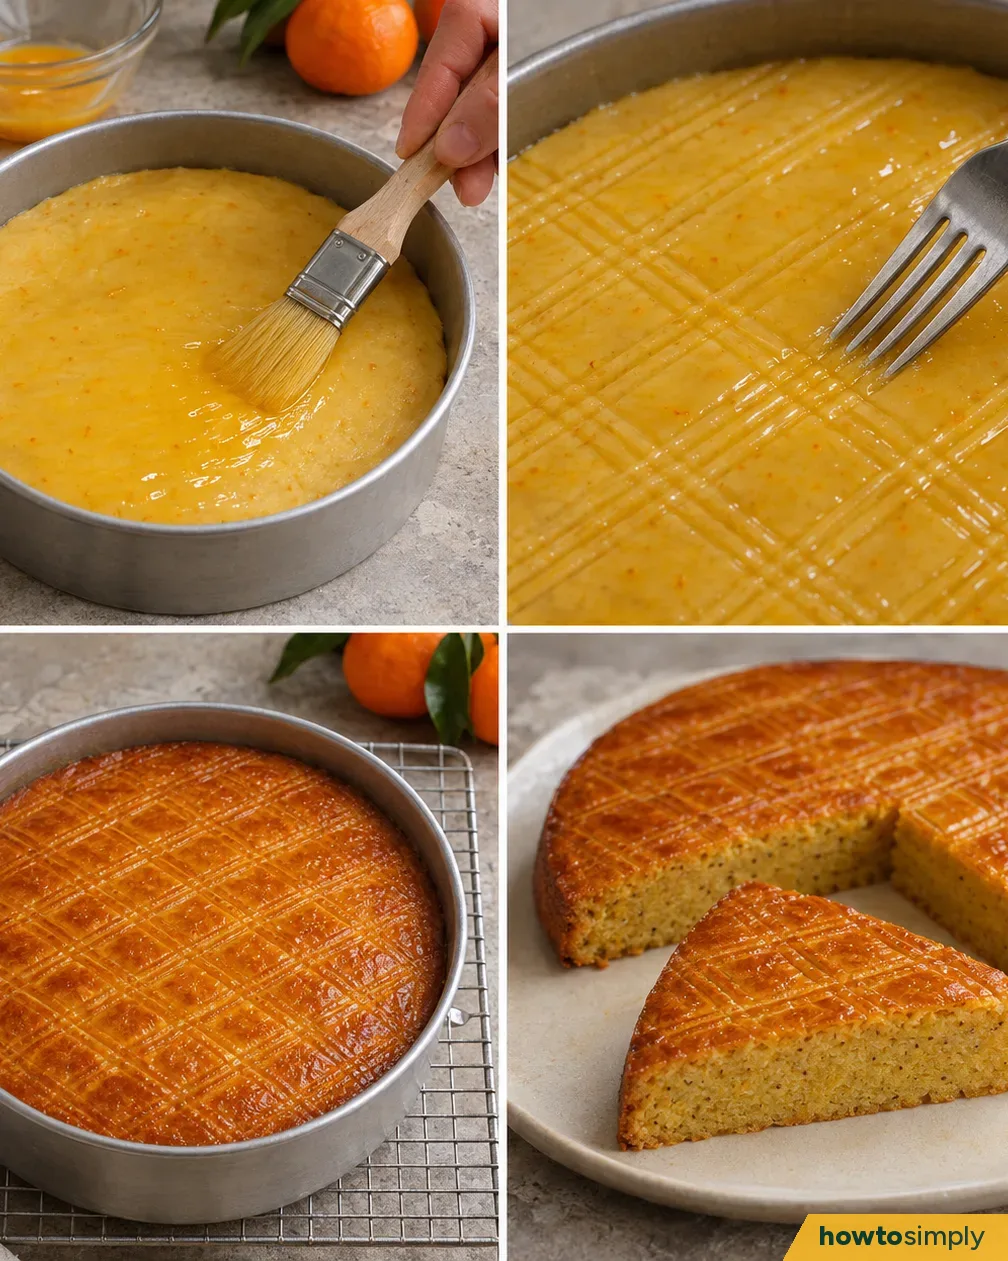
The first panel shows the glaze much thicker than you need. A thin coat is enough, with the extra left in the cup.
If this doesn't work
- The fork drags up the dough: the butter has gone too soft. Smooth the rough patch and chill the tin for 10 minutes, until the top feels firmer. Wipe the fork clean and redraw the lines using only the weight of its tips.
- The dough is too runny to hold a ridge: the butter was too warm or partly melted. Chill the bowl for 10–15 minutes, then spread it.
- The top is dark brown but the middle isn't set: lay a loose sheet of foil over the tin and keep baking, checking every 5 minutes.
Serving and storing
Cut into slim wedges with a sharp knife and serve at room temperature. Peel the zested clementines and serve the segments on the side. Once it's completely cool, keep the cake in an airtight tin somewhere cool. You can also wrap single wedges and freeze them, then thaw them, still wrapped, at room temperature.
Related
- How to make cranberry and orange olive oil cake
- How to make cinnamon shortbread fingers
- How to make clementine and speculoos parfaits
The pictures in this recipe are illustrations.
Sources and method
- Researched by
- Abu Bakar Saadat
- Pictures
- 4 illustrations drawn for this article: drawings, not photos.
Did this solve the problem?
Where did you get stuck?
Get new guides by email
Our newest guides, sent to your inbox. Free, and you can unsubscribe in one click.
We'll email you to confirm. How we use your email
Follow howtosimply on Facebook
We share every new article on our Facebook page, so the next fix turns up in your feed.
Follow on FacebookWhat did you think?
Reaction counts are loading.