How to frame a wallpaper offcut
Researched by Abu Bakar Saadat3 min read
Last updated: 20 November 2026References
 Illustration
On this page 6 sections
In short
Use the frame's own backing board as a template: trace it onto the back of the wallpaper, cut just inside the line, and close the frame. About 15 minutes, no glue.
At a glance
That last strip of wallpaper from the hallway, the one you couldn't bring yourself to throw away, has a better future than the back of a cupboard. Put one good piece of it behind glass and it becomes a small picture that matches the room it came from. Choose a section with one complete flower, leaf or other detail you'd happily look at every day. The neat part: the frame's own backing board is your cutting template, so there's no measuring and no ruler hunt.
Overview
| What | This project |
|---|---|
| Time | About 15 minutes |
| Difficulty | Beginner |
| Cost | Nothing if you reuse a frame and paper you already have; otherwise the price of a basic small photo frame |
| Glue | None needed |
Before you start
- You'll need: a tabletop picture frame with a removable backing and a front pane (a 10 × 15 cm photo frame works well), a wallpaper offcut at least 2 cm wider and taller than the backing board, a pencil, paper scissors and a clean tea towel.
- No wallpaper left? Patterned wrapping paper works the same way.
Steps
Take out the backing board
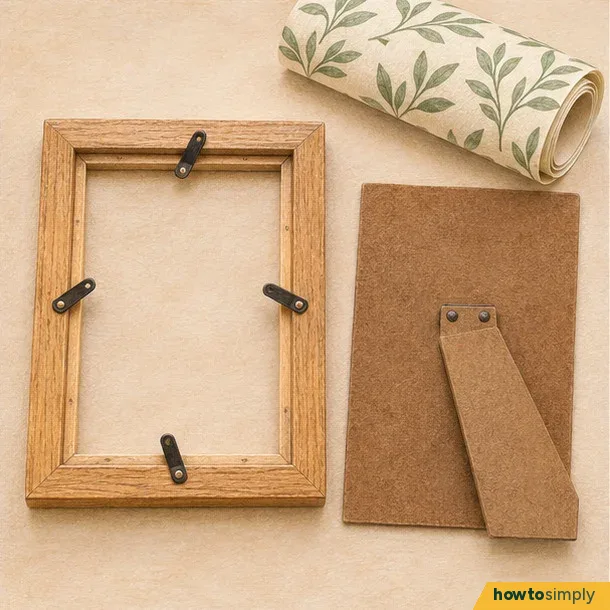
Fold the tea towel and lay the frame face down on it, so the pane can't get scratched. Turn the little retaining tabs aside and lift out the backing board. Leave the clear pane resting in the frame, and put any sample photo to one side. You should now have a flat board you can trace around.
Trace the section you want to frame
With the pattern facing you, hold the empty frame over the paper and slide it around until you like what shows through the opening. Pinch the paper at the centre of the chosen top edge to mark it.
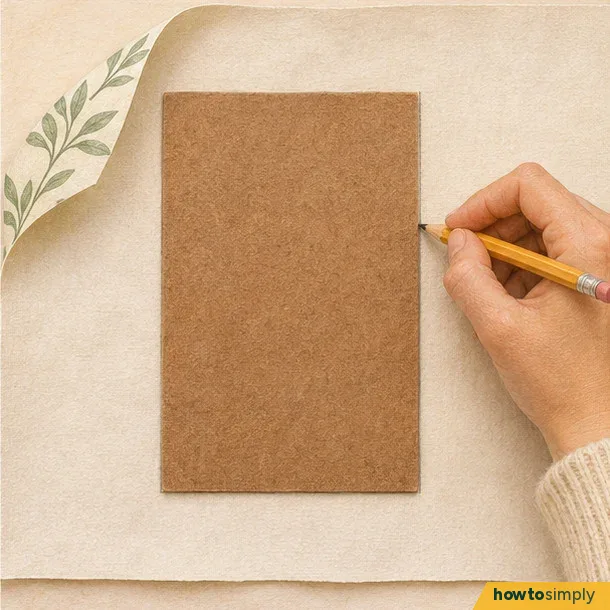
Put the frame down and turn the paper pattern-side down. Line up the top of the backing board with your pinch mark, hold the board still, and draw around its four edges with the pencil. Lift the board away and check that all four lines meet at the corners.
Cut the insert and check the fit
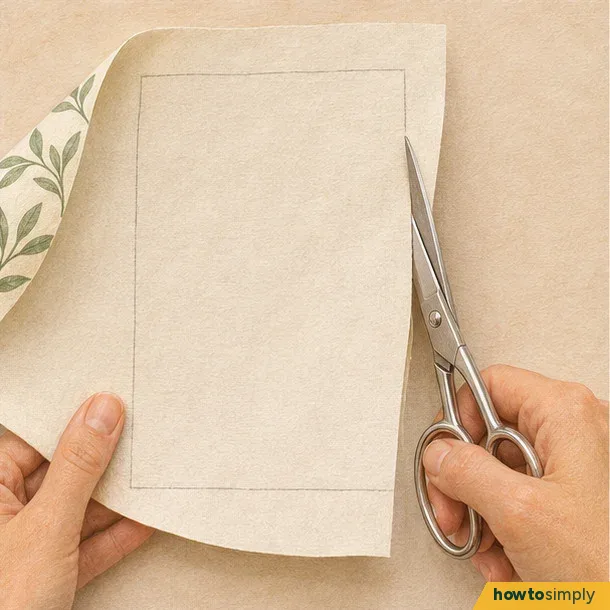
Cut along the inside edge of each pencil line, turning the paper at each corner rather than twisting the scissors. Lay the cut rectangle in the back of the frame with the pattern facing the pane.
All four corners should sit flat. If one edge bows up, take the paper out, trim a sliver from that edge and try again.
Close the frame and display it
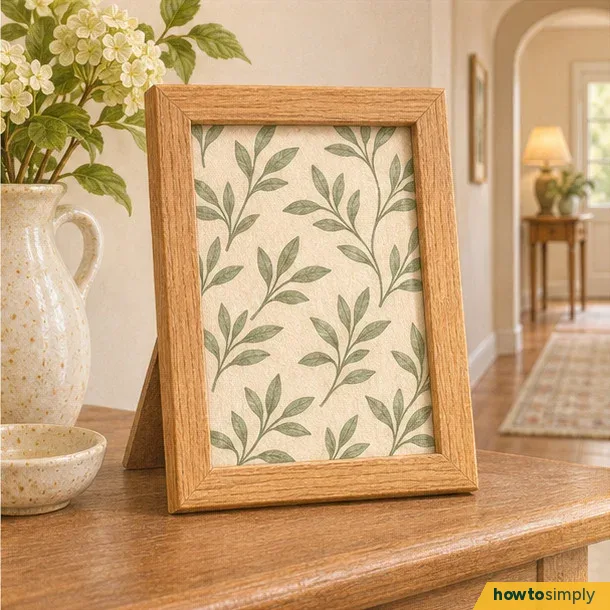
Put the backing board back with the easel facing out and turn the tabs to hold it. Stand the frame where you want it and look at it from a few steps away. If the pattern looks upside down, open the back and turn the insert round.
For a display that looks planned, stand it beside something that picks up one colour from the print, such as a green vase next to leafy wallpaper.
How to tell it worked
The pattern fills the opening edge to edge, the paper lies flat behind the pane with no ripples, and the motif you picked sits where you wanted it.
If something goes wrong
- One edge bows or ripples behind the pane: the insert is a touch too big. Take it out and trim a sliver from that edge.
- Your favourite detail ended up off-centre: the paper slid while you traced. Pick a fresh section, pinch the top centre again and hold the board firmly while you draw.
- The print is upside down: open the back and turn the insert round. Leaves and flowers can be hard to read the right way up until you step back.
- The offcut is too small: it needs to be at least 2 cm wider and taller than the backing board, or the cut piece won't fill the frame. Use a smaller frame or another piece of paper.
Related
The pictures on this page are illustrations, not photos.
Sources and method
- Researched by
- Abu Bakar Saadat
- Pictures
- 4 illustrations drawn for this article: drawings, not photos.
Did this solve the problem?
Where did you get stuck?
Get new guides by email
Our newest guides, sent to your inbox. Free, and you can unsubscribe in one click.
We'll email you to confirm. How we use your email
Follow howtosimply on Facebook
We share every new article on our Facebook page, so the next fix turns up in your feed.
Follow on FacebookWhat did you think?
Reaction counts are loading.