How to make an Apple Watch erase itself after 10 wrong passcodes
2 min read · 4 steps · Updated 4 October 2026
On the watch, open Settings, tap Passcode and switch on Erase Data. The Apple Watch then erases its data after 10 consecutive attempts to unlock it with the wrong passcode. The watch needs a passcode for this.
- Device
- Apple Watch
- Shown on
- watchOS 26 (Apple Watch)
- App
- Settings
- Path
- Settings › Passcode
- Real screenshots
- 4 of 4 steps
- Checked
- October 2026
- Sources
- 1 official, linked below
If an Apple Watch is lost or stolen, the passcode is what stands between a stranger and your data. Erase Data adds a limit: ten wrong attempts in a row, and the watch erases itself. Apple offers it as added security.
The screenshots show watchOS 26.5 on an Apple Watch Series 11.
Step by step

Open Settings on the watch
Press the Digital Crown to see your apps and tap the Settings gear.
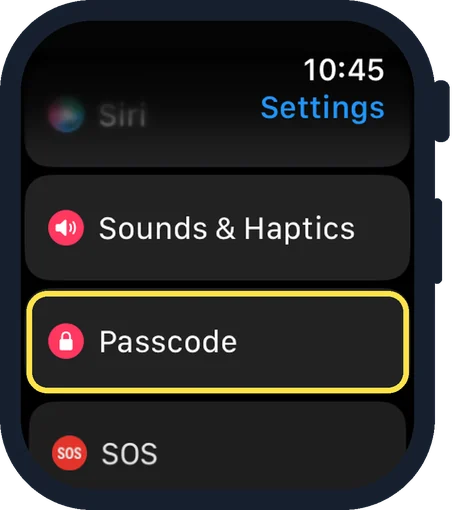
Scroll down and tap Passcode
Passcode is below Sounds & Haptics.
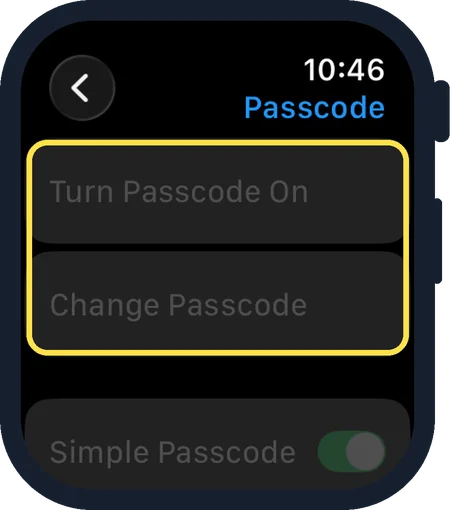
Check that a passcode is set
The first rows are Turn Passcode On or Off, Change Passcode and Simple Passcode. The simulator in the picture has no passcode, so the rows are grey.
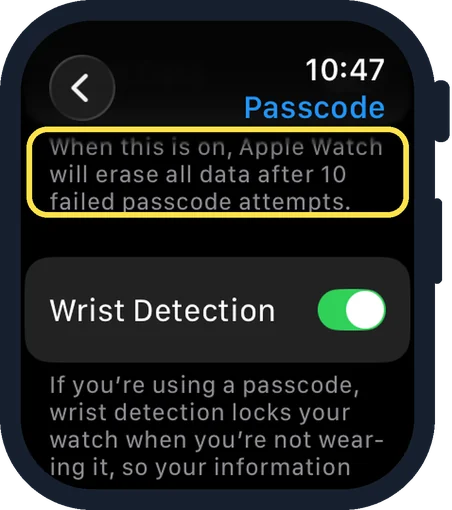
Scroll down and switch on Erase Data
Erase Data is above Wrist Detection. The picture shows the note that belongs to it: when this is on, Apple Watch will erase all data after 10 failed passcode attempts.
Good to know
Simple Passcode, on the same page, uses a four-digit passcode. Switch it off for a longer one.
Apple's tip: the watch passcode can be different from the iPhone passcode, and it is better to use different ones.
Wrist Detection, the next switch, locks the watch when you are not wearing it.
In short: Settings, Passcode, Erase Data on.
Links checked on 3 October 2026. Rules and prices change. Check the official source before you act.